
How High-Speed Machining Differs, and How to Set the Parameters
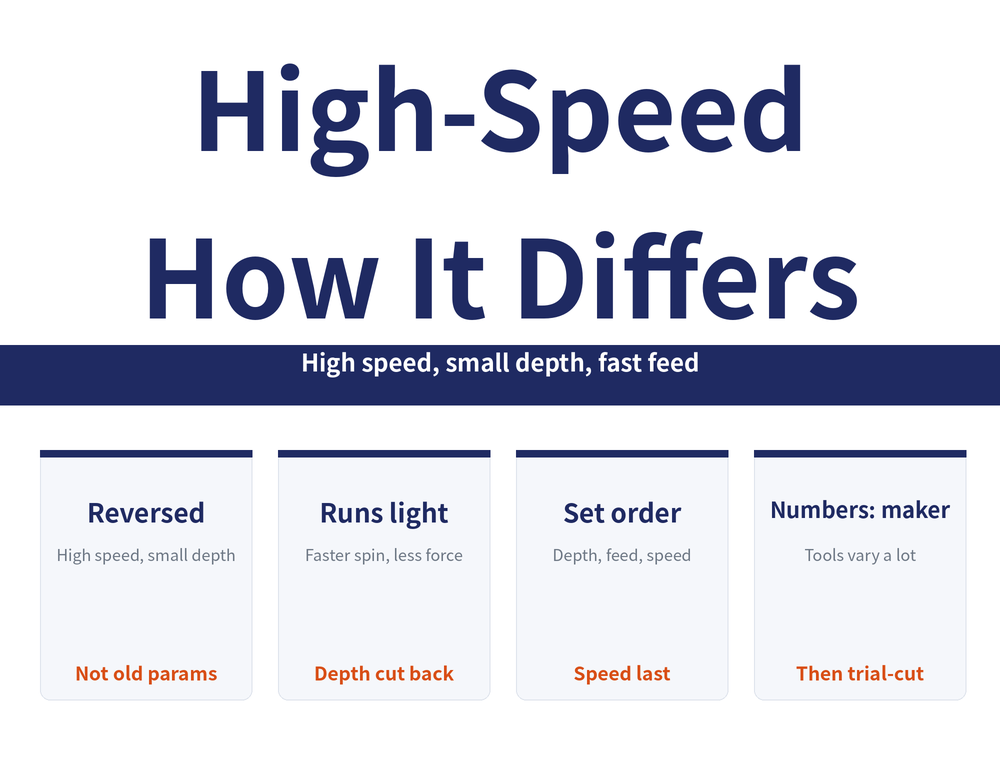
High-speed machining is not just turning up the spindle on an ordinary job. Its whole parameter direction is different: high speed, small depth, fast feed. This guide covers how it differs from conventional machining, and the order in which to set speed, feed and depth.
1. High-Speed and Conventional Point Opposite Ways
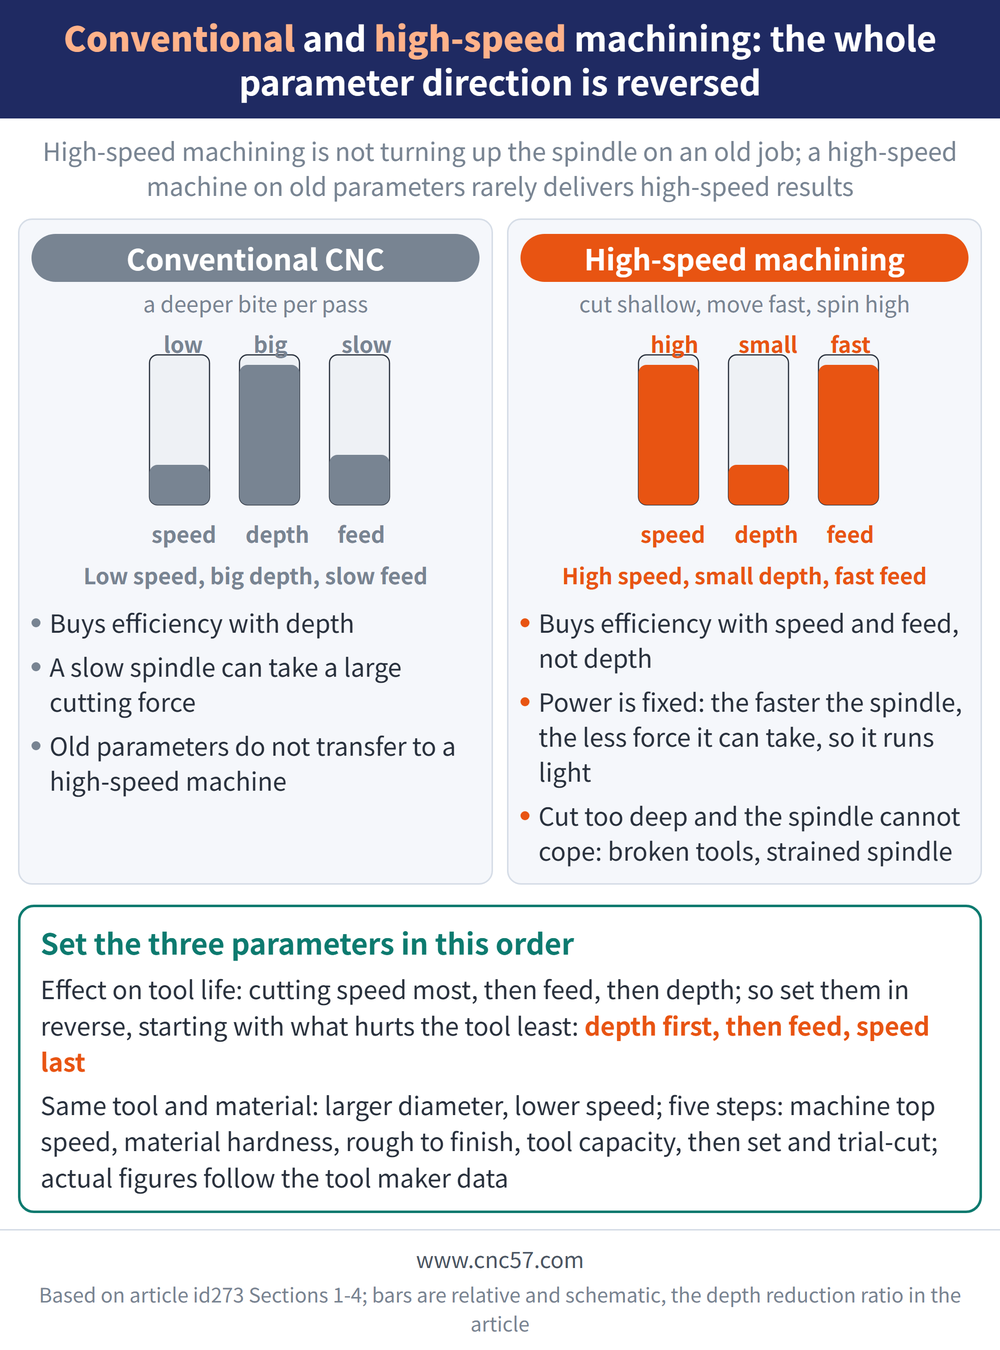
Conventional CNC gets its efficiency from low speed, big depth, slow feed — a deeper bite per pass. High-speed machining is the opposite: high speed, small depth, fast feed — cut shallow, move fast, spin high. So it is not a matter of turning up the spindle on an old job; the whole parameter logic changes. This is why running a high-speed machine on old parameters often fails to deliver high-speed results.
2. Why High-Speed Means "Small Depth": It Runs Light
It comes down to the spindle. A machine's power is fixed, so the faster the spindle turns, the less cutting force it can take. High-speed machining therefore runs "light" — both axial and radial depths are smaller than on a low-speed machine, usually cut back by a third to a half from conventional values. Cut too deep and the high-speed spindle can't cope: broken tools and a strained spindle. That is the logic of "small depth, fast feed" — buy efficiency with speed and feed, not with depth.
3. Set the Three Parameters in This Order
Speed, feed and depth affect tool life by different amounts: cutting speed matters most, then feed, then depth. So the setting order is the reverse — start with what hurts the tool least:
| Order | Set what | Why |
|---|---|---|
| 1 | A larger depth of cut first | Depth affects tool life least; fix it first within rigidity limits |
| 2 | Then a larger feed | Feed matters next |
| 3 | Cutting speed last | Speed affects tool life most, so tune it last rather than killing the tool up front |
A common question is really the same rule: same tool, same material — the larger the diameter, the lower the speed; the smaller the diameter, the higher the speed. High-speed cutters are expensive, so follow the order rather than guessing.
4. Five Steps to Set the Parameters in Practice
Put it together as one workable sequence:
| Step | Do this |
|---|---|
| 1 Machine | Confirm the machine's top speed; never pick a speed above it |
| 2 Material | The harder the material, the smaller the amounts overall |
| 3 Operation | Rough to semi to finish: speed rises, feed and depth fall |
| 4 Tool | High-speed work needs high-speed tools; brands differ in speed capacity, and depth is cut a third to a half below conventional |
| 5 Amounts | Set sensible values from the above, then trial-cut and correct on the floor |
The last point matters most: always take the actual figures from the tool maker's data — they vary a lot by tool and material. Maker data usually lists tool type, size, material hardness, maximum depth, and recommended speed and feed, and following it usually gives good results. For how cutting conditions relate to surface finish, see cutting conditions vs surface finish.
5. Frequently Asked Questions (FAQ)
Q: How does high-speed machining differ from conventional?
The parameter direction is reversed. Conventional uses low speed, big depth, slow feed; high-speed uses high speed, small depth, fast feed. It is not just turning up the spindle on old parameters — the whole logic changes.
Q: Why does high-speed machining use a small depth of cut?
A machine's power is fixed, so the faster the spindle turns the less cutting force it can take. High-speed work runs light — depth is usually cut a third to a half below conventional; cut too deep and the spindle can't cope and tools break.
Q: Which do I set first — speed, feed or depth?
In reverse order of their effect on tool life: set a larger depth first, then a larger feed, and the cutting speed last. Speed hurts the tool most, so tune it last.
Q: Where do I get the actual high-speed parameters?
From the tool maker's data — they vary a lot by tool and material. Maker data usually lists tool type, size, material hardness, maximum depth, and recommended speed and feed; follow it, then trial-cut and correct on the floor.
This article is part of Milling Toolpaths: The Complete Guide - Roughing Strategy, Where to Plunge, and Choosing a Finishing Pattern; that guide shows how the whole topic fits together.
Published: 2026-08-12 | Last updated: 2026-08-12









