
Milling Toolpaths: The Complete Guide - Roughing Strategy, Where to Plunge, and Choosing a Finishing Pattern
A milling path and a turning path are not the same problem. In turning the workpiece spins and the tool traces one line along a profile; in milling the tool spins and sweeps a surface, layer by layer. This guide ties the milling path layer together: how to pick a roughing strategy, where to plunge, what to do in narrow slots and hard materials, when to semi-finish, how to choose a finishing pattern and stepover, and finally how the passes link together. Every section points to an article you can read next.
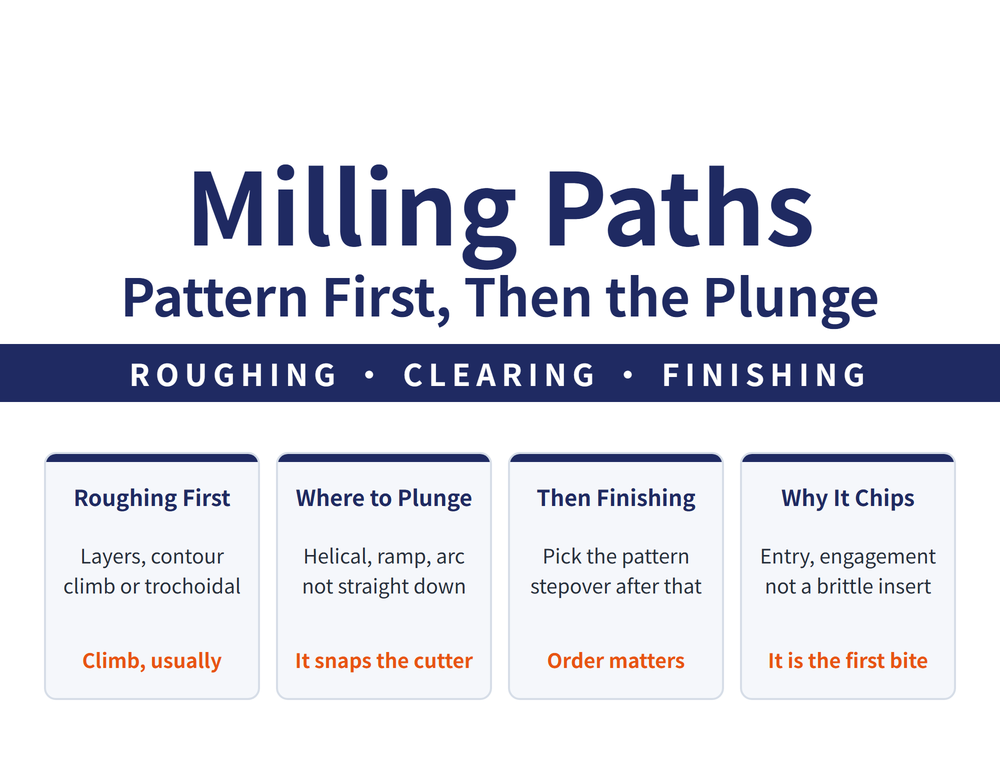
1. First, a Milling Path Is Not a Turning Path
Both get called toolpaths, but they answer different questions, and the fixes do not transfer:
| What differs | Turning | Milling (this guide) |
|---|---|---|
| What rotates | The workpiece turns; the tool does not | The tool turns; the workpiece does not |
| Shape of the path | One line along the profile: lead-in, cut, retract | Sweeping a surface back and forth, then down a layer |
| Decided first | Feed route, lead-in and retract method | Cutting pattern (layers, contour, trochoidal) and where to plunge |
| Is the cut continuous | Continuous; the tool stays in the material | Interrupted; every tooth enters and exits once |
That last row is the root of most of the differences. In milling every tooth has to re-enter the material, so where the impact lands on the edge at that instant is a central question here and barely exists in turning. For the turning half, see Turning Toolpaths: The Complete Guide. The two are written separately on purpose.
2. Roughing: Settle the Cutting Pattern First
Roughing has one goal - remove the material in the least time. Surface finish is not this pass's job. Pick the wrong pattern and the same volume of material takes several times longer.
| Article | When to read it |
|---|---|
| High-Speed Roughing Toolpaths | The entry point for this whole line. Layers, climb vs conventional, trochoidal and re-roughing in one place. Read it before picking details |
| Climb Milling vs Conventional Milling | When you have to decide the cutting direction. Covers chip re-cutting and how different materials behave |
| High-Speed or Conventional Machining | Deciding whether this job should go the high-speed route |
The split between them: the first lays out the whole strategy, the second goes deep on cutting direction alone. Roughing usually means climb milling, but that is a conclusion rather than a reason. For the reason, and for the cases that reverse it, read the second one.
3. Plunging: Do Not Drop Straight Down
A closed pocket has no ready-made entry, so the tool has to get itself in. Dropping straight down is the quickest way to snap a cutter, because the centre of an end mill's face is usually not designed to cut.
| Article | When to read it |
|---|---|
| Choosing the Plunge | When choosing between helical, ramp and arc entry. Also two sizing criteria and whether you actually need a centre-cutting end mill |
This one also touches a purchasing decision. Centre-cutting end mills cost more, but they decide whether you can plunge vertically at all. That article gives the criteria.
4. Narrow Slots and Hard Materials: Trochoidal and Dynamic
Full-slot milling, with the cutter fully buried, is the worst case: chips cannot get out, the engagement angle is pinned at its maximum, and heat and force are both at the ceiling. Trochoidal milling trades wide-and-shallow for deep-and-narrow, using the path to get out of that corner.
| Article | When to read it |
|---|---|
| Trochoidal and Dynamic Milling | When deciding whether it is worth adopting. How the two differ, where each fits, and what to watch before you switch |
| Tuning Trochoidal Milling | Once you are already running it. Tool life and cycle time pull opposite parameters, and feeding too slowly damages the cutter |
Read them in that order. Trochoidal does not pay off everywhere, so confirm your cut is the kind it suits before tuning parameters for it.
5. You Cannot Go Straight from Roughing to Finishing
What a big roughing cutter leaves behind is uneven: thin on the flats, thick in the corners. A finishing cutter sent straight in meets several times that stock in the corners, which is the most common way finishing cutters break. Something has to go in between.
| Article | When to read it |
|---|---|
| Semi-Finishing and Corner Clearing | After roughing, before finishing. Rest machining versus pencil machining, and the four corner-clearing strategies CAM systems offer |
| Roughing, Semi-Finishing, Finishing | To see why the middle stage cannot be skipped |
One idea in it gets missed often: clear corners with a set of cutters going large to small, not one small cutter all the way. A small cutter is not rigid enough to chew through heavy stock; it is slow and it breaks.
6. Finishing: Pattern First, Then Stepover
The order matters. Get the pattern wrong and no stepover will save it - the pattern decides how the tool lies on the surface, the stepover only decides how densely.
| Article | When to read it |
|---|---|
| Choosing a Finishing Toolpath | Read this first. Parallel, radial, spiral and Z-level, chosen by surface shape; shallow and steep areas are handled separately |
| Ball-Nose Finishing: Scallop Height, Stepover | Once the pattern is fixed and you need a stepover and a ball diameter. Scallop height follows from those two; the formula is in that article |
| Tool Length Offset and Cutter Radius Compensation on CNC Mills | When a finished contour is slightly off size, or sizes drift after a tool change or regrind. Program the path to the contour and let G41/G42 and G43 take up the differences in cutter diameter and length |
Note that a surface you cannot achieve is not always a toolpath problem. Every process has a ceiling, and past that ceiling no pattern will get you there - that belongs to Surface Finish: A Complete Reading Guide.
7. Linking It Up: Connections, Corners, Retracts
The sections above decide how the cutting passes run. What is left is how those passes join, and that is often where high-speed machining differs most from ordinary machining, not in the cutting itself.
| Article | When to read it |
|---|---|
| Linking the Toolpath | When the program runs in stutters, corners come out overcut, or you want to cut down the number of retracts |
The three are different in kind: pass connections and corner handling affect quality (a cutter that lunges at a corner overcuts it), while retract jumps affect cycle time. Chasing quality and chasing time send you to different parts of that article.
8. Where It Goes Wrong: The Moment of Entry
Back to the problem unique to milling. Chipping usually gets blamed on a brittle insert, but in most cases the trouble is where the first contact lands - the impact arrives on the weakest part of the edge.
| Article | When to read it |
|---|---|
| Milling Entry, Exit and Engagement | When face milling keeps chipping and a tougher insert did not help. Three ways to position the cutter relative to the part, plus arc entry |
This and the climb-versus-conventional question in section 2 are two sides of one thing: climb and conventional put the impact at opposite ends of the cut, so cutter position and cutting direction have to be decided together. If the chipping comes with obvious vibration, that may be a different line - see Vibration and Chatter: A Complete Reading Guide.
9. FAQ
Q: Why are milling and turning toolpaths two separate guides?
Because the cutting itself differs, and so does what you decide first. Turning is a continuous cut along a profile, and the first decisions are the feed route and how you lead in and retract. Milling is an interrupted cut where every tooth re-enters the material, the path sweeps a surface and steps down, and the first decisions are the cutting pattern and where to plunge. A question as central as where the impact lands on the edge at entry barely exists in turning; conversely, dig-in and witness marks in turning are not the main worries in milling. Combined into one article, both audiences would skip half of it.
Q: With this many articles, where should I start?
Start with High-Speed Roughing Toolpaths in section 2. It covers layers, climb versus conventional, trochoidal and re-roughing in one place and is the entry point for the line. After that, go by symptom: cannot get into a closed pocket, section 3; narrow slots or hard materials, section 4; unsure whether you need a semi-finishing pass, section 5; poor surface on curved faces, section 6; the program runs in stutters, section 7; constant chipping, jump straight to section 8.
Q: The tool is right and the parameters follow the formulas, but it still comes out badly. Can the path be the problem?
It can. Tool and parameters decide how much one pass can take; the path decides where that pass comes from, where it goes, and what follows it. Cutters breaking in corners, regular patterns left on a curved surface, overcut corners, a cutter that snaps the moment it plunges into a closed pocket - none of these have much to do with tool grade or parameter values. They are questions of route and sequence.
Q: I have no CAM system and write programs by hand. Is this line still useful?
Yes, though not all of it applies. Climb versus conventional, plunge method, entry position and corner handling all still have to be decided by hand, and writing by hand makes thinking them through in advance more important, not less. Trochoidal paths, dynamic milling and rest machining, on the other hand, are generated by CAM and are close to impossible to write out manually - read those sections as input to the question of whether to bring CAM in.
Published: 2026-09-08 | Last updated: 2026-10-28









