
Three Steps for Mold Milling Tool Selection: Application, Geometry, Grade, In That Order
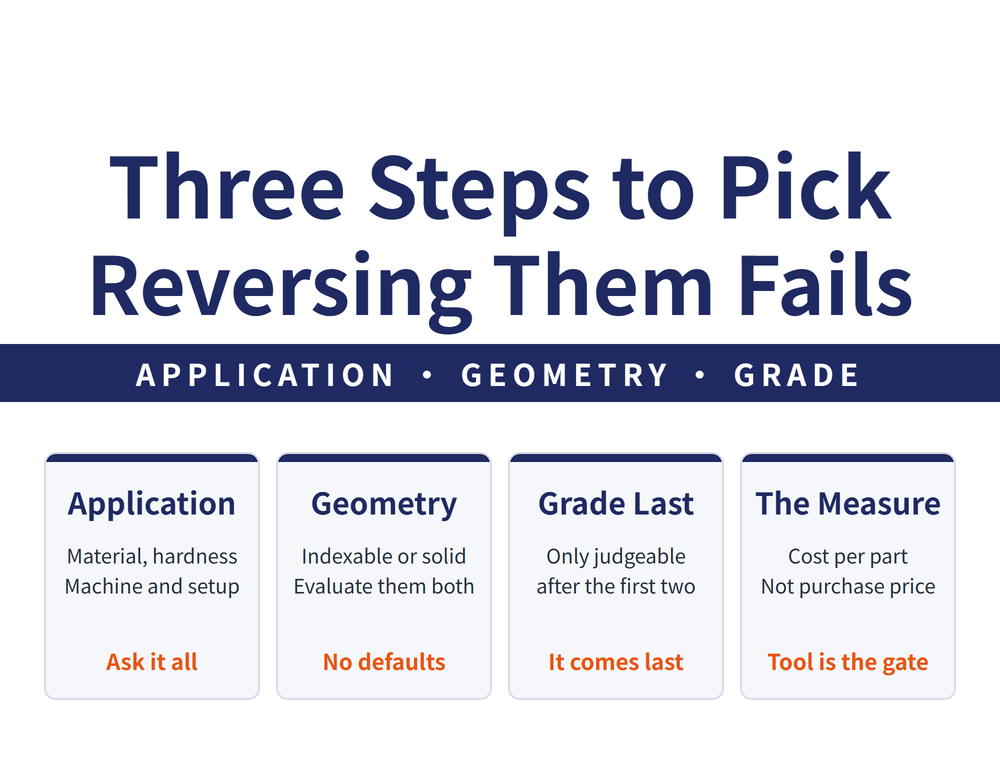
The most common tool selection mistake is not picking the wrong tool, it is running the sequence backwards: settling on a familiar grade first, then bending the job to fit it. The correct order runs one way only. Establish the application conditions, then decide the cutting geometry, and only then choose the material grade. This article covers difficulty rating for mold work, the full checklist behind the three steps, and why the final yardstick should be cost per unit rather than purchase price.
1. First Judge How Hard This Mold Is to Machine
Difficulty is not a single variable. It is geometric complexity multiplied by the machinability of the material. The geometry half can be sorted into three levels first:
| Difficulty | Characteristics |
|---|---|
| Low | Flat areas, simple shapes, shallow cavities |
| Medium | More complex shapes, larger size, deeper cavities, steep punch walls |
| High | Very complex shapes, narrow deep cavities, large height variation |
For the material half, see [Die and Mold Steel Machining Guide: Six Families, Hardness Grades and Tool Choice]. Only when both halves are known do you know what you are up against.
2. The Order: Application, Then Geometry, Then Grade
The value of this checklist is not the checklist itself. It is the order of thinking it forces on you.
3. Step One: Ask Every Application Question
How thoroughly you work through this step decides whether the other two have anything to stand on:
| Aspect | What has to be established |
|---|---|
| Workpiece | What operation is it? Material and hardness before machining? |
| Requirement | Accuracy and surface finish needed? How much stock to remove? |
| Strategy | What is the strategy? Is the severity light, medium or heavy? |
| Clamping | Shank type or shell type? Is the setup stable? |
| Machine | Is the power, condition and speed range sufficient? |
| Coolant | Dry or wet? Can the spindle supply coolant? |
4. Step Two: Geometry, and Both Concepts Get Looked At
Against the needs established above, decide which cutting geometry suits. There is one important constraint here:
Both the indexable and the solid concept must be evaluated, with no default preference.
In practice this is the step most often skipped, because whichever type the shop is used to is the type it keeps buying. But the two behave very differently at small diameters, in deep cavities and at long overhang, and not comparing them is the same as not choosing.
5. Step Three: The Grade Comes Last
Against the needs fixed by the first two steps, which tool material grade fits best. It sits last because it is the item you can only judge last.
🔑 What happens if you reverse it: fix a familiar grade first, then fit the job around it. That is not selection, it is bending the job to the tool. There is no universally best tool, only the best answer for a specific situation, and this framework is what turns that abstract principle into a checklist you can actually follow.
6. 🔑 The Final Yardstick Is Cost Per Unit, Not Purchase Price
Tool purchase cost is a small share of total cost per part, but the indirect influence of the tool on cost per part can be very large, because the tool is frequently the only bottleneck stopping the machine running faster and the cycle getting shorter.
So the selection logic should be: pursue the most efficient tool, not the cheapest one to buy. The reduction in cost per part from higher efficiency far exceeds the price difference of the tool itself. The full arithmetic is in [Machining Cost Structure: Tooling Is Only 3%, So Where Is the Real 15%].
There is one more lever that often goes uncounted: tool versatility. A tool that can handle shoulder milling, ramping and several other operations cuts the number of tool changes and the time they take. That time never appears on a tool quotation, but it does appear on your machine hour account.
7. Frequently Asked Questions (FAQ)
Q: Does every tool selection have to run through the whole process?
No. When the conditions match the last job, carry the choice over. But if material, hardness, cavity depth, machine or clamping changes, it is worth another pass, because the item that changed is often exactly the one that moves the best answer.
Q: How do I quickly judge indexable against solid?
Start with diameter and cavity depth. Small diameters, deep cavities and long overhang lean solid; larger diameters, replaceable edges and controllable tooling spend lean indexable. That is only a starting point, and both should still be evaluated before deciding.
Q: How are light, medium and heavy severity distinguished?
By the combination of metal removal rate and cutting load, not by depth of cut alone. Heavy cutting usually comes with large stock and continuous engagement, which also raises what is demanded of tool rigidity and clamping.
Q: How do I explain to purchasing that the expensive tool is cheaper?
Change the basis of comparison to cost per part. Tooling is a single digit percentage of total cost while deciding whether the machine can run flat out, and once the tool changes saved by a versatile tool are added, the account is complete.
The difficulty tiers and the checklist form a general selection framework; actual application varies with mold structure, machine condition and batch size. For grade selection, follow the data published by the tool manufacturer.
Last updated: 2026-09-14









