
How to Run a Fixture Design Workflow: Five Steps, Checklists and the Cost of Tolerance
The hard part of a fixture is not the drawing — it is asking the right questions before anyone draws. Fixture design splits into five steps, paired with a four-category data collection checklist. This guide walks the five steps and pulls out the part buyers feel most: the tighter the tolerance, the faster the cost climbs.
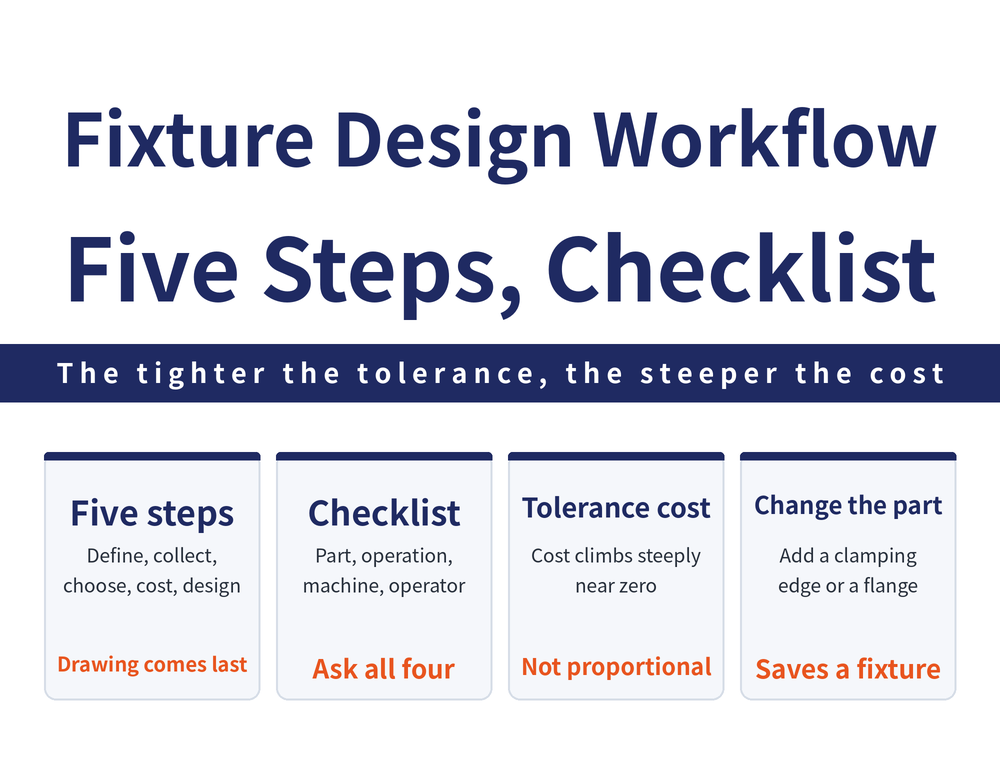
1. The Five Steps: The Order Cannot Be Skipped
Fixture design splits into five steps, and the order holds — without a conclusion from the previous step, the next one is guesswork.
| Step | What it decides |
|---|---|
| 1. Define the requirement | New build or improvement? Accuracy or output? |
| 2. Collect the data | Work through the four-category checklist |
| 3. Choose the fixture type | Sketch, list options, eliminate one by one |
| 4. Cost the fixture | Tangible and intangible items together |
| 5. Final design | Drawings, component selection, machining plan |
2. Step One: New Build or Improvement?
The first step is not measuring the part. It is asking two questions: is this a first-time fixture design, or an improvement to an existing production method? If it is an improvement, is the goal accuracy, output, or both?
The goal drives every later trade-off. Chasing accuracy puts the budget into locating and clamping stability; chasing output puts it into load/unload time and automation. An unclear goal usually delivers neither.
3. Step Two: The Four-Category Data Collection Checklist
Step two is data collection. The questions group into four categories as a checklist, used to confirm the requirement is complete before proposing anything.
| Category | Items to confirm |
|---|---|
| Part — body | Size, shape, accuracy required, material type and condition |
| Part — locating and clamping | Locating point type and stability, clamping face type, support behind it |
| Part — quantity | Production volume, one-off or repeat, likelihood of design changes |
| Operation | Type and number of operations, sequence, whether QC is required |
| Equipment | Machine power, travel and weight limits, tooling, gauges, scheduling |
| Personnel | Safety rules, handling economics, operator fatigue, automation potential |
4. Steps Three and Five: The Source Gives Only Pointers
Step three settles the fixture type: sketch the locating and clamping positions first, then list several workable options and eliminate them one by one. For how the types are classified, see What Is a Jig and Fixture.
Step five is drawings, component selection and the machining plan, settled from the conclusions of the first four steps. These two steps carry only conceptual pointers, with no stated criteria or method, so this article does not infer them; in practice, follow your own in-house design standards.
5. Step Four: Cost Tangible and Intangible Items Together
Step four is the cost assessment. Both cost and benefit split into tangible and intangible sides.
| Type | Cost | Benefit |
|---|---|---|
| Tangible | Design fee, part purchase, machining, assembly, delivery and commissioning | Output, tool and labour consumption |
| Intangible | Operator fatigue, time lost to fixture changeover, reject rate | Smoother operation, less fatigue, lower tool and machine wear |
The reject rate sits on the intangible side because there is no control group. Two further costs are amortised onto every part: the setup cost spread over the batch, and the fixture build cost spread over all parts made within the fixture's life.
6. The Tighter the Tolerance, the Faster the Cost Climbs
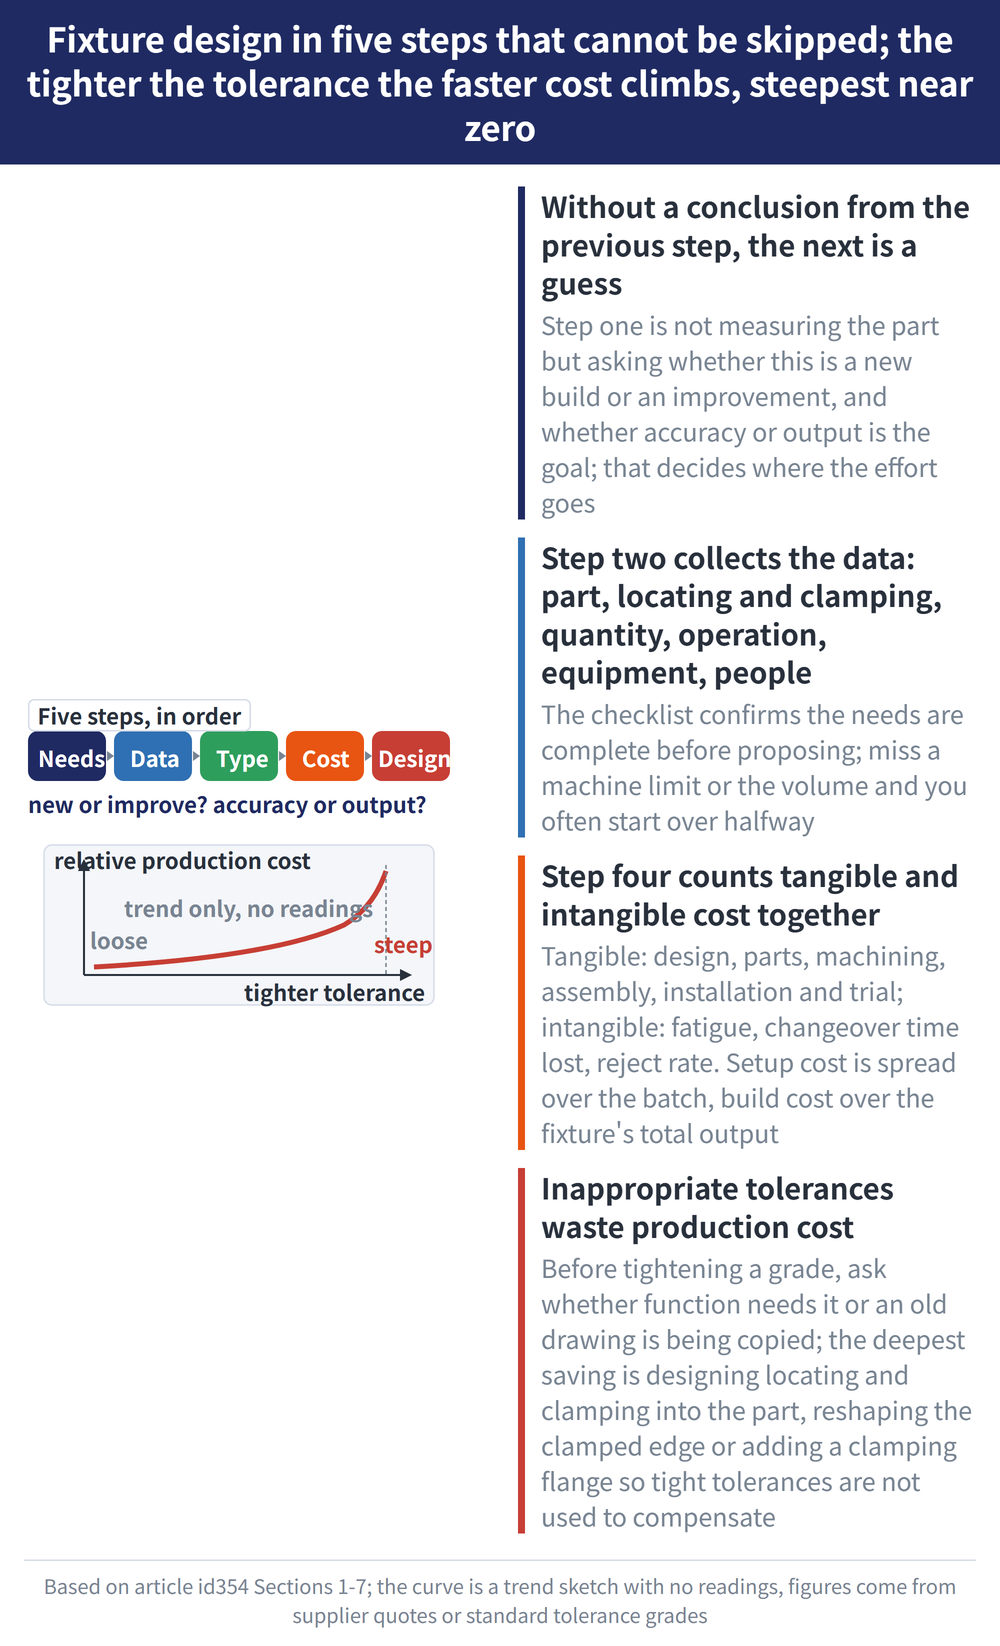
This is the part buyers feel most. The relationship between hole-spacing tolerance and relative production cost makes one point: the tighter the tolerance, the higher the relative production cost — and the rise is not proportional. The closer it gets to zero tolerance, the faster the cost climbs.
Direction and magnitude: tighter tolerance → higher cost; closer to zero tolerance → steeper rise. This article states the trend only and does not quote individual readings from a single-source chart.
There is no peak value at the near-zero end, so that stretch is a trend only and must not be extrapolated. To negotiate with numbers, use supplier quotations or the tolerance grades of the applicable standard.
The conclusion: an inappropriate tolerance consumes production cost to no purpose. On the drawing that means asking, at every step tighter, whether the function needs it or the previous revision was simply copied.
7. Saving Cost Starts With the Part Shape
The most fundamental move is to start at the product design stage: design the part with its future locating and clamping needs in mind, and the fixture gets simpler — and cheaper than fixing it afterwards.
There are two shape improvements. One is to reshape the clamping edge, adjusting the contour or adding thickness so the clamp sits more securely. The other is to add a clamping flange designed purely to be gripped. Better clamping conditions remove the need to compensate with over-tight tolerances.
8. Worked Example: The Order for a Hydraulic Fixture
There is also an order for designing a hydraulic fixture from a 2D drawing, which maps onto the five steps.
| Order | Action and what to watch |
|---|---|
| 1 Obtain the part drawing | Everything after this starts here |
| 2 Establish locating points | Insert locators by locating principle; side points per 3-2-1 |
| 3 Place clamping elements | Clamp point directly opposite the locator; add a support cylinder under overhangs |
| 4 Lay out the base plate | Set position and thickness, generate the locating coordinates |
| 5 Hydraulic connection and piping | Add a sequence valve to separate the motions; drill deep holes from one side |
Row 3 is the same issue as Why Vise Clamping Distorts the Workpiece; for how much force to apply, see How Much Clamping Force Do You Need.
Side locating points follow the 3-2-1 principle, whose detailed rules are not set out here, so this article does not infer them; confirm against your in-house locating standard. The hydraulic components in the example are a single case, not a general selection recommendation.
Frequently Asked Questions (FAQ)
Q: Can we skip data collection and go straight to drawing?
Not advisable. The step-two checklist is the basis for the later type and cost decisions; miss the machine limits or the production volume and a mid-design catch-up usually means starting over.
Q: How much more expensive is a tighter tolerance?
Only the direction and magnitude can be stated: tighter tolerance means higher relative production cost, rising faster the closer it gets to zero tolerance. For actual figures, use supplier quotations or the tolerance grades of the applicable standard.
Q: How do you estimate the intangible fixture costs?
They are hard to quantify because there is no control group. Amortisation is the workable route: setup cost over the batch, fixture build cost over all parts made within its life, with changeover time and fatigue kept as qualitative adjustments.
Q: The part shape is frozen — is there still cost to save?
Yes, but it costs more. The principle is to build locating and clamping needs into the product design stage, for example by reshaping the clamping edge or adding a flange. Once the shape is frozen, only the fixture side is left to fix it.
This article is part of Workholding and Fixtures: The Complete Guide - Locate First, Then Clamp; How Much Force and Where It Comes From; that guide shows how the whole topic fits together.
Published: 2026-08-28 | Last updated: 2026-08-28









