
How to Measure Surface Roughness: Choosing Between Seven Methods
The drawing calls out an Ra value — what do you measure it with? Seven methods are in common use: visual comparison, tactile comparison, capacitance, light section, interference, stylus and replica. What separates them is not only resolution but whether the surface can be touched, whether it can be seen, and whether the job is sampling or 100% inspection. This guide lays the seven out in one comparison table, then narrows the choice to one or two with three questions. Deep holes, blind holes and internal threads have an answer too.
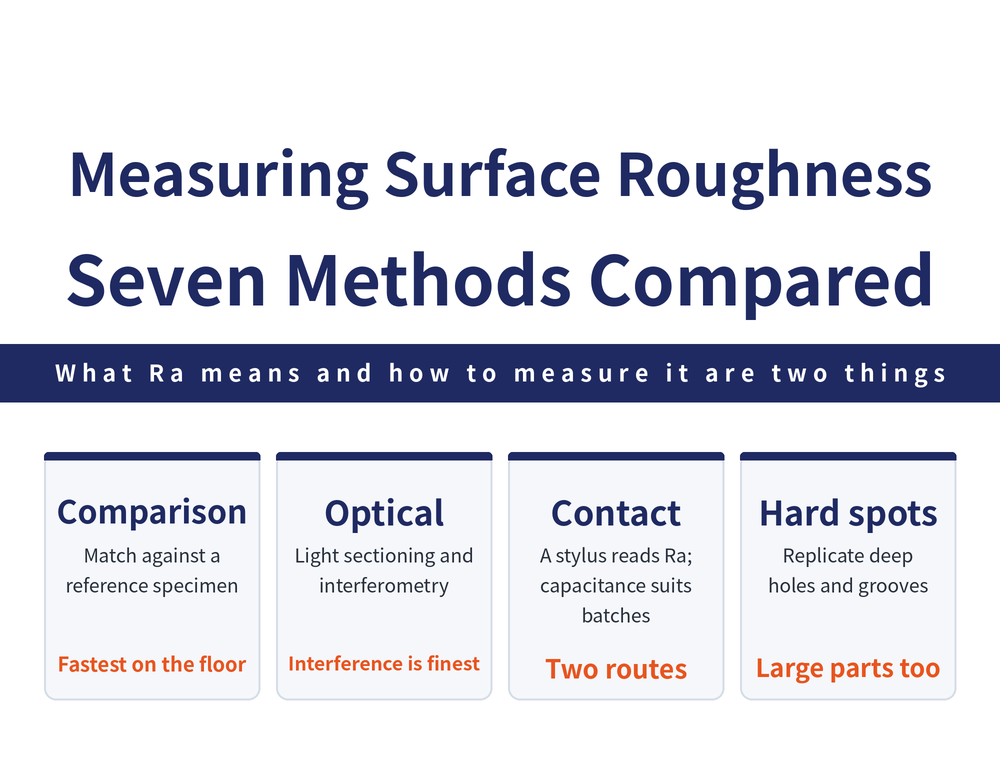
One line of separation first: this article is about what to measure with, not about what Ra and Rz are or how they are calculated. For definitions, parameter differences and conversion, see Surface Roughness Ra/Rz/RzJIS Explained. Here we assume the number on the drawing already means something to you, and only solve how to obtain it.
1. The Seven Methods in One Table
| Method | How it works | Surfaces and setting |
|---|---|---|
| Visual comparison | Compared by eye against comparison specimens | External surfaces; shop floor |
| Tactile comparison | Felt with finger or fingernail against specimens | Internal and external; shop floor |
| Capacitance | Plate on three supports; judged by capacitance | External; large batch 100% inspection |
| Light section | Light section principle, light section microscope | Flats and outside diameters; floor or lab |
| Interference | Irregularity compared against light wavelength | Flats and outside diameters; laboratory only |
| Stylus | Tip drawn across the surface, Ra read directly | Internal and external; not soft or scratchable |
| Replica | Profile copied in plastic material, copy measured | Deep and blind holes, grooves, threads, large parts |
2. The Two Without Instruments: Visual and Tactile
Both are comparison methods — a set of comparison specimens is needed, and the part is judged against whichever specimen it most resembles. Visual works on external surfaces; tactile uses a finger or fingernail and reaches internal surfaces as well.
Their value is not resolution but speed at no cost: the floor learns immediately whether a batch is obviously off, without waiting for an instrument. They suit the coarser end; a finely ground face cannot be told apart by eye or finger.
The limits are equally clear: results vary between people and cannot go into an inspection report as a value. They are a first screen before release, nothing more.
3. The Two Optical Ones: Light Section and Interference
Neither touches the part; they differ in fineness and in where they can live. The light section method works on the light section principle with a light section microscope, handles flats and outside diameters, and fits both the floor and the laboratory.
The interference method compares the microscopic irregularity of the surface directly against the wavelength of light using an interference microscope. It is the finest of the seven, but it is laboratory only and sensitive to vibration and temperature.
Both share one limit: the surface has to be visible. Flats and outside diameters yes; inside a bore or the bottom of a groove, no.
4. The Stylus Method: the Common One Today
A stylus is drawn lightly across the surface and the Ra value is read off the indicator or instrument. The method is simple and reaches internal and external surfaces — this is the ordinary contact roughness tester or profilometer.
Two instrument families are in use: the inductive profilometer (inductive method) and the piezoelectric profilometer (piezoelectric method). The inductive type is a laboratory instrument, while the piezoelectric type serves both laboratory and shop floor, and the ranges they cover differ, so match the instrument to the grade you need to measure.
One prohibition cannot be ignored: it must not be used on soft or easily scratched surfaces. The stylus leaves a mark on aluminium, copper, plastics or a finished mirror face, and the part is scrap once measured.
5. The Capacitance Method: Built for Full Inspection
The plate has to match the shape of the surface, sits on three support points against it, and roughness is judged from the size of the capacitance. It is used on external surfaces only.
Its place among the seven is distinctive: it is the one explicitly identified for large batch 100% inspection. The others either depend on human judgement or take time per reading, which confines them to sampling.
The price is that it is tied to shape — a different part profile needs a different plate, which does not pay for high-mix low-volume work.
6. The Replica Method: Copy What You Cannot Reach
A plastic material is bonded to the surface, the profile is copied into a replica, and the replica is measured instead. It exists for one reason: the other six all assume the surface can be touched or seen directly.
Deep holes, blind holes, grooves, internal threads and workpieces too large to move all break that assumption. The replica method converts an unreachable surface into a reachable copy, and it also covers the widest span of roughness of the seven.
Note that it adds a copying step, and distortion in the copy adds into the result, so it does not suit the tightest grades.
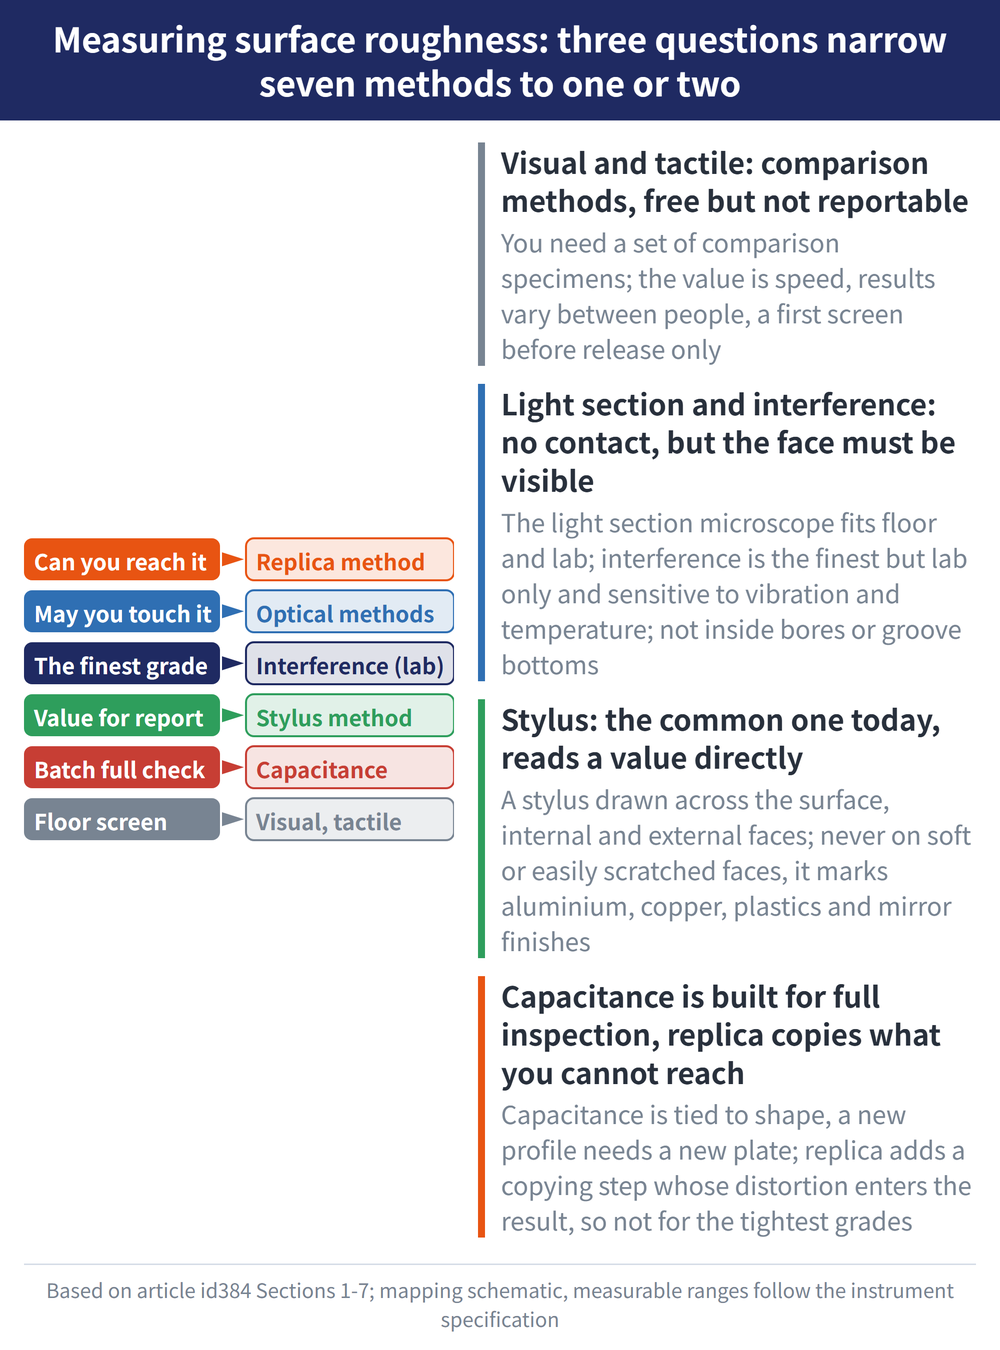
7. Choosing: Three Questions
| Ask | Answer | Narrows to |
|---|---|---|
| Can you reach it | Deep hole, blind hole, internal thread | Replica method |
| May you touch it | Soft face, scratches easily | Light section or interference |
| How fine | The finest grades | Interference (laboratory) |
| How fine | A number for the inspection report | Stylus method |
| How many parts | Large batch, full inspection, fixed shape | Capacitance method |
| How many parts | Quick floor screen, no value recorded | Visual or tactile |
8. Why No Table of Ra Ranges Here
Each method has an Ra range it suits, and the ranges overlap. This article gives direction and order of magnitude only, and does not transcribe the figures cell by cell: comparison methods serve the coarser end, stylus and capacitance sit in the middle and reach towards the fine end, interference occupies the finest end, and replica spans the widest.
The reason is that the range table available comes from a single source and states no standard number; copying it across would present it as a citable specification. For what a given instrument can actually measure, follow the instrument specification or the standard table — read the measuring range column of that model's catalogue before buying.
9. The Measured Number Carries Error Too
Measure the same face by two methods and the numbers will differ; neither is necessarily wrong. Method-to-method difference is systematic error, and repeating and averaging will not reduce it; for how the three classes divide, see Measurement Error Classification.
So agree the method before acceptance rather than quoting an Ra value alone. The same holds on a coordinate measuring machine; see CMM Accuracy and Uncertainty.
10. Frequently Asked Questions (FAQ)
Q: If we buy only one instrument, which should it be?
For most machine shops the first purchase is a contact roughness tester using the stylus method, because it reaches internal and external surfaces, reads out a number directly, and that number can go into an inspection report. The condition is that the surface is neither soft nor easily scratched. If deep holes or internal threads dominate, stock replica consumables as well.
Q: Can a judgement made by feel be used as an inspection result?
No. The tactile method is a shop floor screen against comparison specimens; results vary between people and it yields no traceable value. Use it to stop obviously deviating parts before release, and produce the reported figure with a method that reads out a value, such as the stylus method.
Q: How is the roughness of an internal thread actually measured?
With the replica method. A plastic material is pressed onto the thread flanks to copy the profile, then the replica is removed and measured by ordinary means. It is the only one of the seven that handles deep holes, blind holes, grooves and internal threads, at the cost of an extra copying step whose distortion adds into the result.
Q: Two methods give different Ra on the same face — which one counts?
Whichever was agreed in advance. Different principles capture different information about the surface, so the difference is systematic error and will not shrink with more readings. In practice, write the measurement method and conditions onto the drawing or the inspection specification so acceptance is not argued afterwards.
This article is part of Precision Measurement Complete Guide: Ask What You Are Measuring First, Then Pick the Instrument; that guide shows how the whole topic fits together.
Published: 2026-08-28 | Last updated: 2026-08-28









