
Inspecting a Tool After Regrinding: Three Ways to Check a Turning Tool and Four Checks for a Reamer
Almost every guide to regrinding stops at "ground". None of them says how to check the result. This article fills that in for two tools: which three gauges check a carbide turning tool, which angles each one covers, and why measuring two angles means you can skip the third; then the reamer's diameter, rake, clearance and radial runout, with two formulas you can use directly.
1. Look before you measure
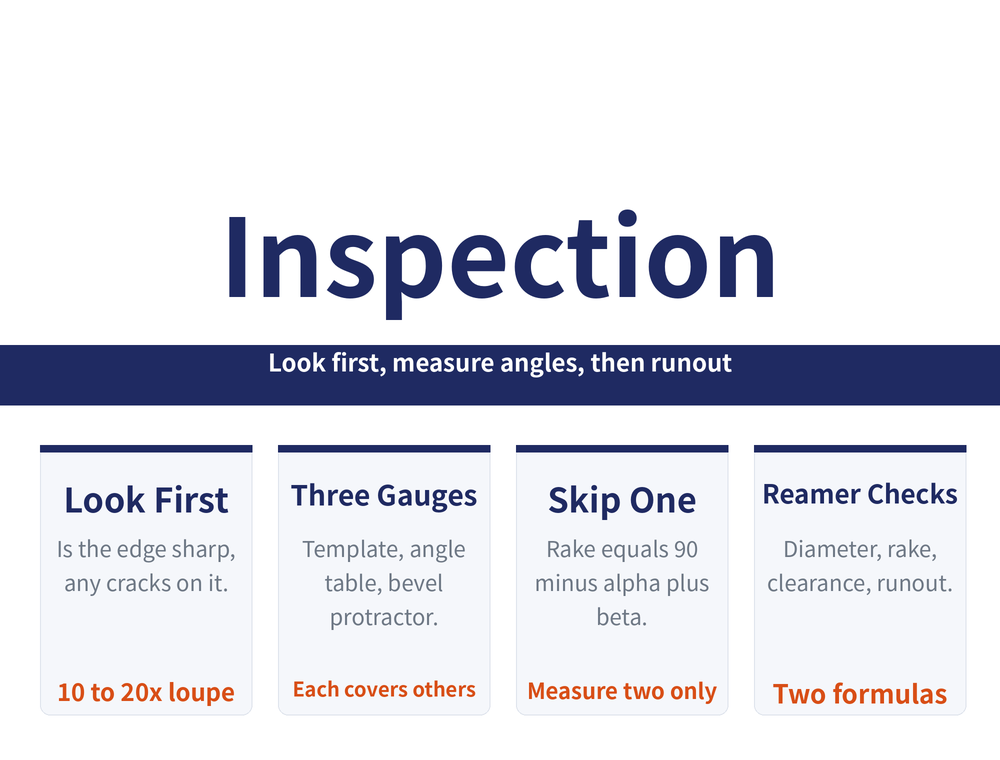
Guides to tool regrinding share a habit: they stop at "ground". But a tool that goes straight back on the machine with the wrong angle or a cracked edge costs more than a blunt one ever did. The sequence is simple — inspect visually, then measure angles.
The visual check covers three things: is the edge sharp, are there cracks on the surface, and where needed use a 10–20× loupe. Only after that does angle measurement begin. It takes under a minute and it is the only step that catches a tool that is already cracked.
2. Carbide turning tools: what each gauge covers
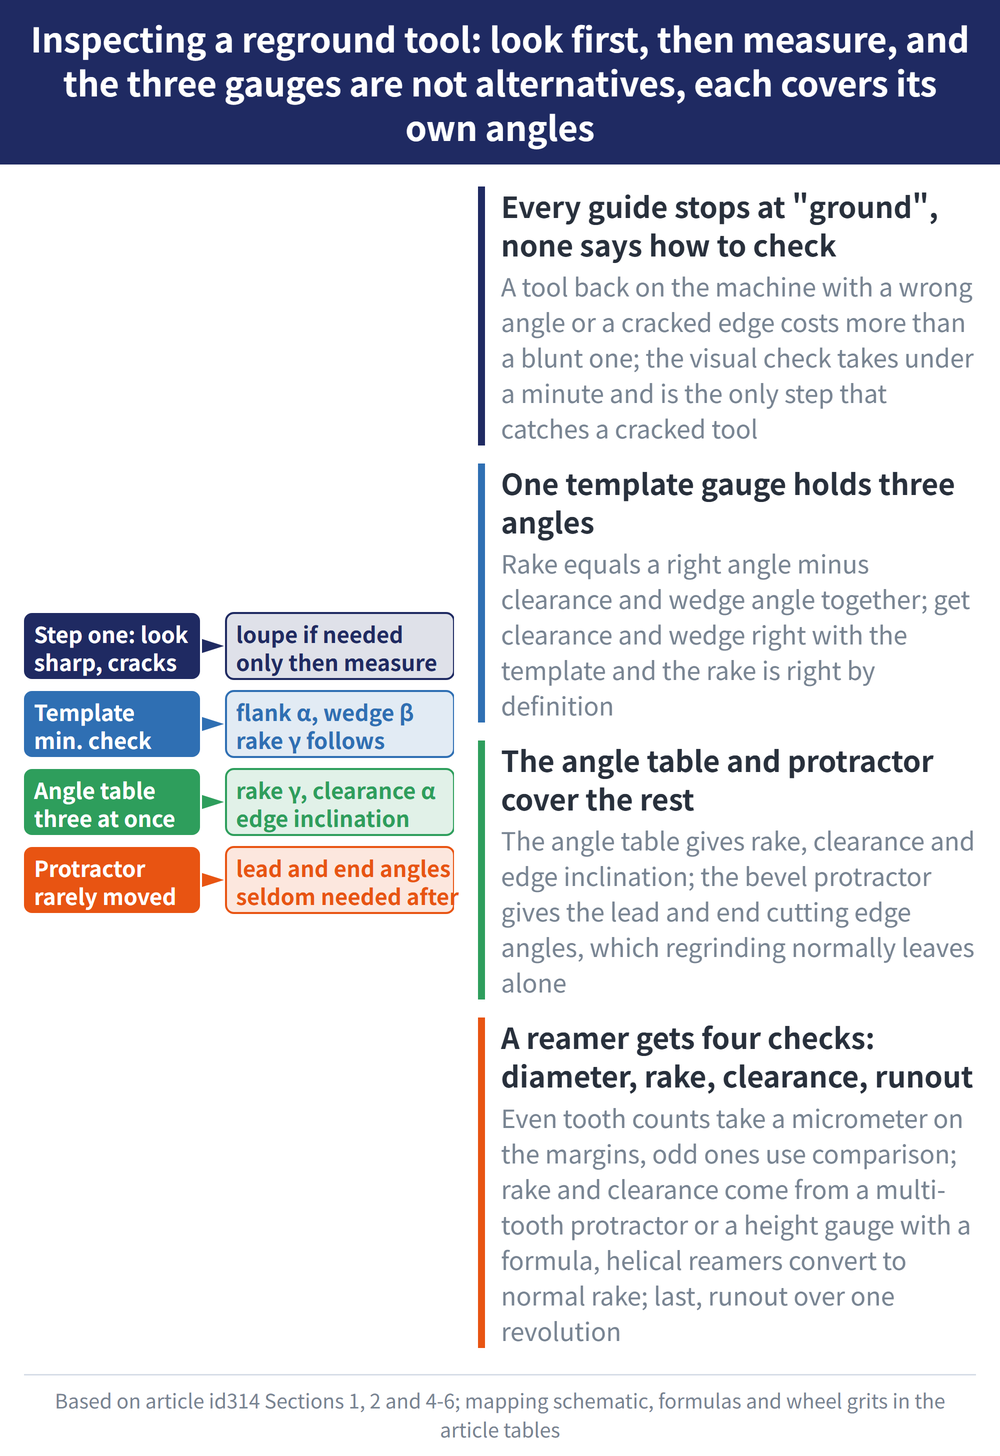
Post-regrind angle checking splits into three methods, and they are not alternatives — each covers different angles:
| Method | Measures |
|---|---|
| Template gauge | Major clearance α, wedge angle β |
| Angle table | Rake γ, clearance α, edge inclination |
| Universal bevel protractor | Lead angle κr, end cutting edge angle κr′ |
One relationship is worth memorising: γ = 90° − (α + β). Get the major clearance α and the wedge angle β right with a template, and the rake γ is right by definition — no separate measurement needed. With nothing but a template gauge on the bench, that is your minimum viable acceptance check.
3. While we are here: which wheel grinds carbide turning tools
The same section gives a wheel table indexed by target surface finish — different from the usual table indexed by tool material. This one is specific to carbide turning tools:
| Wheel | Grit | Ra achievable |
|---|---|---|
| GC roughing | 46#–60# | 0.8–1.6μm |
| GC finishing | 60#–120# | 0.1–0.4μm |
| Resin diamond roughing | 100/120–120/140 | 0.4–0.8μm |
| Resin diamond finishing | 170/200–200/230 | 0.2μm |
GC wheels at hardness H–K, structure 6–7, vitrified bond; diamond concentration 75–100 for roughing and 50–75 for finishing. These are single-source measured values — prove them on your own wheel and machine. For general wheel selection see Which Wheel Grinds Which Tool.
4. Reamer diameter: even and odd tooth counts differ
An even-fluted straight reamer is easy: a micrometer across the margins. On an odd-fluted or helical reamer the micrometer has nothing to sit on opposite, so use the comparison method: take a standard of similar size, measure its actual diameter, mount it between centres, rotate it and zero a dial indicator; swap in the reamer, sit the stylus in a flute, rotate so the flank comes onto the stylus, and the reading as it reaches the margin is the difference in radius between the two.
5. Reamer rake and clearance: two methods, two formulas
Multi-tooth protractor: set the block and the fence on two adjacent teeth with the blade perpendicular to the reamer axis, swing the sector vernier until the blade's measuring face sits fully against the rake face, then read against the graduation for that tooth count. For clearance, bring the block's working face onto the flank and read the same way.
The height gauge method needs arithmetic but uses the commonest tool on the bench. Mount the reamer between centres, measure height A from the surface plate to the reamer centre, then bring the height gauge face flat against the rake face and read height B:
| To find | Heights needed | Formula |
|---|---|---|
| Rake γ | Centre A, rake face B | sinγ = 2(A−B)/D |
| Clearance α | Centre A, tooth top C | sinα = 2(C−A)/D |
D is the reamer diameter. Helical-fluted reamers need one more step: what those formulas give is the rake in the end plane, γ1. The normal rake perpendicular to the helical edge converts as tanγn = tanγ1·cosω, where ω is the tooth helix angle. Skip that step and you end up comparing an end-plane figure against a drawing that specifies normal rake — they will never agree.
6. Last check: radial runout
Mount the reamer between the centres of a measuring stand and bring a dial indicator onto the back of a tooth in the sizing section. Rotate slowly from the tooth back towards the edge and the runout across all teeth in one revolution comes out. Inspect at the same time for burrs, burning, cracks, turned-over edges and chipping, plus the finish on both rake and flank faces — by eye or against a roughness comparison specimen.
For the grinding itself, see Regrinding Reamers and Regrinding a Broach.
7. Frequently Asked Questions (FAQ)
Q: With only a template gauge, how far can I get?
To the major clearance and the wedge angle — and through γ = 90° − (α + β), the rake is verified as well. Three of the most important angles are covered by one template. What it cannot reach are the lead angle, the end cutting edge angle and the edge inclination, which need an angle table or a bevel protractor; but regrinding does not normally disturb those three.
Q: Does a reamer need lapping after grinding?
If you want the bore quality, yes. The method is a lapping sleeve: an ordinary lathe drives the reamer in reverse at 45–80 rpm, with a cast-iron sleeve carrying a paste of abrasive powder mixed with kerosene, worked back and forth by hand. Sleeve wall 0.5–0.8mm, slot width 0.8–1.0mm at a 10° angle, length 1.5× the reamer's working length; on each stroke the sleeve should not overhang the working portion by more than a third of its own length.
Q: The margin width varies tooth to tooth — what does that mean?
It means there is taper. This is an in-process check: look at the margin after finishing each tooth's flank, and adjust the table the moment it stops matching rather than waiting until every tooth is done. It is one of the few items that is checked while grinding rather than afterwards.
Q: Why do reamers pick up form error so easily?
Usually the centres. Too tight and the reamer will not turn freely — a small-diameter one will bow. Too loose and it creeps axially, which enlarges form error. Next is the tooth rest: keep it as close to the edge as possible and keep the tooth against its tip throughout. Then feed evenly — a wheel that dwells in one place burns the tooth and leaves a hollow.
This article is part of Tool Regrinding: The Complete Guide — Decide Whether to Grind, Then Look Up How, With What, and How to Check; that guide shows how the whole topic fits together.
Published: 2026-08-18|Last updated: 2026-08-18









