
Oversize or Worn Reamers: Lapping, Peening and Scrape-Expansion Repair
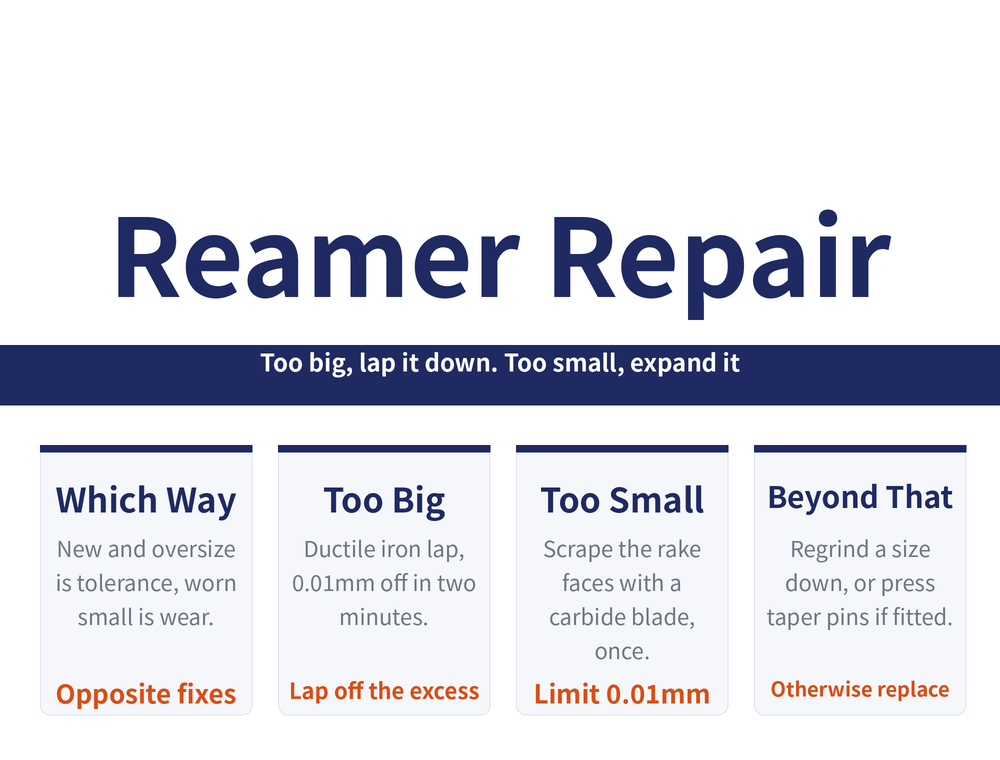
A reamer goes out of use in two opposite directions: a new one cuts oversize, or a used one starts cutting undersize. The fixes are opposite too — the first has to be lapped smaller, the second has to be expanded larger. This guide covers four shop repairs, their operating limits and failure signs, and when to simply scrap the tool.
1. First split it: hole too big or too small
| Symptom | Actual cause | The fix |
|---|---|---|
| A new reamer cuts oversize | The reamer diameter is over the limit | Lap it down (section 2) |
| Holes shrink after a run | Sizing portion worn on diameter | Peening or scrape expansion (section 3) |
| Rough hole, chatter or tear marks | Cutting edge or edge line worn | Stone the back of the edge (section 4) |
| Carbide reamer at its wear limit | Brazed tips worn out | Taper pin expansion, if the holes exist (section 5) |
For what reaming is expected to deliver in the hole-making route, see How to Improve Hole Accuracy; for why a reamed hole never comes out at the reamer size and how to set the allowance, see Why a Reamed Hole Is Never the Reamer Size: Expansion, Shrinkage and the Allowance Squeeze.
2. Hole too big: lap the reamer down
New reamers are often oversize by design, and against a negative tolerance band that scraps parts directly. Ream a test hole; if it is over, measure the reamer's actual diameter D = D1 + Δd (D1 the upper limit, Δd the excess) and use that test hole as the lap.
Method: turn the reamer clockwise while moving it axially in the lap, shifting the lap's position as you go. About 0.01mm comes off in two minutes; measure often, and the total taken off equals Δd.
| Item | Specification |
|---|---|
| Lap material | Ductile iron preferred, plain carbon steel acceptable |
| Lap bore | Finish no worse than Ra1.6μm; 0.01~0.03mm larger than the reamer; depth 1~1.5 times the effective edge length |
| Compound (HSS) | Aluminium oxide or chromium oxide, grit W14 |
| Compound (carbide) | Silicon carbide, grit W14 |
| Vehicle | Two parts machine oil to one part kerosene, mixed with the powder to a paste |
Keep everything clean and wash the tool thoroughly before it goes back on the machine. Slot drills are lapped the same way.
3. Hole too small: expand the reamer
The principle uses the work-hardening character of a carbide blade to scrape the rake faces of the reamer teeth, so the surface layer deforms plastically and the tool grows radially by a small amount, offsetting the wear.
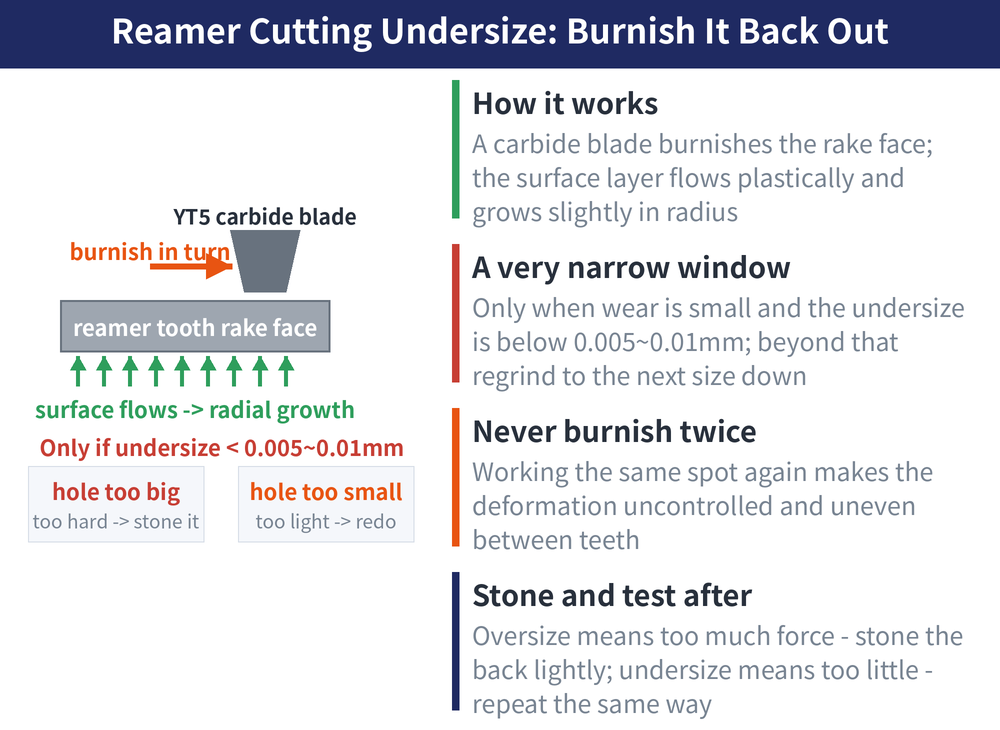
The window is narrow: only when wear is slight and the tool sits less than 0.005~0.01mm under the lower limit. Measure first and set the repair amount, lay the reamer's edges on the bench or hold it by the shank, and scrape tooth by tooth along the rake faces with a YT5 carbide flat blade; mounting it in a dividing-head chuck and indexing tooth by tooth is steadier. Keep the pressure even and equal on every tooth, and never scrape the same tooth twice. Stone the backs, ream a test hole, and only then release it to production.
| Test hole | What it means | Response |
|---|---|---|
| Oversize | Too much pressure | Stone the backs of the edges lightly, which also helps the finish |
| Undersize | Too little pressure | Scrape again by the same method |
When wear runs far past the lower limit, expansion will not bring it back and the answer is to regrind a size down. The example takes a φ16H7 reamer worn to φ15.96mm and regrinds it to φ14H7, saving both tool cost and hours.
4. Repairing worn cutting edges
The first place to wear is the junction between the cutting and sizing portions — highest load, highest heat. Once it goes, the reamer stops cutting and starts burnishing.
| Case | Method and cost |
|---|---|
| Light: by hand | Stone the worn area smooth, enlarging the transition radius, narrowing the land and adding 1°~2° of clearance |
| Hand technique | Index tooth by tooth with equal pressure and equal strokes, working square to the cutting edge |
| Heavy: tool grinder | The junction ends up sharp, so any vibration leaves chatter and lobing, and cutting force concentrates |
| Mandatory follow-up | Stone that sharp corner back to a small radius; the symptoms are worst in aluminium and magnesium |
| Burrs, nicks, built-up edge | Stone lightly along the flute with a triangular stone, grade S, F180 white aluminium oxide |
| Stoning direction | Tilt the stone 5°~10° outward and cut on the forward stroke only |
Where the land is badly nicked, switch to stoning the back of the edge square to it — but do not widen the stoned area, or the diameter shrinks and a finish problem turns into a size problem.
5. Taper pin expansion for carbide reamers
Solid and shell reamers with brazed carbide tips are made near the top of the size band to buy life, but they still reach the limit. The method drills a taper pin hole in the body under each tip, fits a 1:50 taper pin and machines every pin's protrusion to the same length. When the tool wears, the pins are pressed in: each 1mm of press-in expands the tip 0.01mm radially.
| Reamer diameter | Pin diameter | Maximum expansion |
|---|---|---|
| φ45~φ60 | φ4 | 0.03~0.04mm |
| φ65~φ90 | φ5~φ6 | 0.03~0.05mm |
| φ100~φ150 | φ6~φ8 | 0.05~0.07mm |
Two limits: it only works on reamers built with the pin holes from new — an ordinary used reamer cannot be converted afterwards; and expansion must stay inside the tip's elastic range or the exercise is pointless. A 1:50 taper is a ratio of diameter change to length, which is a 1:100 slope on each side; that is why each 1mm of press-in moves the tip 0.01mm radially, so the two figures agree. Verify before working outside the table.
6. Frequently Asked Questions (FAQ)
Q: A brand new reamer cuts oversize — is it a bad tool?
Not necessarily. New reamers are commonly made near the top of the tolerance, which goes oversize against a negative band. Measure the actual diameter and lap off exactly the excess: about 0.01mm in two minutes, measuring as you go.
Q: Why can the scraping not be repeated?
It works by plastic deformation of the rake face surface layer, and scraping the same spot twice makes the amount uncontrollable and uneven between teeth, so the diameter becomes harder to hold. Do it once, evenly, then correct by pressure if the test hole is out.
Q: When should the reamer simply be replaced?
When wear runs far past the lower limit and expansion cannot recover it, first check whether a size down still has a use; if the size is fixed, replace. A carbide reamer without pre-drilled pin holes cannot use the expansion method at all.
Q: Can a tool-ground reamer go straight back to work?
No. The grinder leaves the junction between the cutting and sizing portions as a sharp corner, which chatters and lobes on the slightest vibration and concentrates cutting force. Stone that corner to a small radius first.
This article is part of Tool Regrinding: The Complete Guide — Decide Whether to Grind, Then Look Up How, With What, and How to Check; that guide shows how the whole topic fits together.
Published: 2026-08-18|Last updated: 2026-10-22









