
Choosing a Finishing Toolpath: Parallel, Radial, Spiral, Z-Level — by Surface Shape
The same surface can be finished with several toolpath patterns — parallel, radial, spiral, Z-level and more. Choosing right or wrong shows up in the finish and the cycle time. This guide picks the pattern by surface shape: flat, steep, or a body of revolution.
1. Pick the Pattern First — Then Stepover Matters
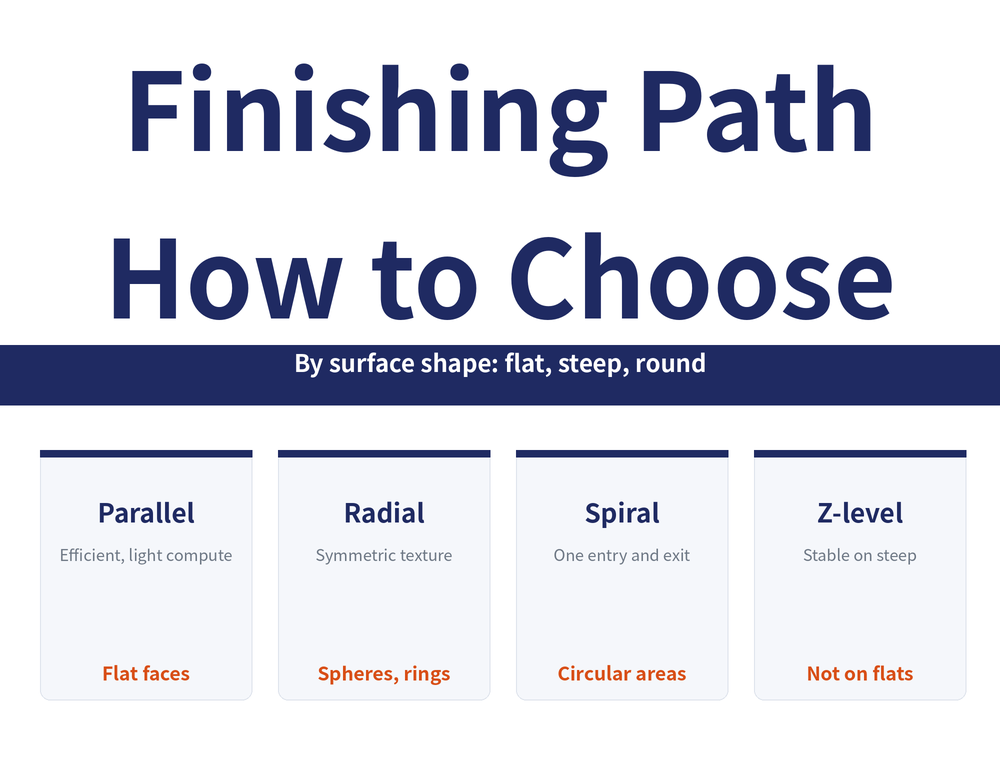
To finish a surface, the first step is not tweaking the stepover — it is picking the right pattern. The pattern follows the surface shape: flat, steep, or circular. Choose the wrong pattern and no stepover setting can rescue it, because the problem is the direction the path runs, not its density. So the order is: read the shape, pick the pattern, then set the stepover.
2. Pick the Pattern by Shape
| Pattern | Best surface | Watch out |
|---|---|---|
| Parallel | Mostly flat, non-revolution | Efficient, light compute; steep faces along the path go rough |
| Radial | Spheres, rings, symmetric | Nice symmetric texture; crowds at the centre, longer time |
| Spiral | Circular, flatter areas | One entry/exit, more efficient than radial; poor on steep faces |
| Z-level | Steep faces | Stable on steep faces; stepover too wide on shallow flats |
| 3D spiral | Surfaces with mixed slopes | Few retracts, continuous and smooth, even on flat and steep |
3. Match Flat to Flat, Steep to Steep
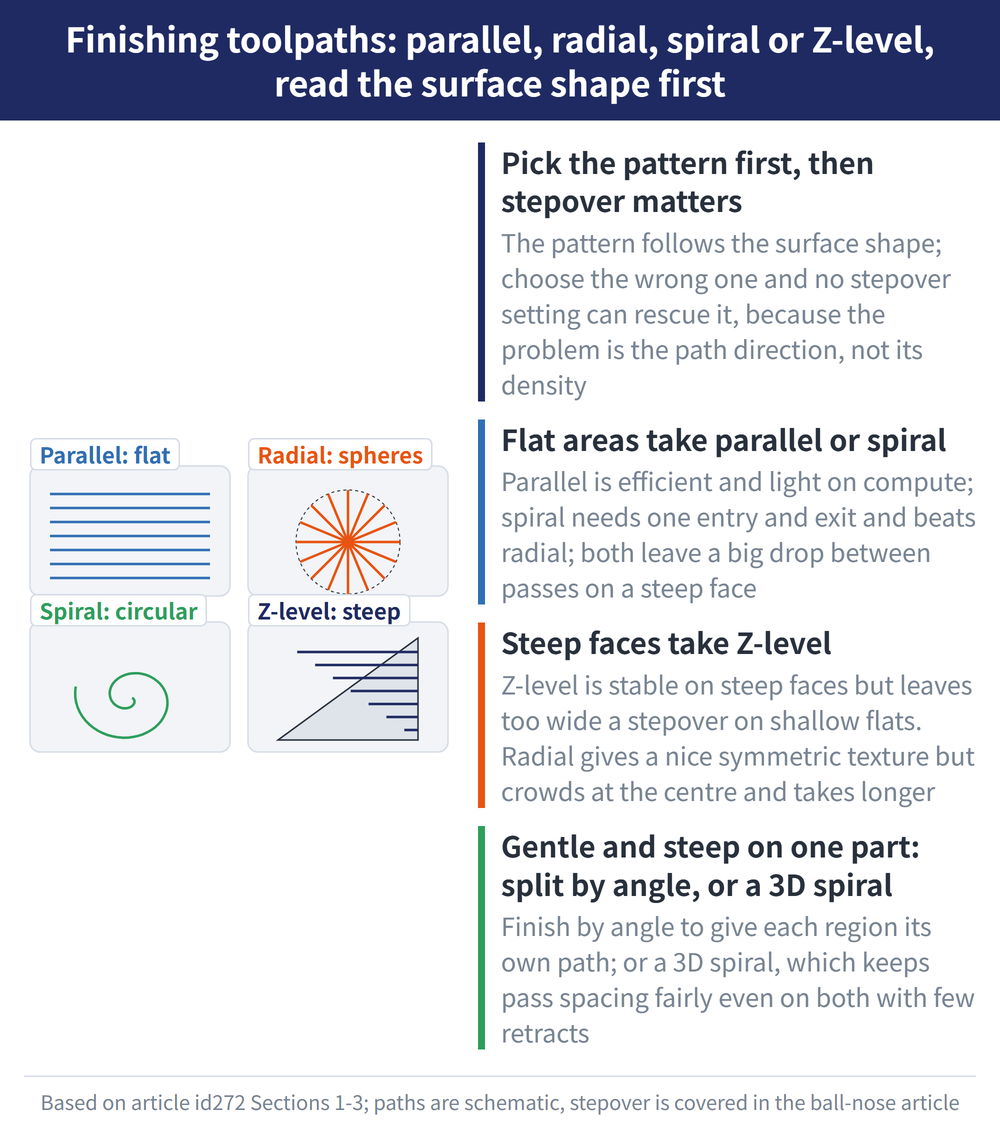
Hold one rule: use parallel or spiral on gentle, flat areas, and Z-level on steep, near-vertical areas. Parallel and spiral leave a big drop between passes on a steep face and go rough; Z-level leaves too wide a stepover on a shallow face and leaves ridges.
If one part has both gentle and steep areas, two options: use "finish by angle" to split flat and steep regions in one program, each with its own path; or use a 3D spiral, which keeps the pass spacing fairly even on both — the easiest choice for many shapes.
4. Pattern Chosen — Now Set the Stepover
With the pattern fixed, the stepover comes next. How to set it — a bigger ball or a smaller stepover — is a separate decision, covered in ball-nose stepover and scallop height. Remember the order of these two steps: pick the pattern (here), then set the stepover — reverse it and you are tuning density on the wrong path direction.
5. Frequently Asked Questions (FAQ)
Q: How do I choose a finishing toolpath pattern?
By surface shape. Mostly flat, non-revolution: parallel. Spheres and rings: radial. Circular, flatter areas: spiral. Steep faces: Z-level. Surfaces with mixed slopes: 3D spiral.
Q: Do flat and steep faces need different patterns?
Yes. Use parallel or spiral on gentle, flat areas and Z-level on steep, near-vertical ones. Parallel and spiral leave big drops on steep faces (rough); Z-level leaves too wide a stepover on flats (ridges).
Q: What if one part has both gentle and steep areas?
Two options: use "finish by angle" to split flat and steep regions in one program, each with its own path; or use a 3D spiral, which keeps pass spacing fairly even on both and is the easiest choice for many shapes.
Q: Pattern first or stepover first?
Pattern first. The pattern follows the surface shape, and a wrong choice can't be fixed by stepover because the issue is path direction, not density. Fix the pattern, then set the stepover.
This article is part of Milling Toolpaths: The Complete Guide - Roughing Strategy, Where to Plunge, and Choosing a Finishing Pattern; that guide shows how the whole topic fits together.
Published: 2026-08-12 | Last updated: 2026-08-12









