
Thread Rejected? How to Measure Internal Thread Pitch Diameter, Pitch and Flank Angle
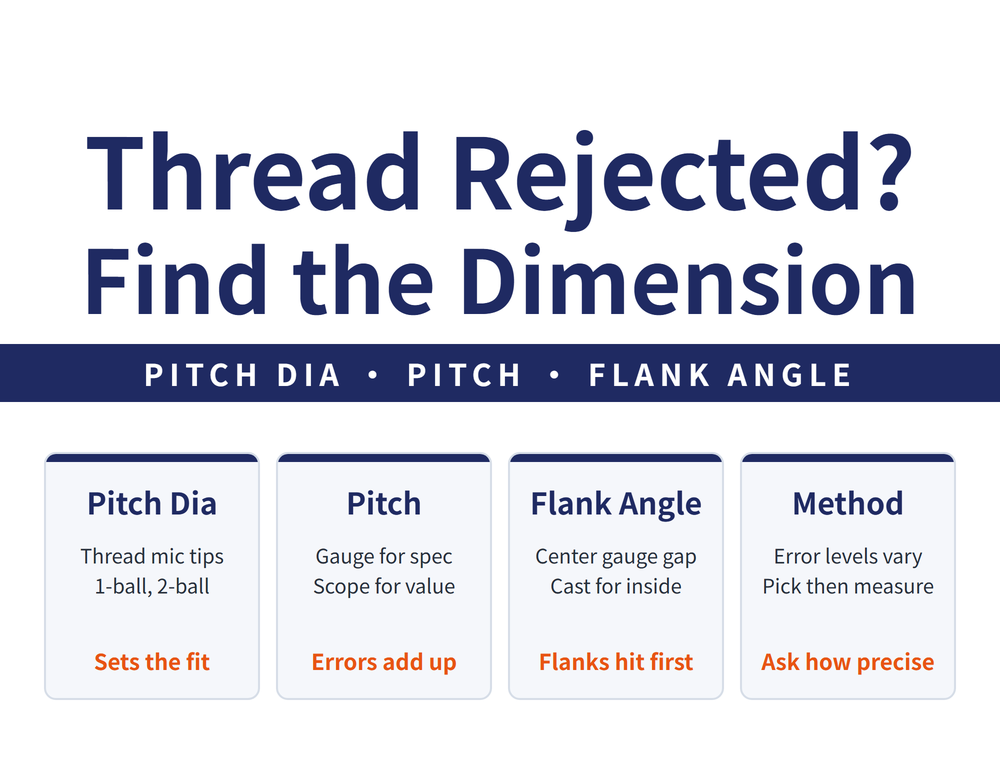
When a thread gauge rejects a part, first find out whether pitch diameter, pitch or flank angle is wrong. Measure internal pitch diameter with an internal thread micrometer and the right tips, or by the single-ball or two-ball method; identify pitch with a thread pitch gauge and measure it on a toolmaker's microscope; check flank angle with a center gauge, and cast a replica for internal threads. Errors between methods can differ by tens of times, so decide how precise you need to be before choosing the tool.
1. Gauge Rejected: First Find Which Dimension
GO and NO-GO gauges only say pass or fail; they do not tell you what is wrong. How to read them: Metric Thread Gauge Guide: GO/NO GO & External/Internal Tolerance.
🔴 A GO gauge that will not enter does not always mean the pitch diameter is too small. When pitch or flank angle is off, the flanks touch the gauge first and it looks exactly the same. To locate the problem you have to measure actual values, and each dimension has its own tool:
| What to measure | Tool |
|---|---|
| Internal pitch diameter, major diameter | Internal thread micrometer (change tips) |
| Pitch | Thread pitch gauge |
| Thread profile (incl. flank angle) | Profile projector, toolmaker's microscope |
| Difference from a master | Thread comparator |
| Pass or fail | Thread plug and ring gauges |
A toolmaker's microscope magnifies the thread form and reads lengths and angles with reticle lines. Internal thread tolerance classes (6H, 7H): Tap Thread Tolerance Guide: P-Class, 6H/7H & Gauges.
2. How to Measure Internal Pitch Diameter
Pitch diameter sets how tight or loose the thread fits, and it is the main thing a gauge judges. Four common methods for internal threads:
| Method | How | Watch out |
|---|---|---|
| Internal thread micrometer | Fit the pitch-diameter tips and measure directly; covers internal threads with pitch diameters of 76–600 mm, or 20 mm and up with ball-tipped probes | 🔴 Tips are marked for a pitch range; wrong tips, wrong reading |
| Single-ball | Measure minor diameter, set a ball in the groove, measure ball top to crest | Suits larger trapezoidal threads with smooth flanks |
| Two-ball | Two balls with profiled setting blocks, compared on precision length equipment | More accurate; often used for ring gauges |
| CMM | Two-ball probe touches one groove, then the opposite one | Calibrate probe size on a dedicated ring fixture first |
Single-ball: D2 = D1 − 2h + d0(1 + 1/sin(α/2)) − P/(2tan(α/2))
For 60° metric threads: D2 = D1 − 2h + 3d0 − 0.866P
D1 minor diameter, h height difference, d0 ball diameter, α thread angle, P pitch
For the two-ball method the ball size is d0 = P/(2cos(α/2)), about 0.577P for 60° threads, the same formula as the best wire size in the three-wire method. External pitch diameter: Three-Wire Measurement of Thread Pitch Diameter: Formulas, Best Wire Size and Odd-Flute Taps.
3. How to Measure Pitch
Use a thread pitch gauge to identify the spec: try leaves in the groove until one sits flush. It only identifies the spec and is not precise. 🔴 Inch gauges are marked in threads per inch (a bigger number means a finer thread); metric gauges in pitch mm (a bigger number means a coarser thread). The two run in opposite directions, which is the easiest mix-up.
| Method | How | For |
|---|---|---|
| Pitch gauge | Fit into the groove and check it sits flush | Identifying the spec |
| Shadow image | Microscope reticle on left and right flanks, average the two | External threads |
| Axial section | Measuring knife on the flank, read as above | External threads, smaller error than shadow image |
| Ball probe, one flank | Read with the ball on one flank, move to the next, the difference is pitch | Internal threads |
📌 Measuring both flanks and averaging cancels the error from a slightly tilted setup. A small pitch error per thread adds up over several threads until the gauge jams.
4. How to Measure Flank Angle
On the shop floor start with a center gauge: hold it on the thread against the light and look at the gap; an even gap means the angle is right. It depends on the eye and is only a rough check. For values use a toolmaker's microscope; how it works: Microscope Measurement: NA, Resolution & Depth of Field.
| Method | What it measures | For |
|---|---|---|
| Center gauge | Light gap or not (rough) | External threads |
| Shadow image | Normal half-angle | External threads |
| Axial section | Axial half-angle | External threads |
| Casting | A cast replica of the form | Internal threads |
🔴 The shadow image method gives the normal half-angle and the axial section method the axial half-angle. They are not the same quantity, so confirm which one you have before comparing data.
You cannot see an internal thread form, so cast it: clean the thread, apply a thin coat of oil, clamp both ends, pour in casting material and let it harden. The replica is a copy of the thread form and goes onto the microscope.
5. How Much the Methods Differ in Error
For the same dimension, switching method can change the error by tens of times. The table shows typical error levels for pitch diameters of 1–100 mm (the data do not specify internal or external threads); error grows with size, and the instrument's calibration certificate is what counts.
| Parameter | Method | Typical error |
|---|---|---|
| Pitch diameter | Thread micrometer | About 0.1 mm |
| Pitch diameter | Measuring wires (three-wire) | 1.4–3.8 µm |
| Pitch diameter | Microscope, shadow image | 8.5–14 µm |
| Pitch diameter | Microscope, axial section | 2.5–6.0 µm |
| Pitch | Microscope, shadow image | 3.0–6.0 µm |
| Pitch | Microscope, axial section | 1.5–4.0 µm |
| Pitch | Interference | 1.5–3.0 µm |
🔑 A thread micrometer is tens of times coarser than measuring wires, so it is only for quick checks on the floor; threads with µm-level tolerances need wires or a microscope. Ask how precise the dimension must be, then pick the tool. Gauges themselves also need regular calibration: Calibrating Thread Gauges: Temperature Soak, Two-Point Pitch Diameter and the Runout Check Gauge.
6. Frequently Asked Questions (FAQ)
Q: If the GO gauge will not enter, is the pitch diameter always too small?
No. When pitch or flank angle is off, the flanks touch the gauge first and it looks the same; measure pitch diameter, pitch and flank angle separately to find which one it is.
Q: What can measure internal pitch diameter?
On the floor, an internal thread micrometer with pitch-diameter tips matched to the pitch; for more accuracy, the single-ball or two-ball method, or a CMM with a two-ball probe.
Q: Can a thread pitch gauge give an exact pitch value?
No. It only identifies which spec the thread is and is not precise; for values use a toolmaker's microscope, or for internal threads a ball probe reading adjacent flanks.
Q: How do you measure the flank angle of an internal thread?
Cast a replica: apply thin oil, clamp both ends, pour in casting material, take the hardened replica out and measure the half-angles on a toolmaker's microscope.
Published: 2026-10-21 | Last updated: 2026-10-22









