
Shoulder Turning: Corner Types, the Reversed Rough and Finish Sequence, and Finish Allowance
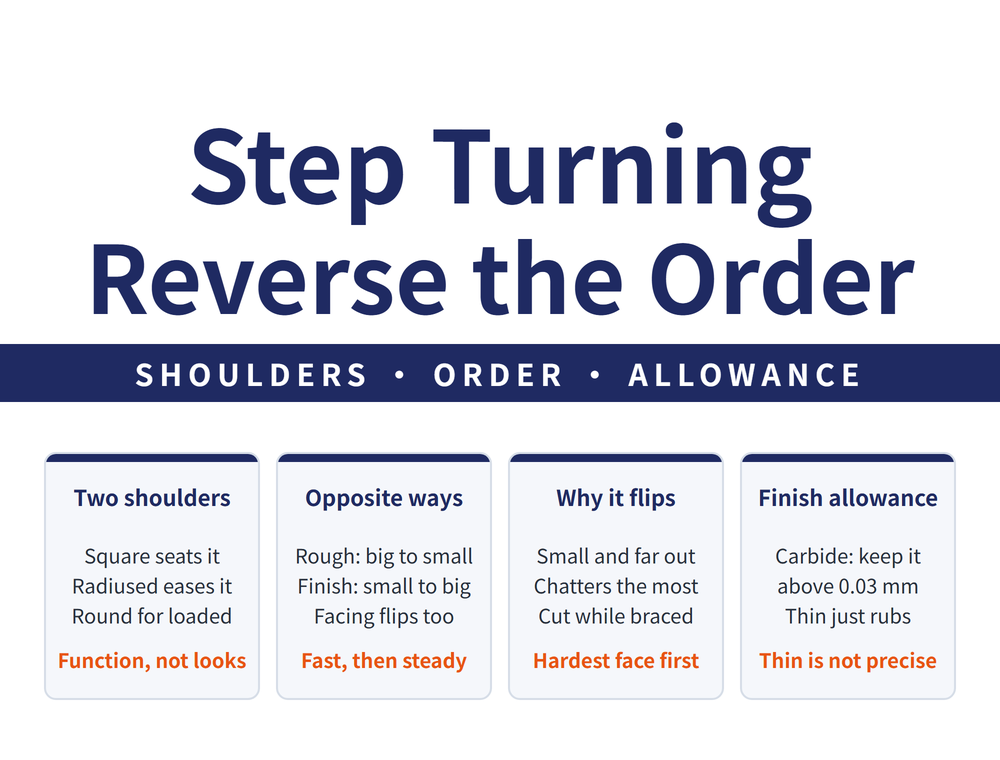
The easiest thing to get backwards on a stepped shaft is the order: roughing runs from the largest diameter down, finishing runs from the smallest diameter up. This article covers the two shoulder forms, why the sequence reverses, the minimum finish allowance for a carbide tool, and two ordering rules that must not be swapped.
1. What a step is, and the two shoulder forms
A step is simply two different diameters meeting on one part. In turning terms it is an application of face and outside diameter work — no new technique, but the order matters.
Where the two diameters meet is the shoulder, and it comes in two forms:
| Form | Characteristic |
|---|---|
| Square shoulder | Mating parts can seat right against the shoulder face |
| Filleted shoulder | A radius eases the corner, so a heavily loaded or hardened shaft does not crack there |
📌 The choice is structural, not cosmetic. Use a square shoulder when something has to locate against the face; leave a radius when the shaft carries bending load or goes for hardening, because a sharp corner becomes the crack starter.
2. Turning a single shoulder
| Step | What is done |
|---|---|
| 1 | Clamp and centre the work, then clamp and centre the tool |
| 2 | Rough the end face (outwards to inwards), then rough the diameter |
| 3 | Zero the tool on the face and mark the shoulder position using the handwheel dial |
| 4 | Zero on the diameter and feed in about 3 mm (a φ6 mm reduction) |
| 5 | Rough right to left up to the mark, measure, and roughing is done |
| 6 | Finish the face (inwards to outwards), then the diameter and shoulder, measure and deburr |
⚠ The face alone already reverses direction — outwards to inwards when roughing, inwards to outwards when finishing. That is the next section in miniature.
3. The core rule: roughing and finishing run opposite ways
| Stage | Direction | What is being controlled |
|---|---|---|
| Roughing | Largest diameter to smallest | Step length and diameter together |
| Finishing | Smallest diameter to largest | The end face is the datum, so starting at the step nearest the face keeps step lengths easy to measure |
🔴 This is the one people remember backwards. The shorthand: roughing is for speed, finishing is for stability.
4. Why finishing reverses
Roughing is about clearing stock quickly, and starting at the largest section clears the most per pass.
Finishing is about holding accuracy, and the further a diameter sits from the chuck and the smaller it is, the more it chatters and the harder it is to cut. So finishing takes the difficult face first — the hardest section is machined while the neighbouring large diameters are still there and the part is at its stiffest.
🔑 The reversal is not convention. It puts the least stable cut at the moment the part is most stable.
⚠ When the finishing pass reaches the shoulder, retract the tool at 45 degrees to the centre line so it does not mark the step face that was just finished.
5. Roughing data
| Item | Typical value |
|---|---|
| Depth of cut | 3–6 mm |
| Feed rate | 0.3–0.5 mm/rev |
| Spindle speed | about 550 rpm |
| Feed method | Power feed recommended |
⚠ Treat these as typical ranges. Actual values move with material, tool and machine rigidity, so work from the tool catalogue or the relevant standard. For material-specific conditions, see P Steel Machining Guide: Carbon, Alloy & Mold Steel.
6. Four points on the finishing pass
| # | Point |
|---|---|
| 1 | The first cut should clear the scale on the workpiece as completely as possible |
| 2 | Avoid a finish allowance below 0.03 mm with a carbide tool, or size, surface finish and roughness all become hard to control |
| 3 | Check whether the drawing calls for a chamfer; deburr with the tool even when none is specified |
| 4 | Retract at 45 degrees when the pass reaches the shoulder (section 4) |
🔴 Point 2 is the counter-intuitive one. A thinner allowance is not more precise; it leaves the edge rubbing the surface instead of cutting it, and size and finish get harder to hold. Whether the edge can cut at all depends on its condition — see How to Regrind a Turning Tool: Six Steps for HSS, Seven for Carbide, and the Brazed-Tool Sequence.
7. Two ordering rules that must not be swapped
| Rule | Order | What it sorts by |
|---|---|---|
| Shoulder roughing | Face before diameter; larger diameter before smaller | Diameter size only |
| Shoulder finishing | Face before step face; step face before diameter; smaller diameter before larger | Type of surface, then diameter size |
⚠ These are two different orderings and one cannot be used for both stages. Roughing sorts on one key: face first, then large to small. Finishing sorts on surface type first, and only then on diameter — with the diameter running the other way.
📌 In one line: roughing sorts diameters; finishing sorts surfaces, then diameters. When the same part also carries an eccentric section, plan them together — see Eccentric Turning: Two Workholding Methods and Three Ways to Check the Offset.
8. Frequently Asked Questions (FAQ)
Q: Square shoulder or filleted shoulder?
It depends on what the shoulder has to do. A square shoulder earns its place in assembly, because a mating part can seat right against the face and locate on it. A filleted shoulder leaves an eased radius so a heavily loaded or hardened shaft does not crack at the corner. The deciding question is whether the shaft carries bending load or goes for heat treatment, not how it looks.
Q: Why does roughing go large to small and finishing the other way?
The two stages want different things. Roughing clears stock, and starting at the largest section is the fastest way to do it. Finishing holds accuracy, and a diameter that is small and far from the chuck chatters most, so the difficult face is taken first, while the neighbouring large diameters are still there to stiffen the part. Finishing also works from the end face as datum, so starting at the step nearest that face keeps step lengths easy to measure.
Q: Is a 0.01 mm finish allowance more accurate than 0.03 mm?
No, it runs the other way. A carbide tool should avoid a finish allowance below 0.03 mm, because below that, size, surface finish and roughness all become harder to control — the edge ends up rubbing the surface rather than cutting it. Leaving enough material for the edge to engage properly gives the more stable result.
Q: What needs care when the finishing pass reaches the shoulder?
The retract angle. Pull the tool away at 45 degrees to the centre line, or it will mark the step face that was just finished. The order matters here too: finishing goes face, then step face, then diameter, taking smaller diameters before larger ones — which is not the same rule as roughing, where only diameter size is sorted.
For setting the datum and sequencing the whole part, see Manufacturing Process: The Complete Guide - Set the Datum First, Then Sequence, Allowance and Dry Cutting.
For the full reading guide on this topic, see Turning: The Complete Guide.
Published: 2026-09-21 | Last updated: 2026-09-21









