
Turning: The Complete Guide - Know the Tool and Insert, Set Geometry and Conditions; Toolpaths and Threads Are Separate Lines
Turning splits into four layers: which tool and what conditions; how to turn a particular part and how to diagnose trouble; how the tool moves; and threads and regrinding. These 31 articles cover only the first two - from knowing turning tools and inserts, geometry and conditions, difficult materials, special parts and parting and grooving, through to diagnosis. Toolpaths, threads and regrinding each have their own guide.
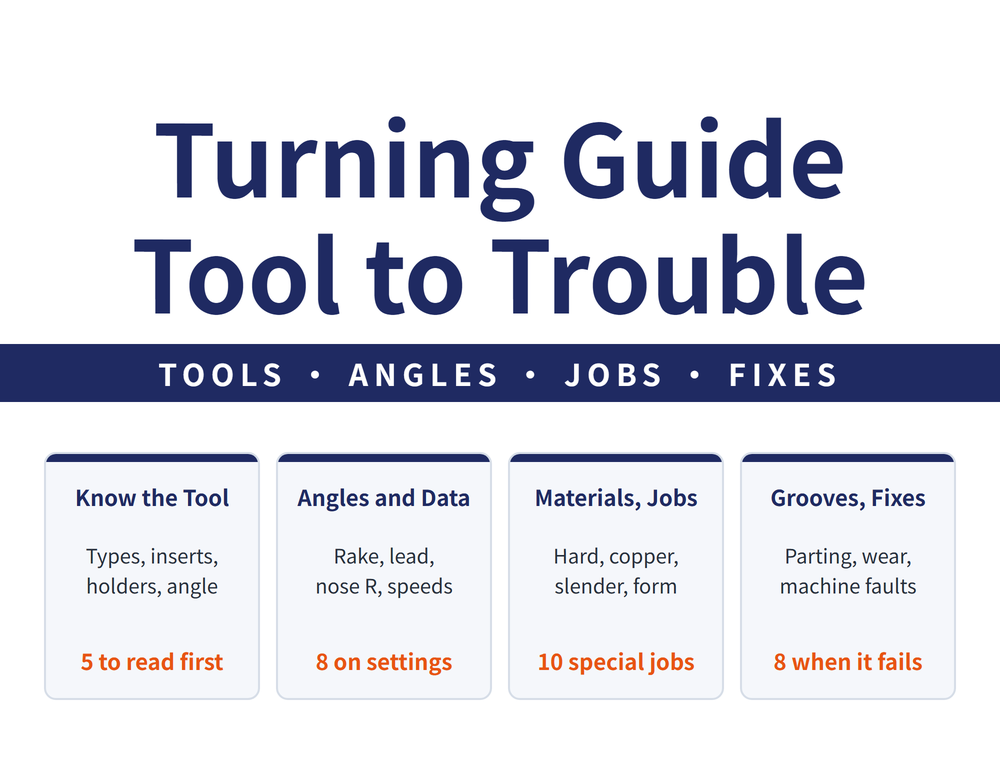
1. Four Layers, and This Line Covers Two of Them
The same turning problem can sit in the tool, in the toolpath, in the thread itself, or in a tool that needs regrinding. Each layer is judged differently, and looking in the wrong one finds nothing:
| What this layer asks | What it judges on | Where |
|---|---|---|
| Which tool, what conditions | Tool type, insert, angles, material | Sections 2-5 (17) |
| How to turn this part, what went wrong | Part shape, rigidity, symptoms | Sections 6-8 (14) |
| How the tool moves | Tool path, air time, stock | Another line |
| Threads and regrinding | Thread form and specs, grinding order | Two other lines |
The last two rows are deliberately left out: toolpaths are decided by whoever writes the program - see Turning Toolpaths: The Complete Guide; thread forms, tolerance classes and size tables are in Thread Machining: A Complete Reading Guide; how to grind a turning tool is in Tool Regrinding: The Complete Guide. This line covers choosing the tool, setting conditions, turning special parts and diagnosing trouble.
2. Know the Tool and Insert: Types, Designations and Holders
These five are the groundwork for reading a catalogue. Know which kind of turning tool you need first; only then do the codes on the insert and holder make sense.
| Article | When to read it |
|---|---|
| Types of Turning Tools | The entry point. Know which surface you are cutting |
| ISO Turning Insert Guide | When a code like CNMG120408 needs decoding |
| Turning Tool Holder Guide | When choosing a holder and its clamping |
| Insert Angle Guide | Torn between negative, 7° and 11° positive |
| Turning Tool Selection | Working from the part down to the grade |
The last one closes the section: selection has a fixed order - the part and conditions are the input, the insert grade is the final output. Get the order backwards and every later step is a patch.
3. Tool Geometry: Angles, Nose Radius and Edge
On the same insert, change the angles or nose radius and cutting force, finish and tool life all move. Each of these five covers one geometric element.
| Article | When to read it |
|---|---|
| Rake and Clearance Angles | Trading sharpness against edge strength |
| Lead Angle | Slender parts bend, or force must spread |
| Nose Radius | Poor finish, or the tip keeps chipping |
| Edge Preparation | The insert lists an edge prep - what it means |
| Wiper Inserts | More feed without losing finish |
One trade-off runs through this section: geometry that makes the tip stronger usually raises cutting force too. When the part lacks rigidity, look again at lead angle and nose radius first.
4. Setting and Calculating Conditions, and Breaking the Chip
Conditions are not one look-up table: speed governs tool life, feed governs finish, depth of cut governs machine load - read the three together.
| Article | When to read it |
|---|---|
| Turning Cutting Conditions Guide | Read this first. The three factors by material |
| Turning Machining Formulas | Calculating speed, power or cycle time |
| Turning Chip Control Guide | Chips wrap the part and will not break |
Take the insert maker's recommendation as the starting point and adjust for machine, workholding and coolant; this site does not publish a set of numbers to copy. For calculation across processes see Machining Calculation: A Complete Reading Guide; for chips in more depth see Chip Control: A Complete Reading Guide.
5. Difficult Materials: Hardened Steel, Copper and Brittle Materials
Change the material and the priorities for tool and conditions change with it. These four deal with materials that ordinary turning conditions do not fit.
| Article | When to read it |
|---|---|
| Hard Turning Guide | Turning hardened steel above HRC45 |
| How Much Hard Turning Saves | Working out whether to turn instead of grind |
| Turning Copper and Brittle Materials | Copper chips will not break, or brittle chips fly |
| Cryogenic Cooling vs Laser Assist | Hard-to-cut material that coolant cannot hold |
Read the first two together: hard turning is gated by machine rigidity and tooling, and whether it pays is settled by worked cases. The full route for each workpiece material is in Workpiece Materials: The Complete Guide.
6. Turning Particular Parts and Shapes
These six deal with parts whose shape is the problem: stepped, offset, formed by pressure, pushed into a bend, or with a profile cut in one plunge.
| Article | When to read it |
|---|---|
| Shoulder Turning | A shaft with several diameters |
| Eccentric Turning | Turning an offset and checking it |
| Knurling on a Lathe | Grip patterns that keep coming out messy |
| Turning Slender Shafts | A long shaft grows fat in the middle |
| Form Turning Tools | High volume, profile in one plunge |
| Tool Nose Radius Compensation | Tapers and arcs always come out slightly off |
Slender shafts and thin-walled parts are the same kind of problem: when the part lacks rigidity, even a good tool lets the size drift. Sequencing for thin-walled parts is in Turning Toolpaths: The Complete Guide.
7. Parting and Grooving
Parting and grooving are the least rigid part of turning: a narrow blade, overhang tied to groove depth, and chips that can only leave through the slot they cut.
| Article | When to read it |
|---|---|
| Selecting Parting and Grooving Tools | Read this first. Three methods and the order |
| Overhang, Blade and Insert Seating | Tools keep breaking, or overhang is a guess |
| How to Part Off | Trouble starts near the center |
| How to Machine Grooves | OD, circlip or face grooves |
| Parting and Grooving Troubleshooting | Wear, burrs, chips or vibration with no clear cause |
When something goes wrong, start with the last one: built-up edge calls for more speed, plastic deformation for less - opposite directions for what looks like the same wear.
8. Diagnosis: Tool, Conditions or Machine?
When turning goes wrong, find the direction from the symptom before touching anything - do not reach for a new insert first.
| Article | When to read it |
|---|---|
| Turning Troubleshooting Guide | Read this first. Symptoms routed to articles |
| Tool Wear Guide | The insert failed - which kind of wear? |
| Lathe Accuracy and Troubleshooting | A new tool did not help - suspect the lathe |
For chatter in more depth see Vibration and Chatter: A Complete Reading Guide; when the finish cannot be reached see Surface Finish: A Complete Reading Guide; for managing insert life as a system see Tool Life and Wear: A Complete Reading Guide.
9. Frequently Asked Questions (FAQ)
Q: Where should I start in these 31 articles?
It depends on the problem in front of you. Buying tools and the catalogue makes no sense: start with Types of Turning Tools in section 2; tools in hand and setting conditions: sections 3 and 4; hardened steel or copper: section 5; an awkward part shape: section 6; parting and grooving: section 7; already in trouble: section 8.
Q: Why are toolpaths and threads not part of this line?
Because the first decision and the criteria differ. Choosing a tool turns on tool type, insert and angles, usually settled by the shop floor and purchasing; the toolpath turns on tool path and air time, settled by whoever writes the program; threads have their own system of forms, tolerance classes and sizes. Each line has its own guide, and they point to each other.
Q: Positive or negative insert?
It depends on the cutting load. A negative insert has 0° clearance on the insert itself, gives a negative rake once seated in the holder, has a strong edge and can be used on both faces, which suits heavy cuts; a positive insert carries its own clearance and cuts with less force, which suits light cuts and finishing.
Q: Poor finish - change speed or feed first?
Feed first. The first thing that decides a turned finish is feed per revolution, not spindle speed; once feed is set, look at the nose radius, or switch to a wiper insert to raise feed at the same finish.
Published: 2026-10-20 | Last updated: 2026-10-20









