
How to Regrind a Turning Tool: Six Steps for HSS, Seven for Carbide, and the Brazed-Tool Sequence
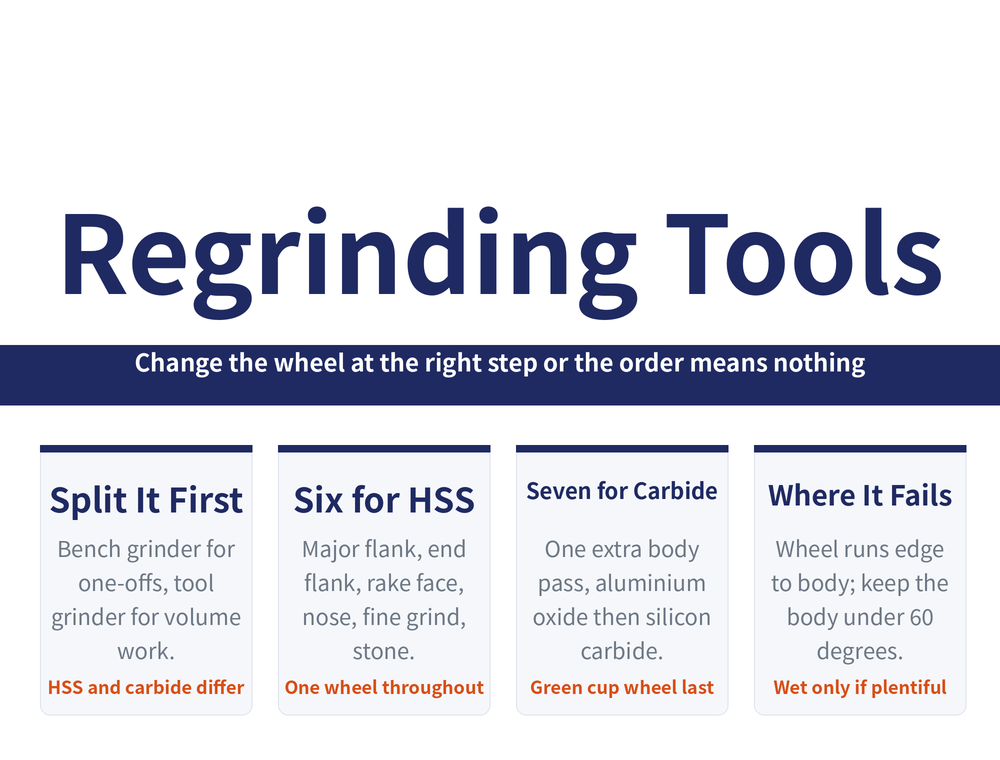
Regrinding a turning tool yourself only works if the order is right. This guide lays out the six steps for an HSS tool, the seven for a carbide one, where the two routes differ, and how a brazed OD turning tool actually moves across four grinders.
1. Split it first: which tool, and on what machine
One-offs and small batches are usually reground by hand on a bench grinder — quick, but the quality is hard to hold. Volume work goes to a dedicated tool grinder, which is the only way the angles come back accurate. Typical machines are tool-and-cutter grinders, universal tool grinders and electrolytic grinders; the abrasive is either a conventional wheel or a diamond wheel, and matching grain to workpiece is covered in Choosing an Abrasive.
Then split by tool material: grades are decoded in HSS Grades Decoded and Carbide Grades Decoded, and whether regrinding pays at all is covered in Is Tool Regrinding and Recoating Worth It.
2. Before you touch the wheel: four things about stance
| Do this | Why |
|---|---|
| Stand to the side of the grinder | A bursting wheel throws fragments forward |
| Hands well apart, elbows tight to the waist | Cuts down shake while grinding |
| Tool at wheel centre height, nose up 3°~8° | Then simply traverse left and right |
| Lift the nose away as you withdraw | Stops the finished edge being nicked on exit |
| Never press hard | The tool can slip and injure your hand |
3. HSS turning tools: six steps
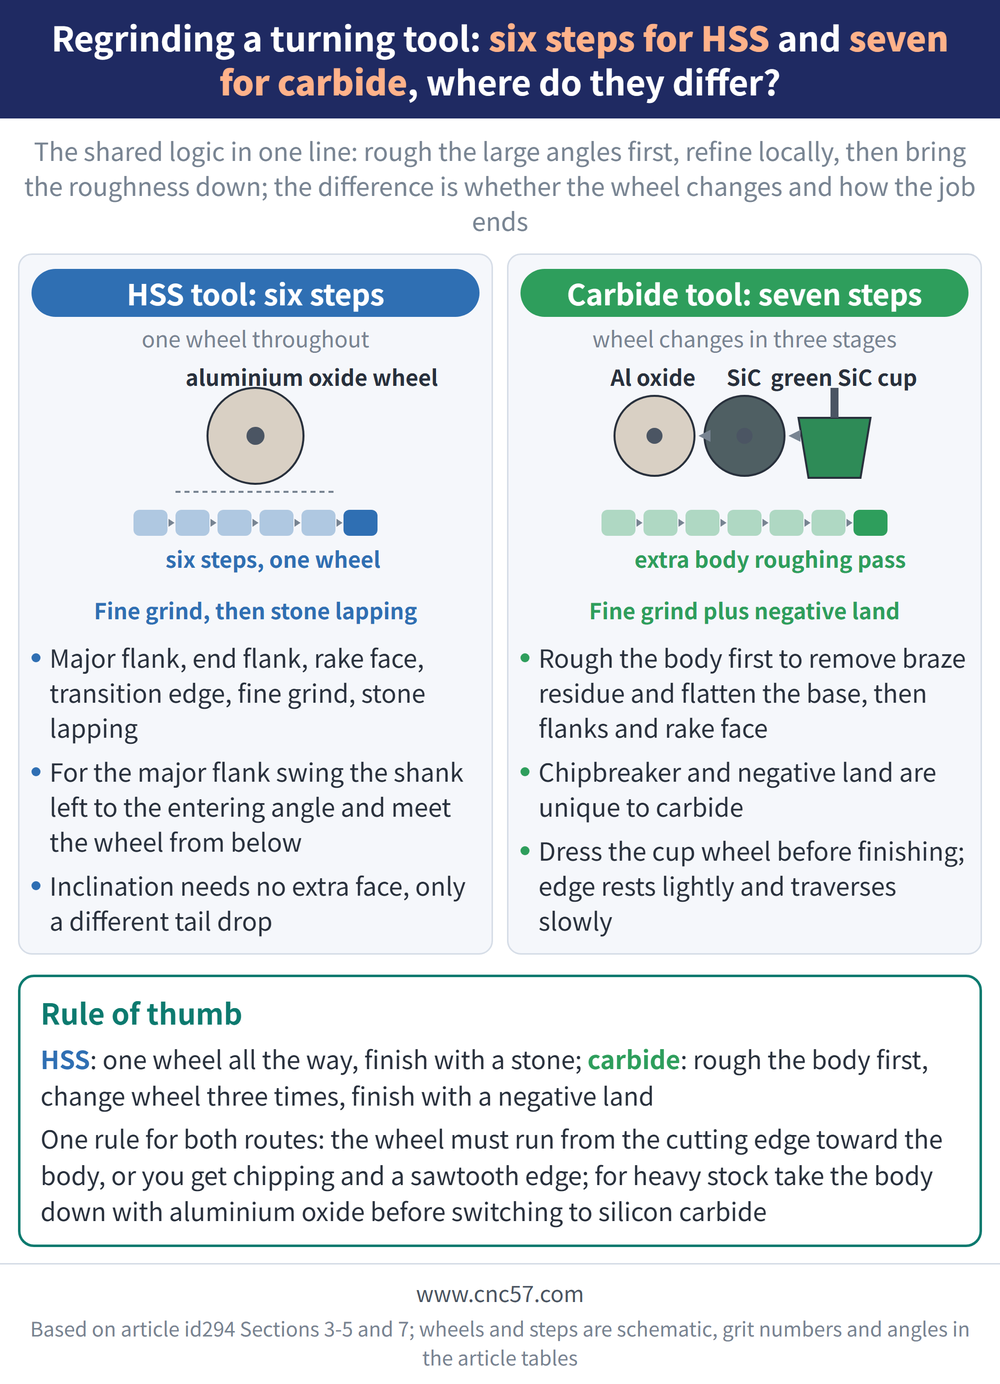
One wheel throughout: aluminium oxide, grit 24~36. Angle names are defined in Turning Tool Rake and Clearance Guide and Turning Tool Lead Angle Guide.
| Step | Produces | Key point |
|---|---|---|
| 1 Major flank | Entering angle, clearance | Swing the shank left to the entering angle; lift the head so the shank base sits at the clearance angle, then meet the wheel from below |
| 2 End flank | End cutting edge angle | Same as step 1, but the shank swings right |
| 3 Rake face | Rake, inclination | Drop the shank tail until the main edge is parallel to the base (inclination 0°), then tilt further along the edge for rake |
| 4 Transition edge | Nose radius | Clearance at the transition edge must agree with the tool clearance |
| 5 Fine grind | Shape and angle correction | Move to a finer, harder wheel and dress every face |
| 6 Lapping | Burr removal, longer life | A flat aluminium oxide stone, lightly, on flank and transition edge |
Reading the sign of the inclination angle: the nose at the highest point of the main edge means negative, at the lowest point means positive. You change how far the shank tail drops — no separate face is ground.
4. Carbide turning tools: seven steps
Taking a 90° entering angle tool for steel as the example. The real difference from HSS is that the abrasive changes as you go.
| Step | Wheel | Key point and angle |
|---|---|---|
| 1 Rough the body | Aluminium oxide 24~36 | Grind off braze residue, flatten the base, then tilt 2°~3° more than the clearance to rough the secondary clearance |
| 2 Rough the major flank | Silicon carbide 36#~60# | Shank parallel to the wheel axis, base tilted 2°~3° beyond clearance; gives entering angle 90°, clearance 4° |
| 3 Rough the end flank | As above | Swing the shank tail right by the 8° end cutting edge angle and grind to the nose; end clearance 4° |
| 4 Rough the rake face | Wheel face | Rake angle 12°~15° |
| 5 Grind the chipbreaker | Wheel dressed to the groove form | Groove form and back angle in the geometry article |
| 6 Finish both flanks | Green silicon carbide cup, 180/220 | Dress the wheel first for smooth running; base on an angled rest, edge lightly on the face, traverse slowly |
| 7 Grind the land | Fine stone | Width and method in the geometry article |
5. Where the two routes differ
| Item | HSS | Carbide |
|---|---|---|
| Steps | 6 | 7 — one extra body roughing pass |
| Abrasive | Aluminium oxide throughout | Aluminium oxide, then silicon carbide, then green cup wheel |
| Finish | Fine grind plus stone lapping | Fine grind plus land; no separate lapping step |
| Unique work | None | Chipbreaker and negative land |
The shared logic is one sentence: rough the big angles first, dress the local features next, drop the surface roughness last. What else the geometry can become is covered in What Else You Can Grind Into a Turning Tool.
6. Brazed OD turning tools: four grinders in sequence
| Machine | What it does |
|---|---|
| G1, HSS roughing | Rough the shank-side cutting section to a tip geometry angle of 2°~3°, saving time at the next station |
| Y1 roughing, Y2 semi-finish | Grind the geometry of the tip itself |
| Y3 | A second pass over the same tip geometry |
| Y3 or by hand | Transition edge, nose radius and negative land, or a fine silicon carbide stone by hand |
Stating the gap honestly: this section gives only the 2°~3° at the first step. Later steps say "grind the geometry" without degrees, and no post-grinding inspection routine is listed. Nothing has been invented to fill that in; for the angle standards themselves, go back to Turning Tool Rake and Clearance Guide.
7. Temperature is what actually ruins the tool
| Item | What to do |
|---|---|
| Wheel condition | No vibration or axial float; dress it in time to keep the grain sharp |
| Direction | Must run from the cutting edge toward the body, or you get chipping and a sawtooth edge |
| Heavy stock removal | Two stages: aluminium oxide to take the body down, silicon carbide to finish |
| Crack control | Modest depth per pass; wet if coolant is plentiful, dry if it is not; alternate tools in batches, body under 60℃ |
Two other routes exist: lapping follows the wheel and runs the opposite way round (body toward the cutting edge), and electrolytic grinding is widely used on carbide because it avoids grinding cracks. Whether the edge should then be honed is covered in Turning Tool Edge Preparation Guide, and how worn is too worn in Tool Wear Guide.
8. Frequently Asked Questions (FAQ)
Q: Can I grind an HSS tool on the wheel I use for carbide?
Not advisable. HSS runs on aluminium oxide throughout; only carbide moves to the silicon carbide family. The wrong abrasive is not just slow, it tends to leave cracks in the edge.
Q: Why does a carbide tool need the body roughed first?
The body carries braze residue and the base is rarely flat. Taking that off with aluminium oxide and forming the secondary clearance means the silicon carbide wheel only has to dress the cutting section.
Q: Which way should the wheel turn?
When grinding, from the cutting edge toward the body — reversed, it chips the edge. On a lapping plate it is the opposite, body toward the cutting edge. Do not mix the two up.
Q: Wet or dry?
It depends on volume. Wet is better when coolant is plentiful; with only a trickle, dry is safer, because intermittent cooling means repeated heating and quenching, which is exactly what cracks the edge.
This article is part of Tool Regrinding: The Complete Guide — Decide Whether to Grind, Then Look Up How, With What, and How to Check; that guide shows how the whole topic fits together.
Published: 2026-08-17|Last updated: 2026-08-17









