
Tap Chipping and Breakage Solved by Regrinding: Back-Out Failures, Titanium and Stainless
Tap breakage gets blamed on torque, but a great many cases do not fail on the way in. This guide takes the regrinding angle and helps you decide what to change: three breakage situations each point to a different place on the tool, plus how to regrind and how to drill for titanium and stainless, the two materials that break the most taps.
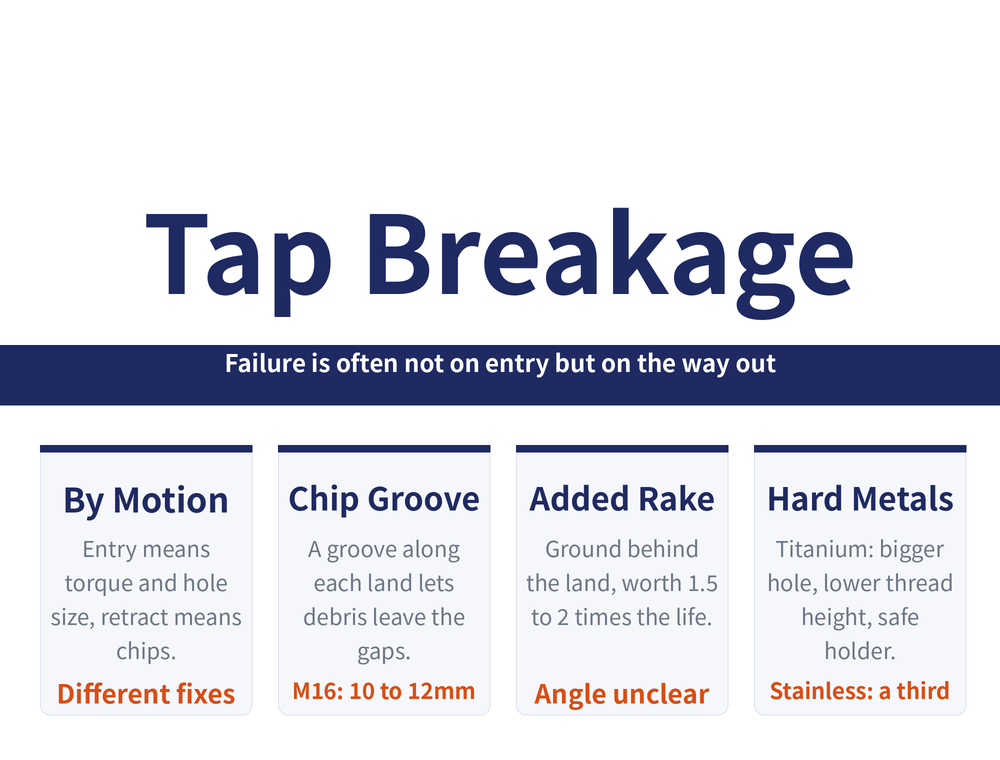
1. First split it: breaking on entry or on the way out
Both are called breakage, but the causes behind the two motions are different and so are the fixes.
| Which motion | Typical cause | Where to look |
|---|---|---|
| On entry | Torque too high, hole too small, flutes packed with chips | Hole size and parameters |
| On retract (reverse) | Fine chips jammed in the tooth gaps; no relief behind the land | Edge regrinding (sections 2 and 3) |
| Difficult materials, both | Work-hardened layer, adhesive wear, poor chip evacuation | Material-specific fixes (sections 4 and 5) |
For the parameter side of the problem see Tapping Troubleshooting Guide and Thread Machining Solutions. This article covers only the half that edge geometry can solve.
2. Crushed tooth tips on retract: grind a chip groove
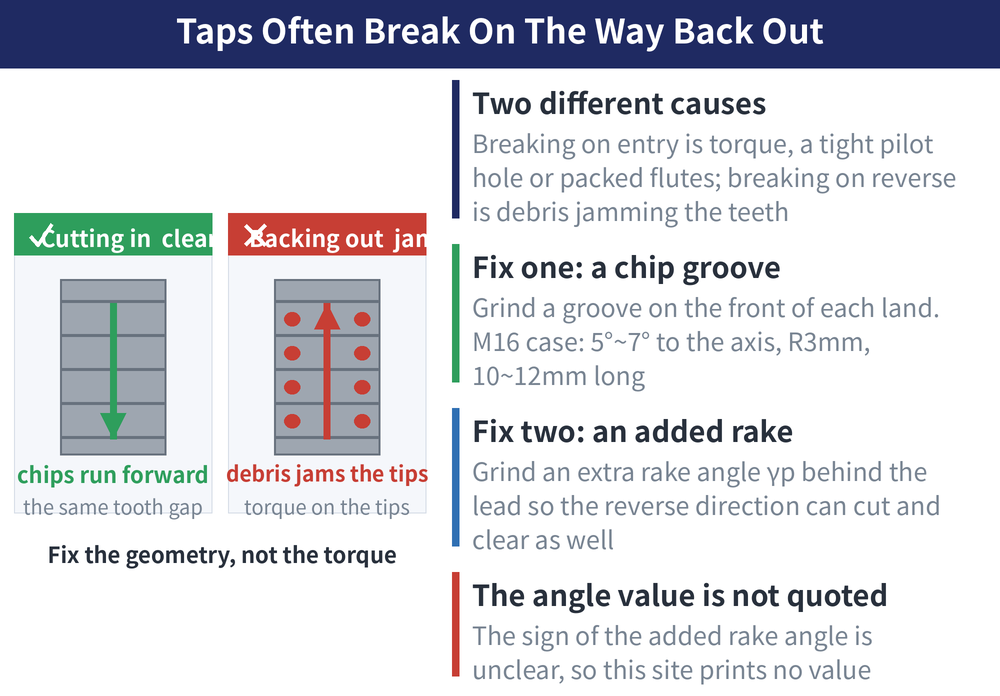
On a hard workpiece the chips come off fine and lodge in the tooth gaps. Backing out squeezes them against the tap, and the result is damaged tooth tips and stripped threads in the part. The fix is to grind a chip groove into the front of each land so the debris has somewhere to go. Take an M16 example:
| Item | Source value (M16) |
|---|---|
| Groove angle to the axis | 5°~7° |
| Groove radius R | 3mm |
| Groove length | 10~12mm |
After the regrind the chips leave along the groove from below or ahead, and the four strands twist together instead of breaking up into debris. In that case tapping speed could rise to 250~320 r/min while still holding grade 2 accuracy, with a large gain in tap life. These are single-case values; groove length and radius for other sizes must be redesigned around the available flute space.
3. Reverse-rotation breakage: add rake behind the land
The second pattern shows up on deep, hard internal threads such as the tapped bore in a taper-shank end mill shank. Breakage is severe and nearly always happens at the moment the tap is withdrawn. The countermeasure is to grind an additional rake angle γp behind the land of the chamfer, so the retract direction also has some cutting and clearing ability instead of pure squeezing.
The value for this additional rake carries an ambiguous sign and is not reproduced here, to avoid pointing the grind in the wrong direction; work from an existing tool or the toolmaker's advice. The reported effect of the modification is 1.5~2 times the tool life.
4. Titanium: regrind, cutting fluid and hole size together
Freshly cut titanium is chemically active and builds a deep work-hardened layer, and it readily bonds with the tap into hard compounds, producing adhesive wear. With an ordinary carbon steel tap it is common to get only 4~5 holes before the edges dull or simply chip and break, accompanied by a sharp squealing noise.
| Where to act | What to do |
|---|---|
| Regrind (chip flow) | Grind back the tail of the teeth; grind axial grooves into them |
| Regrind (hole bottom) | On through holes angle the chamfer to send chips forward; put a cutting edge on the nose, like the bottom teeth of a face mill |
| Cutting fluid | Highly active, lubrication-led: soybean oil with kerosene, oleic acid with sulphurised oil and kerosene, chlorinated sulphurised fluid, F43 cutting oil |
| Drilled hole | Drill 0.05~0.1mm larger than usual so the hole sits near the top of the minor diameter band |
| Holding and sequence | Torque-limiting holders on critical parts; in blind holes machine-tap to 2~3 threads from the bottom, then finish by hand |
| Design side | Open up the minor diameter so working thread height drops to 60%~70% of theoretical, cutting torque by more than a quarter |
There is no given figure for the chamfer angle; grind whatever steers chips away from the hole bottom. The fluid recipes are reference formulas — confirm grade and compatibility with your supplier.
5. Small stainless holes: grind the first tap back a third
Tapping M2~M4 holes in stainless combines a slender tap with a heavy cut on the first tap, and the usual result is a rough thread, chipped teeth and broken taps. The regrind is blunt: take a third off the cutting edges of the first tap, then stone the back clearance lightly.
The principle is to reduce contact area and hand part of the cut to the second tap. With the load shared, chipping and breakage are avoided and thread finish improves as well. Plain wear is a different problem — see Regrind or Replace a Tap; to change chip direction or torque, see Special Tap Edge Geometries.
6. Frequently Asked Questions (FAQ)
Q: Why does a tap break on the way out?
Going in, chips travel forward; coming out, they have to be forced back through the same tooth gaps. On hard material with fine chips they wedge against the tooth tips, the whole reverse torque lands there, and the tip chips and then the tap breaks.
Q: Does a chip groove weaken the tap?
The groove runs along the front of each land and removes exactly the region where chips jam, so the core section is untouched. In the M16 case a 10~12mm groove of 3mm radius raised tool life. Scale it down proportionally on smaller taps.
Q: Do titanium tapped holes really need a design change?
Not necessarily, but it is the single most effective move. Reducing working thread height to 60%~70% of theoretical generally does not affect joint strength, yet cuts cutting torque by more than a quarter. Where the design is fixed, start with the 0.05~0.1mm larger hole and a torque-limiting holder.
Q: Will the thread still be complete after taking a third off?
Yes, provided the second tap follows as normal. The whole point is to reassign part of the cut to the second tap, so the first tap alone will not finish the thread. It applies to small M2~M4 stainless holes.
This article is part of Tool Regrinding: The Complete Guide — Decide Whether to Grind, Then Look Up How, With What, and How to Check; that guide shows how the whole topic fits together.
Published: 2026-08-17|Last updated: 2026-08-17









