
Using a Rotary Burr: Five Steps, Troubleshooting and Longer Life
A carbide rotary burr behaves like a small end mill: run it right and it is effortless, run it wrong and it vibrates, throws sparks and scars the part. This guide covers the five-step method, the common faults and how to check them, and how to make a burr last, and it comes down to two things: contact angle and speed.
1. Five Steps to Do It Right
Before using a burr, make sure you have picked the right one; different materials want different cuts, as covered in reading a carbide burr. Here are the five steps to run it right:
| Step | Key point |
|---|---|
| 1 Pick the burr | Choose the cut by material and use (see the companion "reading a burr" article) |
| 2 Right drive | A powerful drive with an elastically supported spindle to avoid vibration; hold it rigidly or the burr chatters |
| 3 Safety | Clamp at least 2/3 of the shank length; wear eye and ear protection and follow the speed rating |
| 4 Set the speed | For a burr over 6 mm shank at higher speed, the maker suggests 300–500 W drive output; at low removal you may spin faster |
| 5 Feed it right | Keep contact to no more than 1/3 of the circumference; work counter-rotational or oscillating, and only feed with rotation when finishing for a fine surface |
2. Troubleshooting
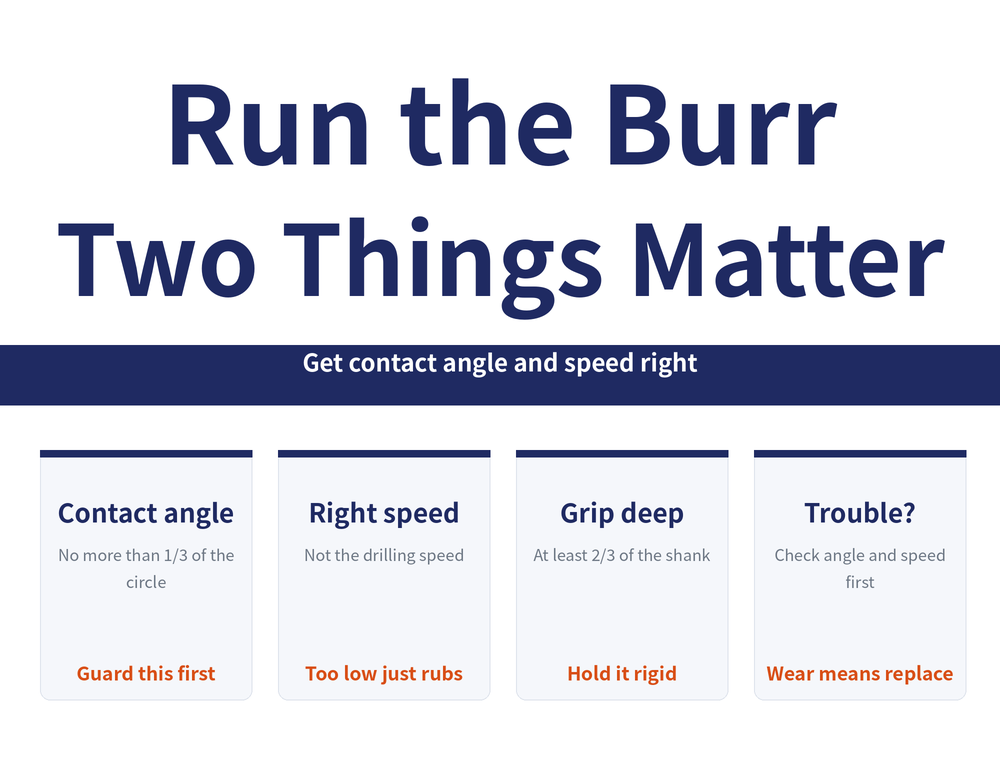
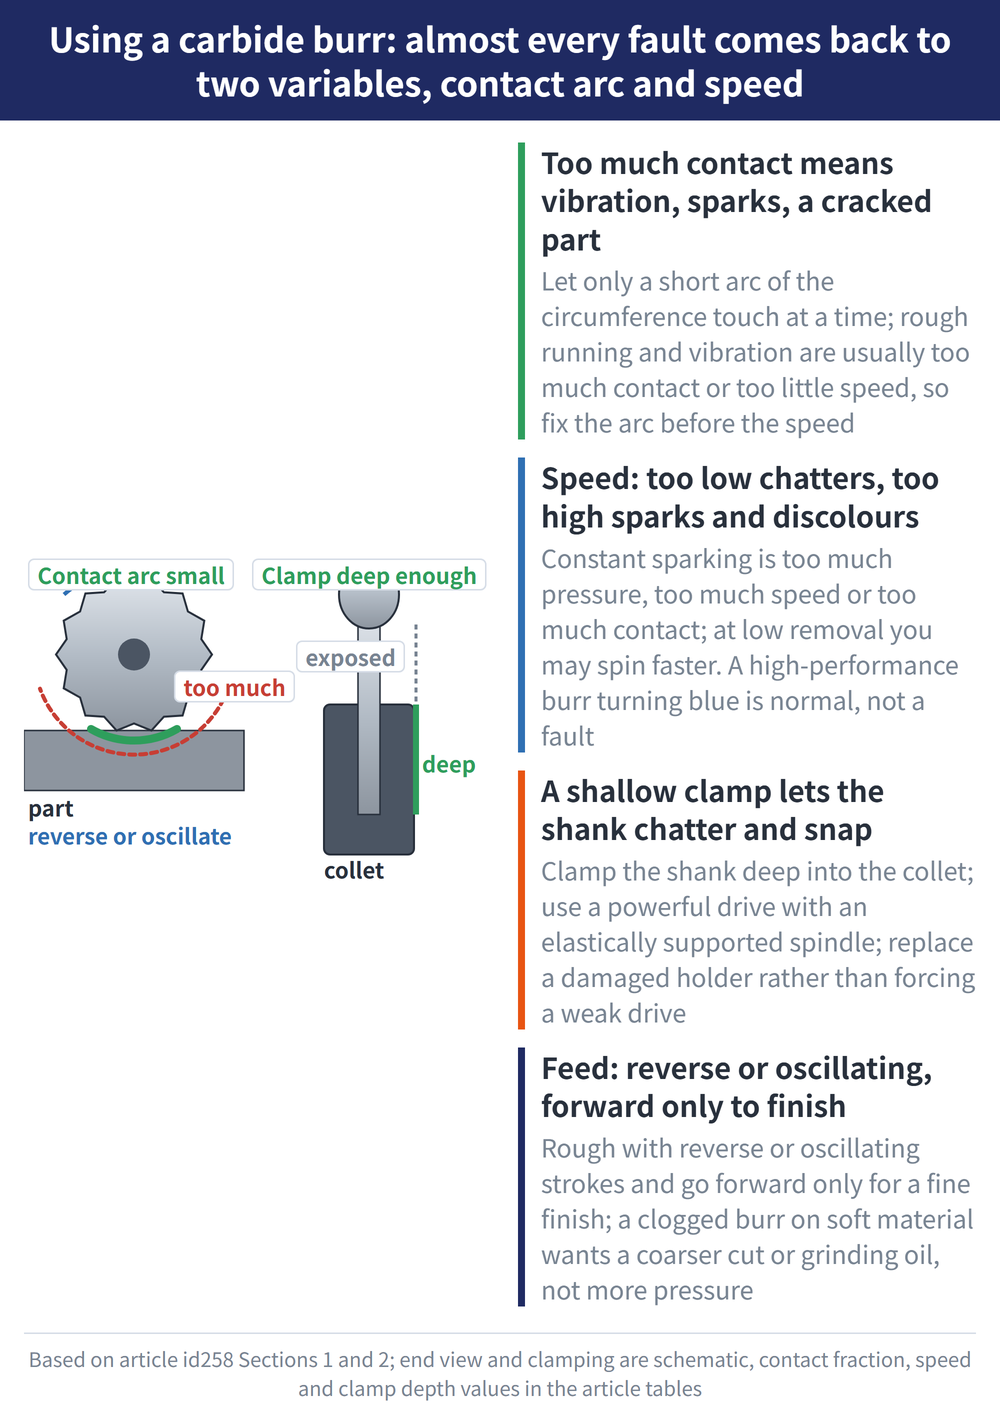
Almost every fault traces to two variables: whether the contact angle exceeds 1/3 of the circumference, and whether the speed is right. Check those two first, then the table:
| Symptom | Usual cause | What to do |
|---|---|---|
| Rough running, vibration, part chips | Contact over 1/3 of the circle, speed too low, impact loading | Keep contact within 1/3, use the highest speed in range, avoid impact |
| Constant sparking | Too much pressure, too high speed, contact angle too big, worn burr | Ease the pressure, drop the speed, hold the contact angle; replace if worn |
| Burr clogs | Too fine a cut on soft material | Use a coarser cut, a HICOAT-coated burr, or grinding oil |
| Discolouration, cutting-zone breakout | Speed, pressure or contact angle wrong | Follow the recommended speed, lower pressure and contact angle |
| Shank breaks | Damaged holding, or a drive too weak/soft that vibrates | Replace the holding, move to a rigid, powerful drive |
Note: a high-performance carbide burr turning blue is normal, not a fault; only vibration or heavy sparking with the parameters already correct means wear.
3. Edge Work and Deburring
Edge work with a burr removes proud burrs, cuts the risk of cuts and protects against corrosion. Before painting or plating, sharp edges should be deburred, rounded and, ideally, radiused to ≥ 2 mm (per ISO 12944-3 and similar). Coating thins and peels on a sharp edge; a rounded edge holds it.
For a precise, repeatable chamfer or radius (a 30°/45° chamfer, an R3 radius), use the defined method (an EDGE system with a guide sleeve does it in one pass); for irregular, hard-to-reach corners, work the flexible way by hand.
4. Making a Burr Last
Many things affect burr life (tool geometry, material, cutting conditions, workpiece state, temperature, drive, operator skill), but three are within reach on the floor:
| Do this | Why |
|---|---|
| Get the speed right | Too high overheats and speeds wear; too low and the grit does not cut, it just rubs |
| Deepen the cut sensibly | Fewer passes needed, so the tool lasts longer overall |
| Choose a high-performance burr | Usually more wear-resistant, with clearly longer life |
Tool life counts only the time a burr is actually working, not idling or waiting, so a tidy workflow with less idling stretches life too.
5. Frequently Asked Questions (FAQ)
Q: The burr keeps vibrating and scarring the part, what now?
Check whether the contact angle exceeds 1/3 of the circle, whether the speed is too low (do not use a drilling speed for milling), then whether the holding is rigid enough. Those three are usually the culprits.
Q: What does "1/3 of the circumference" contact mean?
As the burr turns once, the arc actually touching the part should not exceed a third of the full circle. Touch more and you get impact, vibration and sparks.
Q: How deep should a burr be clamped?
At least two-thirds of the shank length. Too shallow and it vibrates and the shank breaks more easily.
Q: Is it normal for a burr to turn blue?
At high removal, blue is normal and not a safety risk (the maker says so); only vibration or heavier sparking with correct parameters means wear.
This article is part of Deburring and Surface Finishing: The Complete Guide - Which Tool, Which Material, and What to Do in Volume; that guide shows how the whole topic fits together.
Published: 2026-08-11 | Last updated: 2026-08-11









