
Deburring and Surface Finishing: The Complete Guide - Which Tool, Which Material, and What to Do in Volume
The last operation on a part is often the one with the least method behind it: whoever is free picks up whatever tool is nearest. This guide lays that work out as one route: decide first whether you are finishing one part at a time or a whole batch, then pick the tool in your hand, then see what each material forces you to avoid, and finally how bright it needs to be - plus the two neighbours, hole cutting and cut-off, that usually sit at the same bench. Every section points to an article you can read next.
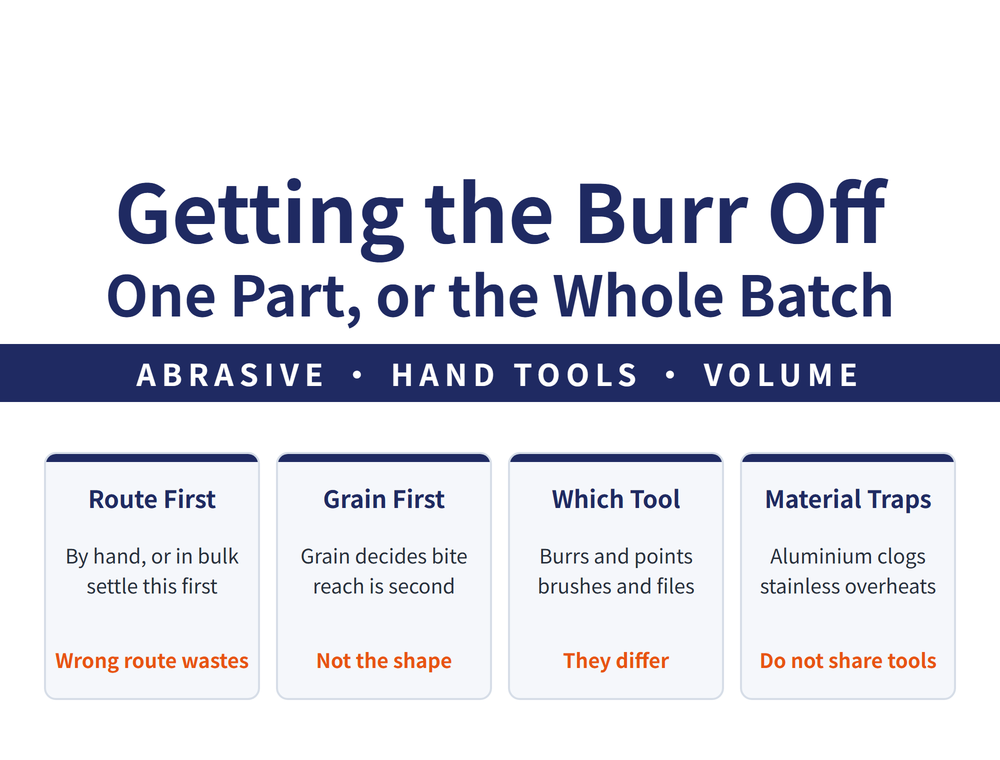
1. First Decide the Route: One Part at a Time, or the Whole Batch
This is the first fork, and getting it wrong wastes everything after it. A specific edge, low volume or a complex shape means hand tools; high volume with no specific location means processing the batch. The tooling, the cost structure and the quality behaviour differ completely.
| Route | When it applies | Which section |
|---|---|---|
| Hand tools | A named edge or weld bead; few parts, or an awkward shape | Sections 2 and 3 |
| Batch processing | High volume, every part, no particular location | Section 5 |
| On a grinder | A tolerance has to be held, not just an edge broken | Grinding Wheels and Machines |
The third row deserves care: deburring controls feel and not damaging the part; a grinder controls size and surface consistency. Even the test for "is it right" differs, so tools and parameters do not transfer between them.
2. Pick the Grain Before the Tool
Most people reach for a shape and skip the abrasive. But the grain decides whether the tool bites at all and whether it burns the part; the shape only decides whether it reaches.
| Article | When to read it |
|---|---|
| Choosing an Abrasive | The entry point for this whole line. Grain matched to workpiece material and to the symptom in front of you, plus what self-sharpening means for you |
The self-sharpening section is worth reading first: a dulled grain fractures away and exposes a fresh edge. That property decides whether a tool goes progressively blunt or keeps cutting until it is used up, and the wrong grain gives that mechanism away.
3. Which One Should Be in Your Hand
Burrs, mounted points, flap wheels, wire brushes and files all look like "grind it a bit", but they work by different mechanisms and do different jobs: some cut, some abrade, some only beat at the surface. The wrong choice shows up as long effort with no progress, or as going too far in one pass.
| Article | When to read it |
|---|---|
| Reading a Carbide Burr | When buying burrs. HSS or carbide, cut type matched to material, and which coating for steel and which for aluminium |
| Using a Rotary Burr | When you already own them and they are not working well. Five steps, troubleshooting, and how to make them last |
| Mounted Points and Flap Wheels | When weighing a burr against a mounted point. Do not skip the section on centrifugal force - overspeeding is not the only danger |
| Choosing a Wire Brush | For rust, weld spatter and surface cleaning. Knotted or crimped, and which wire material |
| Reading a File | For hand work. Section, cut and grade, plus four rules for filing |
Wire material has one easily missed criterion: not only temperature resistance, but whether it contaminates the part. A carbon steel brush run over stainless leaves iron behind, and that is often where later rusting starts.
4. Same Motion, Different Traps by Material
The same tool and the same hand pressure give very different results on aluminium and on stainless. Aluminium loads up, stainless overheats, steel rusts - three materials, three separate traps.
| Article | When to read it |
|---|---|
| Grinding Aluminium, Stainless and Steel | Whenever the material changes. A one-page summary of the three, then the measures for each |
One line from the stainless section is worth carrying: work it too hard, destroy the passive layer, and stainless stops being stainless. That is not a cosmetic issue but the loss of the property the material was chosen for, and it is awkward to restore afterwards. Sharing tools causes the same class of problem - a tool used on steel then used on stainless carries iron onto the surface deliberately.
5. In Volume, Stop Using Hands: Barrel Finishing and Brushing
Once the count rises, the problem with hand tools is not that they are slow but that every part comes out slightly different. Batch processing buys consistency; the price is that you cannot target a specific area.
| Article | When to read it |
|---|---|
| Barrel Finishing or Brushing | For volume work. Five barrel methods, choosing the media, load and time, and the four uses of brushing |
That article adds a caution about vibratory finishing: it is more efficient, but it has limits - not every part suits it, and size and shape constrain it. Read that section before committing, rather than going on the throughput figure alone.
6. How Bright Does It Need to Be: Polishing and Buffing
Polishing and buffing get used interchangeably on the floor, but they are not the same operation: one is still removing material, the other mainly levels and brightens. Trying to reach a mirror with the first, or to remove a burr with the second, fails in both directions.
| Article | When to read it |
|---|---|
| Buffing After Grinding | When the surface has to be made bright. Wheel or belt, surface speed and grit, three buffing stages, and the white, red and green compounds |
Note that bright is not the same as a good roughness figure. If the customer asked for an Ra value rather than an appearance, that belongs to Surface Finish: A Complete Reading Guide; buffing cannot produce an Ra the process could not reach.
7. Neighbours at the Same Bench: Hole Cutting and Cut-Off
Strictly these two cut rather than abrade, but on the floor they sit in the same stretch of work, done by the same person, so they are collected here.
| Article | When to read it |
|---|---|
| Which Hole Tool | For large holes in sheet. The basic difference between a hole saw and a carbide cutter is sawing versus cutting |
| Stationary Cutting: Five Methods | When material has to be cut to length. Five methods compared, including indexing versus rotary |
They belong here because whatever you cut becomes the next thing to deburr, and how it was cut decides how difficult that burr is. A good choice of cut-off method removes most of the work that follows.
8. FAQ
Q: With this many articles, where should I start?
Use the table in section 1 first to settle the route: one part at a time, or the whole batch. If it is hand work, start with Choosing an Abrasive in section 2, because the grain decides whether the tool bites and picking a shape first puts the cart before the horse. After that, follow the symptom: unsure which tool, section 3; the material changed, section 4; volume work, section 5; it has to be bright, section 6.
Q: What actually separates deburring from grinding on a machine?
What is being controlled. On a grinder it is size and surface consistency: the part is clamped, the feed comes from the machine, and whether it is right is settled with a gauge. In deburring it is feel and not damaging the part: the tool is in a hand, the pressure comes from a person, and whether it is right is usually judged by touch and eye. Because the tests differ, the tools, abrasive choices and parameters do not transfer. If what you actually need is to hold a tolerance, that is not deburring - go to the grinding wheels and machines line.
Q: A stainless part rusted after finishing. Was the material wrong?
Usually not the material but the process. Two common causes: first, working it too hard and running the temperature up destroys the passive layer at the surface, and without that layer stainless will rust; second, shared tooling - a mounted point, wire brush or flap wheel previously used on carbon steel carries iron onto the surface, and those particles rust first, which looks like the stainless rusting. The answers are low temperature, low pressure and tools dedicated to stainless. The details are in the article on finishing by material.
Q: Why insist that a rotary burr and a mounted point are different?
Because they work differently yet get bought as if they were one category. A burr has real cutting teeth and removes material with an edge; a mounted point is bonded abrasive and removes material with countless grains. Teeth are efficient and generate less heat, but they chip on hard material. Abrasive handles harder material, but speed and centrifugal force impose strict limits. Getting it wrong is not only slow - the tool can burst - which is why that article gives centrifugal force a section of its own.
Published: 2026-09-08 | Last updated: 2026-09-08









