
Why a Lever Indicator Reading Must Be Multiplied by cosθ: Angular Error and Cosine Correction
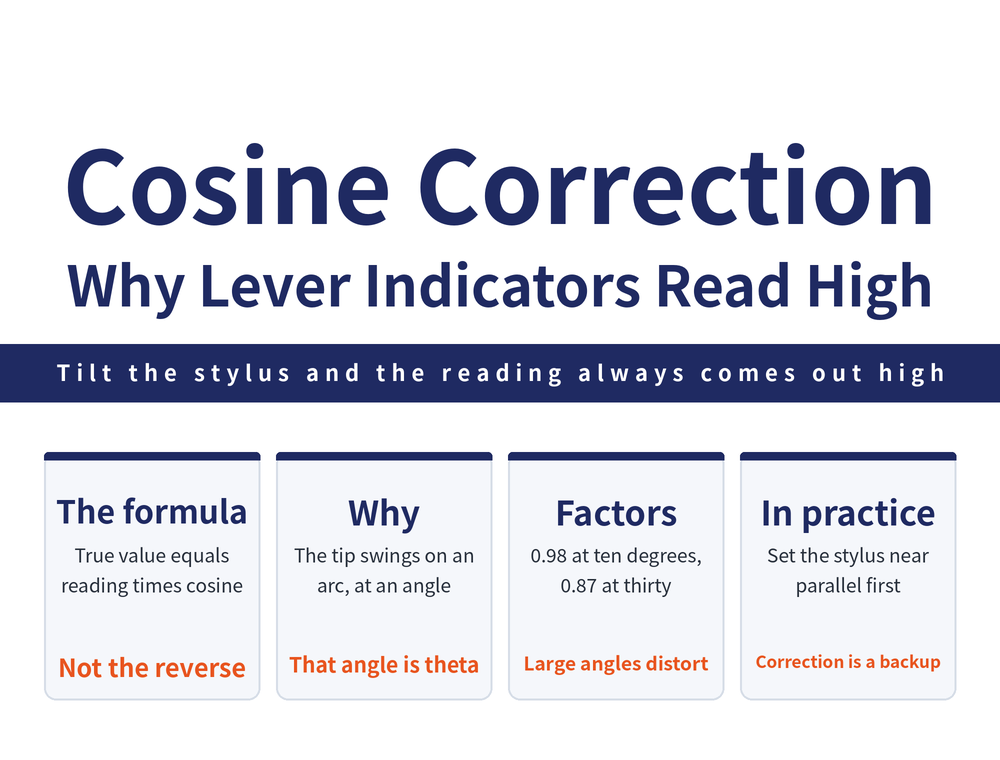
The stylus of a lever indicator swings on an arc, so once the direction the stylus travels sits at an angle θ to the direction being measured, the reading on the dial comes out larger than the real displacement. There is one correction: true value = reading × cosθ. This guide explains where the angle comes from and why the error runs high rather than low, gives the correction factors from 10° to 60° with a worked example, and ends back on the shop floor — setting the stylus flat is far cheaper than correcting afterwards. For the factors alone, go straight to the table in section 4.
This article is about what to do with the reading once you have it. For how a lever indicator is mounted, zeroed and read, see Dial Indicator and Lever Indicator Guide.
1. The Short Answer: Multiply the Reading by cosθ
The angular error of a lever indicator (lever-type dial test indicator) is corrected by a single multiplication:
True value L1 = measured value L2 × cosθ
θ = the angle between the direction the stylus travels and the actual measuring direction
Since cosθ is always less than 1, correcting always makes the reading smaller. In other words, whenever there is an angle, the dial shows a number larger than the distance the workpiece actually moved.
This is pure geometry, not measured data, and it is tied to no brand. Any measuring device with a swinging stylus obeys the same projection relationship.
2. Where the Angle Comes From: the Stylus Travels an Arc
The spindle of a plunger-type dial indicator moves in a straight line, so aiming the spindle along the measuring direction settles the matter. A lever indicator is different: its stylus sits on a short lever and swings about a pivot, so the tip travels along an arc.
Swinging is what lets the stylus reach into grooves, bores and the flanks of tool holders where a plunger indicator will not fit. The price is that the direction the stylus moves is set by the attitude of the lever, not by how the user aims it.
The ideal attitude lays the lever flat against the measured face, which puts the tip's instantaneous direction of travel right along the measuring direction, θ = 0, no correction needed. In practice space is tight, the lever ends up tilted, and θ appears.
3. Why the Error Runs High, Not Low
Picture the measured face as a plane perpendicular to the measuring direction. The workpiece moving by d means that plane has shifted by d along its own normal.
The stylus tip is constrained by the lever and can only travel along its own tilted direction. How far must it travel to touch the plane again? The answer is d ÷ cosθ — travelling at an angle means covering a longer path to make up the same perpendicular distance.
The amplifying mechanism inside the dial measures that path along the stylus direction, not the perpendicular distance. So the dial displays d ÷ cosθ, which is larger than the true d. Multiplying by cosθ brings it back to d.
An easy way to remember it: the slanted path is longer, so the dial thinks the workpiece moved further than it did.
4. Cosine Correction Factor Table
The factors from 10° to 60° are below, each one checked against cosθ. These are trigonometric values, not measurement data:
| Angle θ | Correction factor cosθ | Reading overstated by about |
|---|---|---|
| 10° | 0.98 | 2% |
| 20° | 0.94 | 6% |
| 30° | 0.87 | 15% |
| 40° | 0.77 | 30% |
| 50° | 0.64 | 56% |
| 60° | 0.50 | 100% |
The right-hand column is the left-hand one inverted: at θ = 60°, 1 ÷ 0.50 = 2, so the dial shows twice the true value. The table itself carries no error; all of the error lies in how well θ is estimated.
5. Worked Example: a 0.002 mm Reading
Suppose the dial reads 0.002 mm. Corrected at three angles:
| θ | Calculation | Corrected true value |
|---|---|---|
| 10° | 0.002 × 0.98 | 0.00196 mm |
| 20° | 0.002 × 0.94 | 0.00188 mm |
| 30° | 0.002 × 0.87 | 0.00174 mm |
Going from 10° to 30° takes about 13% off the real displacement behind the same 0.002 mm reading. That is invisible at the 0.01 mm level and decisive at the 1 µm level.
6. On the Shop Floor: Keep the Stylus Parallel to the Measuring Direction
Correction is the fallback, not the routine. The real fix is to keep θ small from the start:
| What to do | Why |
|---|---|
| Lay the lever as flat as possible on the measured face | Puts the stylus travel along the measuring direction |
| Use a swivelling head or a universal holding arm | The fixture adapts to the part instead of the stylus being tilted |
| Clamp close to the measured point | Short overhang, less deflection and less vibration |
| Set the attitude first, zero second | The reference point is set once the angle is fixed |
Only when the space genuinely will not allow it, go back to the factors in section 4. The order is set it straight, then correct — not measure first and rescue the number afterwards.
7. When Correction Can Be Skipped
Two cases. First, when θ is small, say within 10°, the error stays under 2% and does not affect a decision made at the 0.01 mm level. Second, when the job is comparison rather than absolute value — two points measured in one setup at one attitude are both scaled by the same cosθ, so which is larger does not change.
Correction is mandatory the other way round: whenever the reading is compared directly against a drawing tolerance, or goes into an inspection report as an absolute value. If the question is then which geometric characteristic is being measured, see How to Measure Geometric Tolerance.
One more thing: when the scriber on a height gauge is swapped for a lever indicator to take comparative readings, this correction still applies, and Abbe error stacks on top of it. See Height Gauge Guide.
8. Frequently Asked Questions (FAQ)
Q: With an angle present, does a lever indicator read high or low?
High. Travelling at an angle, the stylus has to cover a longer path to make up the same perpendicular displacement, and that longer path is what the dial measures. Hence true value = reading × cosθ, and correcting always makes the number smaller.
Q: Between what two things is θ measured?
Between the direction the stylus tip travels and the actual measuring direction. The stylus swings about a pivot, so the tip's instantaneous travel is perpendicular to the lever; lay the lever flat on the measured face and θ approaches 0, lift it and θ grows.
Q: How large is the error at θ = 30°?
cos30° = 0.87, so the reading is overstated by about 15%. A 0.002 mm reading corresponds to a true value of only 0.00174 mm. Hardly visible at the 0.01 mm level, it flips a pass-or-fail decision at the micron level.
Q: Does a plunger-type dial indicator need cosine correction too?
A plunger indicator moves in a straight line, so aiming the spindle axis along the measuring direction removes the issue; if the spindle itself sits against the part at an angle, the same cosine relationship applies. The difference is that on a plunger indicator the angle is set by how the user aims it, on a lever indicator by the attitude of the lever, and the latter creeps up unnoticed.
This article is part of Precision Measurement Complete Guide: Ask What You Are Measuring First, Then Pick the Instrument; that guide shows how the whole topic fits together.









