
Hard Milling or EDM: When to Finish a Hardened Mold with a Cutter
Finishing a hardened mold traditionally goes to EDM. Today many of those jobs can be hard milled with an end mill, saving a large number of electrodes. But not every shape can switch, and three conditions must be met first. This article covers how to decide, what to check first, and why large molds and small parts follow different routes.
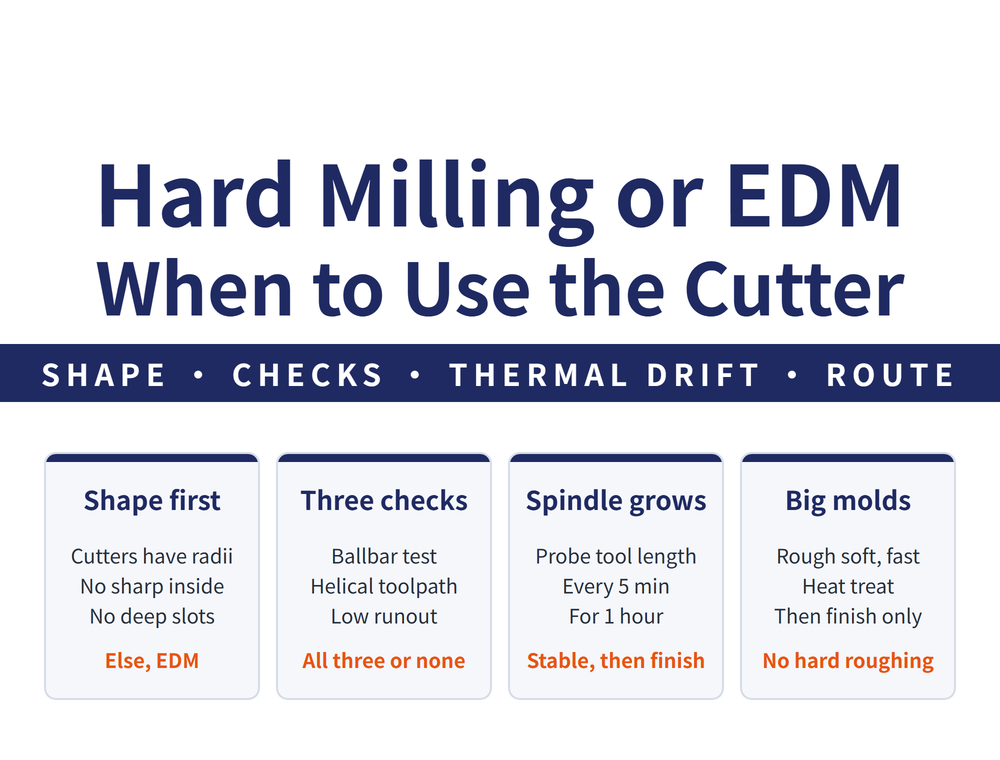
1. Which part of EDM work hard milling can take over
EDM (electrical discharge machining) erodes material with sparks between an electrode and the part. There is no cutting force, so any hardness can be machined, at the cost of making electrodes first and a slow removal rate. Hard milling cuts the hardened material directly with an end mill; for tool choice on hardened steel, see H-Group Hardened Steel Machining Guide: Hard Milling.
🔑 Hard milling cannot replace all EDM work, but it can take over a large share, especially finishing: far fewer electrodes and clearly higher efficiency. The questions are which share, and whether the machine and tooling are ready before the switch.
2. Shape first: what a cutter cannot do still goes to EDM
| Shape | Why the cutter cannot |
|---|---|
| Sharp inside corners | An end mill has a radius; the corner cannot be smaller than it |
| Deep, narrow slots | The tool must be long and thin, and runout and deflection get out of control |
| Complex through-profiles | Wire EDM cuts them directly, with no tool entry or exit to plan |
Put the other way, any area a cutter can reach, where the corner can accept the cutter radius, is where hard milling can take over. For an example of cutting a form tool profile on wire EDM, see Form Tools Cannot Be Ground by Feel: Build a Jig, or Cut the Tool on Wire EDM.
3. Beyond shape: three more things EDM does that a cutter cannot
Shape is the most obvious reason, but not the only one. Three more reasons keep EDM in the process, and each of them points at a limit of the cutter:
| Why EDM is the only option | What it means for a cutter |
|---|---|
| Material with a high melting point, high hardness, high toughness, brittleness or gumminess | The group that is hard to cut, or cannot be cut at all |
| The electrode does not have to be harder than the work | EDM does not cut by hardness, so work hardness sets no limit |
| The electrode never touches the work, so the force is negligible | No length-to-diameter or rigidity limit; slender features stay reachable |
📌 The last one fixes the split: however good hard milling gets, a cutter still has a radius and still needs rigidity. Corners, narrow slots and small holes stay with EDM not because hard milling does them badly, but because the cutter cannot get in.
4. Three conditions before switching to hard milling
| Order | What to check | How |
|---|---|---|
| 1 | The machine | Run a ballbar test to measure how accurately it moves in a circle |
| 2 | The program | Mill holes on a helical path, with helical interpolation enabled |
| 3 | Holder and tool | Low holder runout; short-flute, multi-flute end mills |
📌 A ballbar test measures the error of a machine's circular interpolation; a machine dealer or service centre can run it.
⚠ Short flutes in item 3 are there to reduce contact area when entering the bore. For measuring and reducing holder runout, see Tool Runout (TIR): Effects, Measurement and How to Reduce It.
5. The spindle grows with heat: know how long to wait before finishing
A spindle warming up shifts the tool in Z: the cut starts on zero and ends slightly off, and the program does not allow for the drift.
To find how long the machine needs to settle, build a growth curve with a tool-length probe: measure tool length every 5 minutes of spindle running for 1 hour and plot it. Where the curve flattens is the warm-up time. After a speed or tool change, the machine must settle again.
🔑 The holder interface matters too: as the spindle warms, the taper opens, and a holder located on the taper alone tends to move with it. A holder in contact on both taper and face holds its position better. For the principle, see Dual Contact: Why the Flange Face Has a Gap Before Clamping.
6. Large molds and small parts follow different routes
| Case | Suggested route |
|---|---|
| Molds larger than a phone mold | High-speed rough in the soft state, heat treat, then hard mill for finishing only |
| Small parts, phone-mold size | Hard mill the whole part directly |
| Finishing at 45-50 HRC | Direct hard milling often beats soft machining, heat treat, then re-machining |
🔴 On large molds, do not rough with hard milling after heat treatment: removing the same stock in the hardened state clearly lengthens cycle time and shortens tool life. Hard milling is for accuracy and tolerance, not for stock removal. For high-speed machining parameters, see How High-Speed Machining Differs, and How to Set the Parameters.
7. Frequently Asked Questions (FAQ)
Q: Can hard milling fully replace EDM?
Not fully, but it can take over a large share of finishing and cut electrode use sharply. Shapes a cutter cannot produce, such as sharp inside corners and deep narrow slots, still go to EDM or wire EDM.
Q: What should be checked before switching from EDM to hard milling?
Three things in order: a ballbar test to confirm how accurately the machine moves in a circle; a helical toolpath with helical interpolation enabled in the control; and low holder runout with short-flute, multi-flute end mills.
Q: Size is right at the start of the cut but off at the end. Why?
A common cause is Z drift from spindle heat. Measure tool length every 5 minutes of running for 1 hour and plot a curve to find how long the machine takes to settle; after a speed or tool change it must settle again.
Q: Can a large mold be hard milled all the way after heat treatment?
Not recommended. Rough large molds with high-speed machining in the soft state, and after heat treatment use hard milling for finishing only; roughing in the hardened state clearly lengthens cycle time and shortens tool life. Small parts about the size of a phone mold can be hard milled completely.
This article is part of Manufacturing Process: The Complete Guide - Set the Datum First, Then Sequence, Allowance and Dry Cutting; that guide shows how the whole topic fits together.
Published: 2026-09-23 | Last updated: 2026-10-25









