
Grinding a Solid End Mill on a Tool Grinder: Rod, Wheels, Ten Parameter Groups, Simulation and Inspection
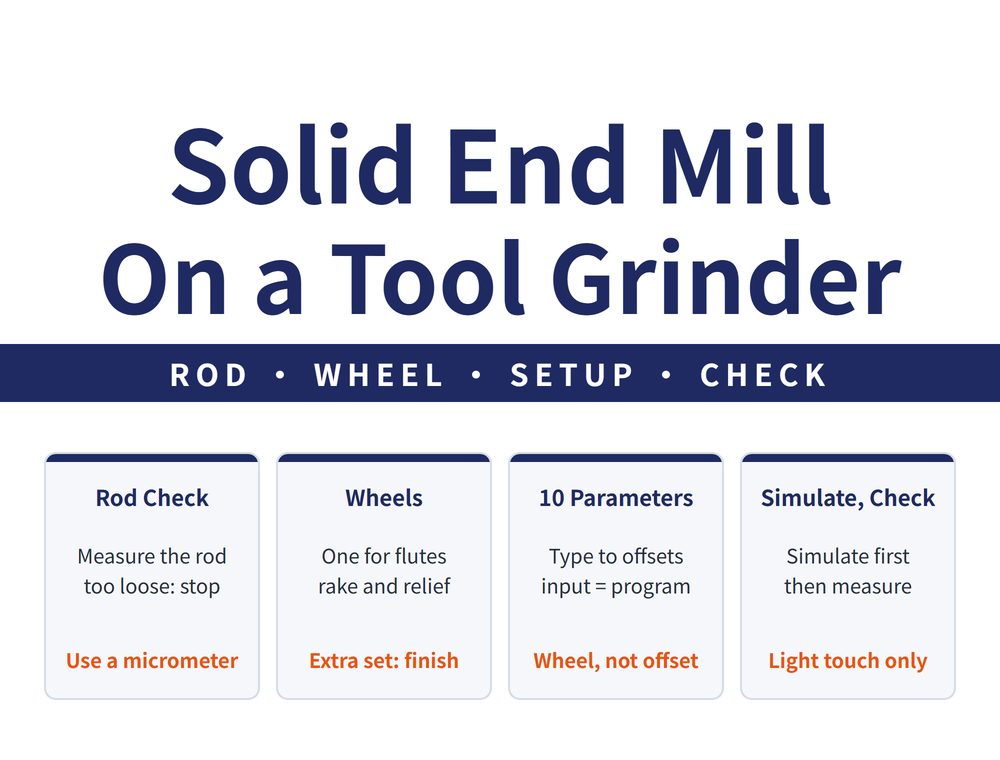
Grinding a solid end mill on a CNC tool grinder takes five steps: check the carbide rod, choose the wheels, enter the tool geometry, simulate in the software, and inspect the finished tool. The tool grinder is programmed by parameters: you enter the geometry of each section and the machine generates the grinding program from the measured position of the tool, so deciding the parameters is the programming. An end mill needs ten parameter groups in order, from flute count and diameter to clearance angles, rake angles and offsets.
1. Five Steps at a Glance
For the four-step manual regrind and when a tool is due, see When to Regrind an End Mill? 5 Signs It's Dull and the Correct Regrinding Process. This article covers grinding an end mill from a rod on a CNC tool grinder.
| Step | What to do | Watch out for |
|---|---|---|
| 1. Check the rod | Measure the carbide rod diameter with a micrometer | In a hydraulic chuck, a rod too far off size will not clamp firmly and cannot be ground |
| 2. Choose wheels | Pick the wheel shape for each section | Flutes, rake and clearance each use a different shape |
| 3. Enter parameters | Fill in the ten geometry groups in order | The parameters define the grinding program |
| 4. Simulate | Grind it once in the software first | Check the profile and end-tooth projection to avoid interference or collision |
| 5. Inspect | Measure with a micrometer and a tool presetter | Too much micrometer force easily causes micro-chipping |
Carbide rods made for tool grinding usually come in whole-number sizes with an h6 tolerance; for non-standard sizes in large quantities you can order from the maker.
2. Wheels: Choose the Shape by the Section You Grind
Most tool grinders have a wheel changer that swaps wheels automatically, like the tool magazine on a machining center. Three shapes are common for end mills:
| Shape code | Shape | What it grinds |
|---|---|---|
| 1A1 | Straight | Flutes, profile, relief backing |
| 11V9 | Flaring cup | Clearance faces of end and peripheral teeth |
| 12V9 | Dish | End-tooth rake face, gashes for the short teeth |
For a 4-flute Ø10 end mill, for example, flutes, end-tooth rake and clearance take one wheel each, three in total; add a fine-grit set for finishing and it becomes six. For abrasives and shape codes, see Diamond or CBN Wheels: Abrasive, Bond, Grit, Concentration and Shape Codes.
3. The First Four Groups: Define What the Tool Is
Once you enter the geometry of each section, the tool grinder generates the program from the measured tool position. An end mill needs ten groups in order; the first four define the tool and its flutes:
| Parameter group | What it contains |
|---|---|
| 1. Tool type | Flute count, tool type, end form, rotation direction |
| 2. Basic dimensions | Diameter, back taper or not, flute length |
| 3. Operation sequence | Profile, fluting, end-tooth rake and clearance, peripheral clearance, each with its own grinding settings |
| 4. Flutes | Helix angle, flute length, flute depth, effective rake length |
The angle values depend on the workpiece material and the tool material, and come from experience, cutting handbooks or trials. Whether to add back taper is covered in Do You Need an End Mill With Back Taper: When It Pays and When It Is Wasted Money.
4. The Last Six Groups: Edge Angles and Offsets
The last six groups decide how the edge cuts and how each operation runs:
| Parameter group | What it contains |
|---|---|
| 5. Peripheral clearance | Primary and secondary clearance angles and widths, flute length |
| 6. End-tooth clearance | Primary and secondary clearance angles and widths, long and short tooth lengths |
| 7. End-tooth rake | Depth of cut, inclination, gash width |
| 8. Short teeth | Position, distance from center, depth of cut, inclination, width |
| 9. Machining settings | Feed rate for each operation |
| 10. Auxiliary settings | Safety distance before each operation, offset values |
The number of short teeth depends on the flute count; a 4-flute end mill has two. Use offsets as little as possible: correct machining errors by adjusting the wheels precisely, not by forcing them out with offset values.
5. Simulation and Inspection: Grind It Once in the Software
When the parameters are in, simulate first and check that the tool profile and end-tooth projection are correct, so the real grind does not interfere or collide. Measure the finished diameter with a micrometer, using a three-flute micrometer for 3-flute tools; keep the force light, or micro-chipping comes easily. A tool presetter measures more precisely and also shows defects or interference.
General inspection after grinding is covered in Inspecting a Tool After Regrinding: Three Ways to Check a Turning Tool and Four Checks for a Reamer; wheel mounting and the two height offsets in Wheels for Tool Grinding: Abrasive, Shape and the Two Height Offsets. How a smaller diameter after regrinding affects performance is in Section 5 of Solid Carbide, Exchangeable-Head or Indexable End Mill: Check Diameter First, Then Tool Change and Accuracy.
Frequently Asked Questions (FAQ)
Q: How many wheels do I need to grind an end mill on a tool grinder?
For a 4-flute Ø10 end mill, for example, one shape each for flutes, end-tooth rake and clearance, three in total; add a fine-grit set for finishing and it becomes six.
Q: What are the ten geometry parameter groups for an end mill?
Tool type, basic dimensions, operation sequence, flutes, peripheral clearance, end-tooth clearance, end-tooth rake, short teeth, machining settings and auxiliary settings.
Q: The ground size is off. Should I adjust the offset values?
Avoid it where you can. Correct machining errors by adjusting the wheels precisely rather than forcing them out with offset values.
Q: What should I watch when measuring the ground diameter?
Keep the micrometer force light, or micro-chipping comes easily; use a three-flute micrometer for 3-flute tools, and a tool presetter for more precise measurement and defect checks.
This article belongs to Tool Regrinding: The Complete Guide — Decide Whether to Grind, Then Look Up How, With What, and How to Check; see that guide for the reading order of the whole line.
Last updated: 2026-10-19









