
Planning the Cutting Sequence: Roughing, Semi-Finishing and Finishing
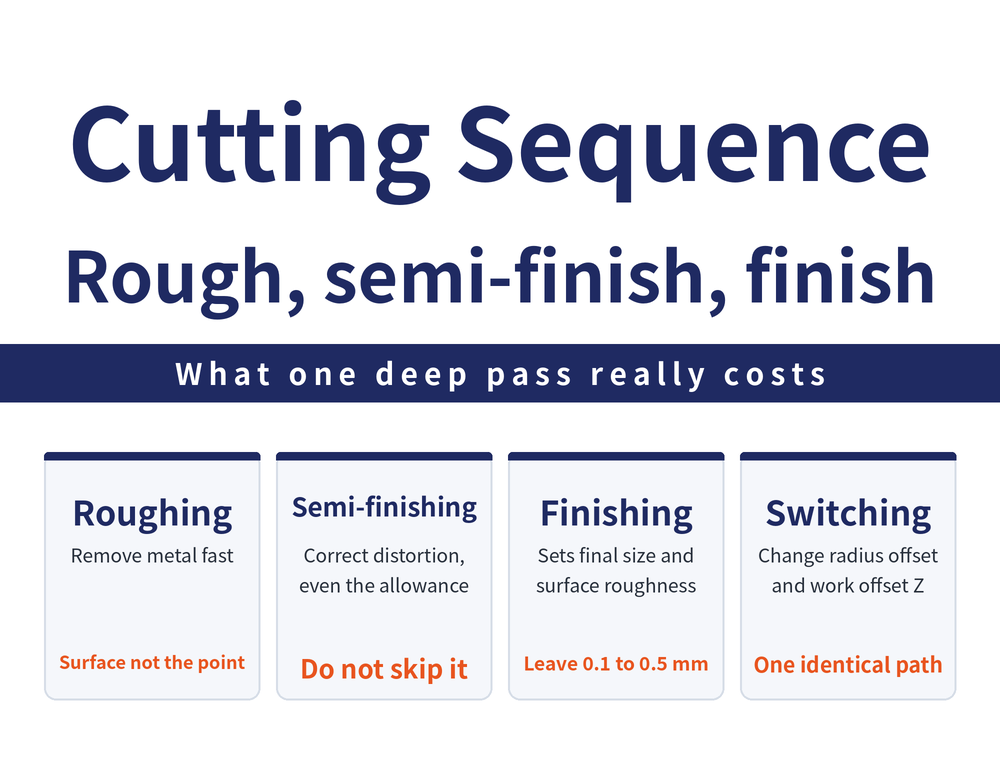
Cutting a dimension in one pass and cutting it in three gives completely different results. Splitting the work into stages is not caution — it is because roughing and finishing are chasing opposite things. This article covers what each stage is for, how to set the allowance, and how accuracy grades map onto machining methods.
1. Why Split the Work into Stages
Taking it all in one pass produces three things: high cutting force, a lot of heat, and rapid tool wear. Together they lead to the same outcome — the size is not accurate and the surface is not good.
There is a less visible reason too: after a large amount of material is removed, residual stress redistributes and the part can move. The value of staging is that it leaves the distortion at a point where there is still allowance to correct it.
2. What Roughing Is Chasing
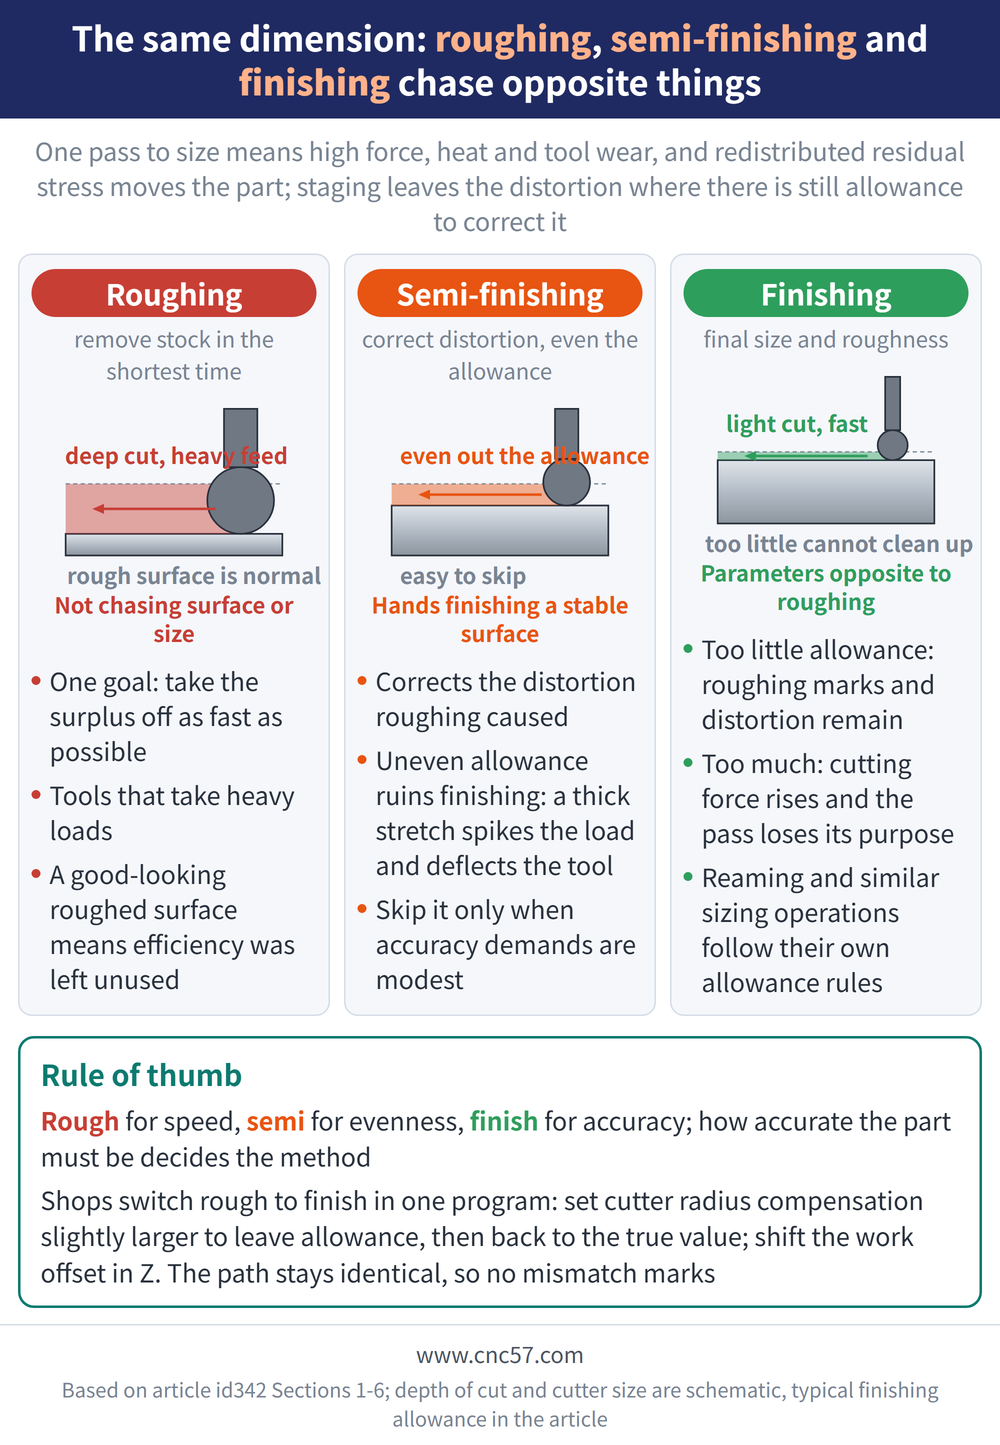
Roughing has one goal: remove the surplus material in the shortest time. It is not chasing surface quality and it is not chasing exact size — those belong to the later stages.
So roughing parameters lean towards large depth of cut and heavy feed, and tool choice leans towards types that take heavy loads. Put another way, a roughed surface that looks rough is normal; one that looks good suggests the available efficiency was not used.
3. The Semi-Finishing Stage
Semi-finishing sits in the middle and is easy to skip, but it does two jobs: correcting the distortion roughing caused, and evening the allowance out.
An uneven allowance makes accurate finishing impossible. Finishing takes a very small depth of cut, so if the allowance suddenly thickens in one stretch, the load on the tool spikes, the tool deflects and the size goes with it. That is what semi-finishing is worth — it hands finishing a surface with stable conditions.
4. Finishing and Setting the Allowance
Finishing decides the final size and surface roughness, and its parameters run opposite to roughing: small depth of cut, higher speed, lighter feed.
The allowance left for finishing is typically about 0.1 to 0.5 mm (typical range; adjust for material, tooling and part rigidity). Too little and the tool marks and distortion from roughing cannot be removed; too much and the cutting force rises, which defeats the purpose of a finishing pass.
Size-refining operations such as reaming follow their own allowance rules, different from milling finishing, and should follow the tool catalogue's recommended values.
5. Matching Accuracy Grade to Machining Method
How accurate the part has to be decides which method is used — the most practical relationship to have in mind when sequencing:
| Stage | Approximate accuracy | Surface condition |
|---|---|---|
| Roughing | Loose; not a basis for final size | Visible tool marks |
| Semi-finishing | Moderate; prepares conditions for finishing | Even but not yet to requirement |
| Finishing | Meets the tolerance grade on the drawing | Meets the roughness on the drawing |
For holes the mapping between IT grade and method is more definite — drilling, core drilling, reaming and boring each reach their own band — see Improving Hole Accuracy; for how roughness is defined see Surface Roughness: Ra, Rz Explained.
6. In Practice: Switching Between Rough and Finish
The usual shop method is not two separate programs but one program with changed offsets:
For roughing, the cutter radius compensation is set slightly larger than the actual radius, which pushes the path outwards and leaves allowance; for finishing it is set back to the true value and the same path cuts to final size. In Z the same effect is normally achieved by shifting the work offset Z value.
The advantage of this method is that the path is identical — roughing and finishing follow the same trajectory, so no mismatch marks appear where two programs would have differed.
7. Frequently Asked Questions (FAQ)
Q: Can semi-finishing be skipped?
Where accuracy requirements are modest, yes. But it corrects roughing distortion and evens the allowance; skip it and finishing meets an uneven allowance, which lets the size drift.
Q: How much allowance should be left for finishing?
Typically about 0.1 to 0.5 mm, adjusted for material, tooling and part rigidity. Too little leaves tool marks behind; too much defeats the purpose of the finishing pass.
Q: Is a poor-looking roughed surface normal?
Yes. Roughing chases removal efficiency only, not surface or exact size. A roughed surface that looks too good suggests the available efficiency was not used.
Q: Do roughing and finishing need two separate programs?
Not necessarily. Shops commonly switch by changing the cutter radius compensation and the work offset Z value in one program, which keeps the path identical and avoids mismatch marks.
This article is part of Manufacturing Process: The Complete Guide - Set the Datum First, Then Sequence, Allowance and Dry Cutting; that guide shows how the whole topic fits together.









