
Still Not Lasting After a Regrind: The Three-Point Seven-Edge Form and Four Life-Extending Techniques
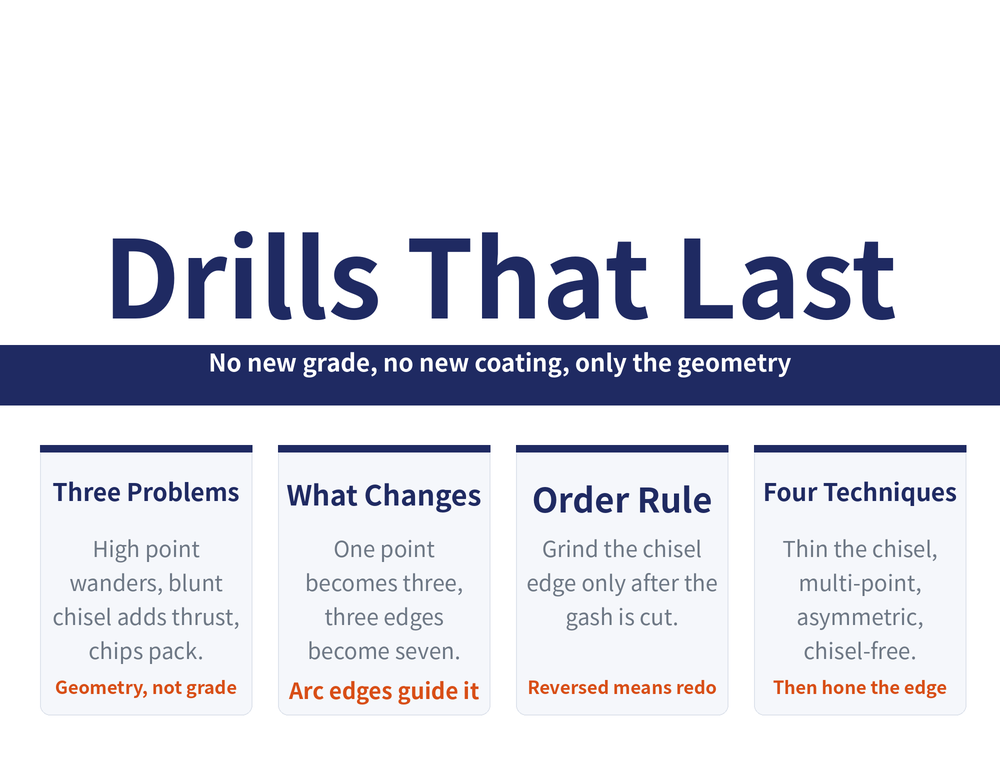
The same HSS drill, no change of grade and no new coating — geometry alone can lift its life. This guide covers two things: how and in what order to regrind a standard twist drill into the three-point seven-edge form, and four proven life-extending techniques.
1. Three built-in problems of the standard twist drill
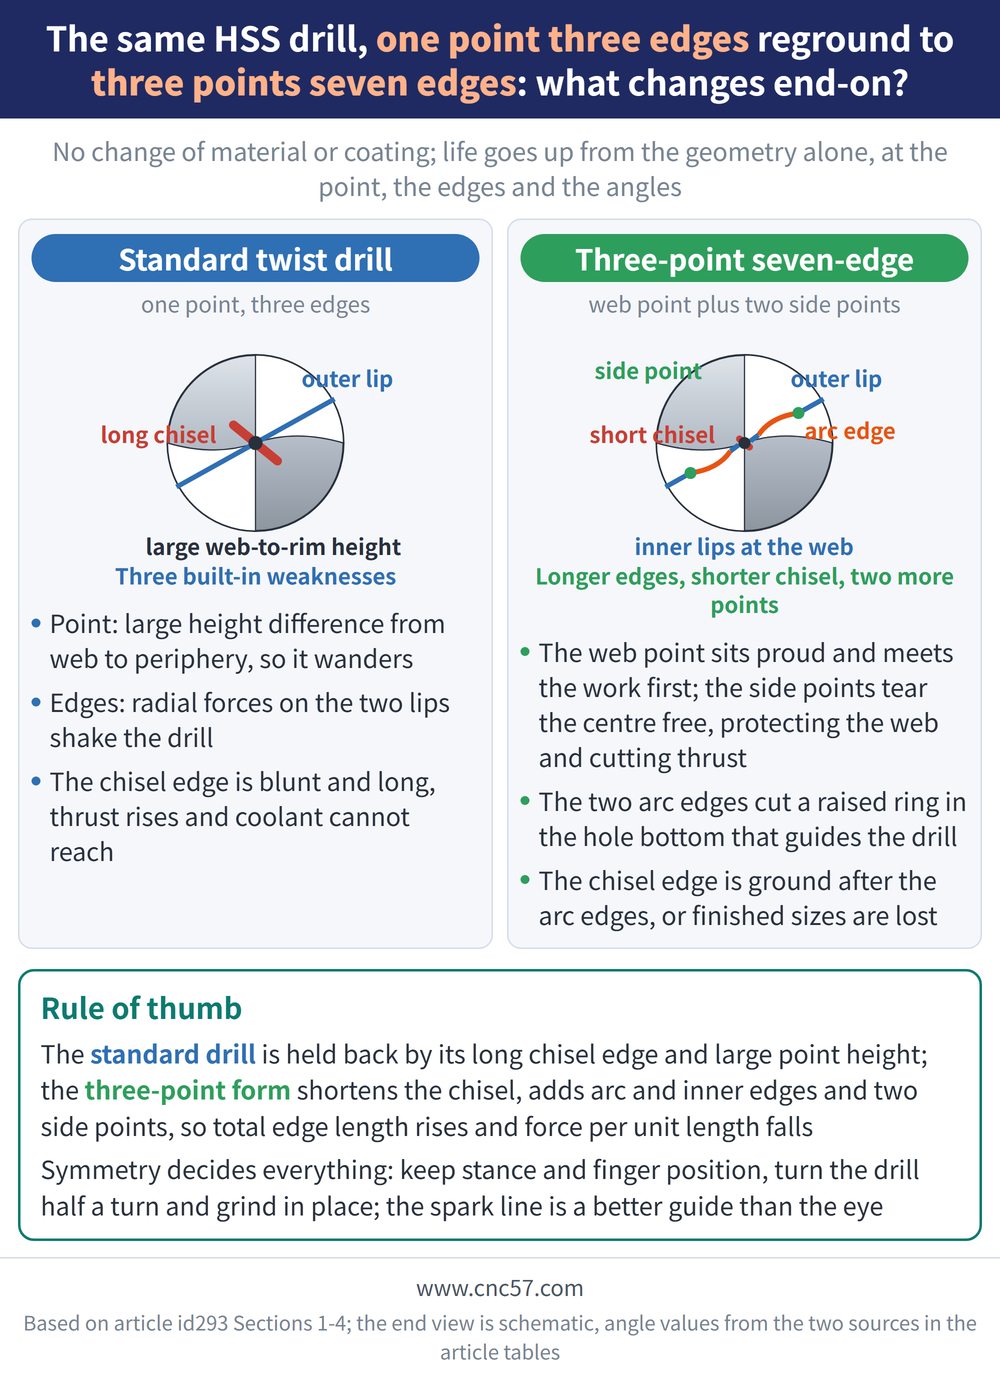
To extend life you first need to know what is holding it back. The source book splits the weaknesses of a plain twist drill into point, edges and angles:
| Area | Problem |
|---|---|
| Point | Large height difference from web to periphery, so the drill wanders and the centre is unstable |
| Edges | Radial force components on the two outer lips shake the drill; the chisel edge is blunt and long, so thrust rises steeply |
| Angles | At the factory 118°±2°; in carbon steel the axial rake is small and wide thin chips pack the flute, coolant cannot reach the lip and feed cannot be raised |
For reading wear patterns see Drill Wear Analysis; for the heat, feed and coolant layer see Factors Affecting Drill Tool Life.
2. What the three-point seven-edge form changes
The three-point seven-edge form (Chinese sources call it the "qunzuan" drill) is a high-efficiency geometry reground from a standard twist drill, with no change of tool material. Against the original one-point three-edge form:
| Item | Standard → reground | Why it helps |
|---|---|---|
| Points | 1 → 3 (web point plus two side points) | The web point sits slightly proud and meets the work first; the side points then tear the central metal free, protecting the web and cutting thrust |
| Edges | 3 → 7 (two outer, two arc, two inner plus a short chisel edge) | Total edge length rises so force per unit length falls; the two arc edges cut a raised ring in the hole bottom that guides the drill and keeps it straight |
| Angles | 8 → 11 | The source counts points, edges and angles at 21:8. The long chisel edge becomes short, and one outer flank may take a chip-splitting notch |
3. The six grinding steps
| Step | Target |
|---|---|
| 1 Point height | Starting from a point angle already at 118°±2°, take the point down to about half its full height to save work later |
| 2 Flanks | Both flanks even and symmetrical, width reduced by about half; chip space grows and coolant reaches the edge sooner |
| 3 Outer lips | Point angle 140°~150°, outer lip keeping at least 1/2~2/3 of its original length, clearance about 10°~15° |
| 4 Arc edges | Each arc edge about half the outer lip length, arc clearance about 15°, chisel edge angle about 50°, inner point angle about 100°~120°, point height 0.5~0.8mm |
| 5 Inner lips | Inner lip width down to half the arc edge length, inner rake about −10°~15°, inner inclination 15°~20°, chisel edge 0.05~0.08mm |
| 6 Chip notch | Optional; usually skipped under φ13mm. Grind one in a single outer lip with a thin resin wheel to balance radial force and split wide chips |
Three practical points: (1) when moving to the matching edge, keep your stance and finger reference unchanged and turn the drill 180° in place; (2) reading the spark line beats judging symmetry by eye, and is faster; (3) dress the 90° intersection of periphery and side of a new wheel lightly with a diamond dresser, or the arc and inner edges get an undercut that concentrates stress and chips. The source records a φ12mm drill reground to a stainless-steel form in about 1.5 minutes, with output up by more than double.
4. Two books, two sets of figures — which one?
For the same geometry, the two source books break the steps down differently and do not agree on the angles. Both are set out here without reconciliation; in practice go by your own test grind.
| Item | Source A (above) | Source B |
|---|---|---|
| Step breakdown | Six: height / flanks / outer lips / arc edges / inner lips / notch | Four: outer straight lip / gash / chisel and inner lip / notch |
| Outer point angle | 140°~150° | 125° (general steel) / 135°~140° (deep holes, stainless) |
| Inner point angle | About 100°~120° | 135° |
| Chisel edge angle | About 50° | 65° (steel) / 60° (hard material) |
| Arc edge clearance | About 15° | 12°~18° |
🔴 One rule of order cannot be swapped: grind the chisel edge only after the gash (arc edges). Cutting the gash changes the size of the chisel edge and inner straight lip, so reversing the order undoes work already done. Everything else — grinding position, shank up or down, the angle values themselves — can be adapted to the wheel, personal habit and the material.
5. Three life-extending techniques
| Technique | How | Reported effect |
|---|---|---|
| Thin the chisel edge (large diameters) | Take the chisel edge width down to 0.02 of the diameter (1.4mm on φ70); regrind both sides into inner lips, lifting rake from −60° to about 30° | The share of thrust carried by the chisel edge drops from 57% to 15% |
| Multi-point multi-edge (large diameters) | Regrind the lips into five points and nine edges. For φ70: point angles 125°/130°/135°, twin point heights 1.5mm each, R4mm, outer lip 12mm, chisel edge angle 65°, inner inclination 25°, clearances 12°~16° | Thrust down more than 50%, torque down 10%~30%, life up 2~3× |
| Chisel-free | Set the drill at an angle to the wheel periphery and grind a groove across the chisel edge, removing it entirely to leave six points and eight edges | Removes the main source of thrust; the source places it in batch cast-iron work, with a dedicated jig for hole spacing |
6. The fourth technique: asymmetric regrinding
Normal regrinding aims for symmetry; this does the opposite, adding a further grind on one lip only. Type I takes more off part of the relief face on the chisel edge side, shifting the chisel edge and opening the point angle by about 5°. Type II grinds a 0.15mm step, leaving the point angle unchanged.
From a single source case (φ20.75mm HSS twist drill, emulsion coolant, high-manganese steel): life rose from 7.8 minutes with symmetrical regrinding to 18.4 minutes for Type I and 28.6 minutes for Type II. Type II drops torque and thrust together by about 25%, because it does not open the point angle — rake and chisel edge length stay as they were.
Choosing: use it only on hard-to-cut materials. When the whole system — machine, tool, fixture, workpiece — lacks rigidity, use Type II; Type I suits carbide drills in harder material. The side effect is a slightly larger hole (check it still sits inside tolerance), traded against the radial chatter and grabbing that symmetrical regrinding often brings. ⚠ The thrust column in that source table is inconsistent in magnitude, so only the life figures and the direction of the result are quoted here.
7. The last step: edge honing
A drill finished freehand on a bench grinder usually has a rough lip — under a glass the edge is visibly serrated, and that alone eats into life; carbide drills are especially prone to chipping. The method: on drills φ15mm and above, after hand regrinding, hone the flanks of both lips with an F180 aluminium oxide stone (silicon carbide for carbide drills), rounding every intersection on the flank to R0.2mm or less. The source reports more than double the life after this honing.
For angle setting and edge honing when carbide drills are machine reground, see Carbide Drill Regrinding Guide; for the three baseline angles and how to inspect them, see Regrinding HSS Twist Drills; for reading HSS grades, see HSS Grade Decode Guide.
8. Frequently Asked Questions (FAQ)
Q: What is the most noticeable gain from the three-point seven-edge form?
Straighter holes and the confidence to raise feed. The two symmetrical arc edges cut a raised ring in the hole bottom that guides the drill, total edge length rises so force per unit length falls, and a shorter chisel edge cuts thrust.
Q: Can I change the grinding order to suit myself?
Mostly yes, with one exception: the chisel edge must be ground after the gash (arc edges). Cutting the gash changes the size of the chisel edge and inner straight lip, so reversing the order undoes work already finished.
Q: Grinding the lips unequal — is that not simply a bad grind?
Normally yes, symmetry is the target. Asymmetric regrinding is a deliberate advanced technique used only on hard-to-cut materials, and it does open the hole slightly, so confirm it stays inside tolerance. Where rigidity is poor, choose Type II — it does not open the point angle.
Q: Do small drills need edge honing too?
The source sets this step at φ15mm and above. Hone the flanks of both lips with an F180 aluminium oxide stone (silicon carbide for carbide), rounding the intersections to R0.2mm or less, for more than double the life.
This article is part of Tool Regrinding: The Complete Guide — Decide Whether to Grind, Then Look Up How, With What, and How to Check; that guide shows how the whole topic fits together.
This article is part of Drill Bits: The Complete Guide - Start From Depth-to-Diameter, Then Pick the Drill and Set the Conditions; that guide shows how the whole topic fits together.
Published: 2026-08-17|Last updated: 2026-08-17









