
Regrinding HSS Twist Drills: Point Angle, Clearance, Chisel Edge and How to Inspect
Sharpening a drill by hand comes down to three angles: point angle, clearance and chisel edge angle. This guide sets out the standard values, the four movements on the bench grinder, the six symmetry conditions to watch, and which kind of bad hole each grinding error produces.
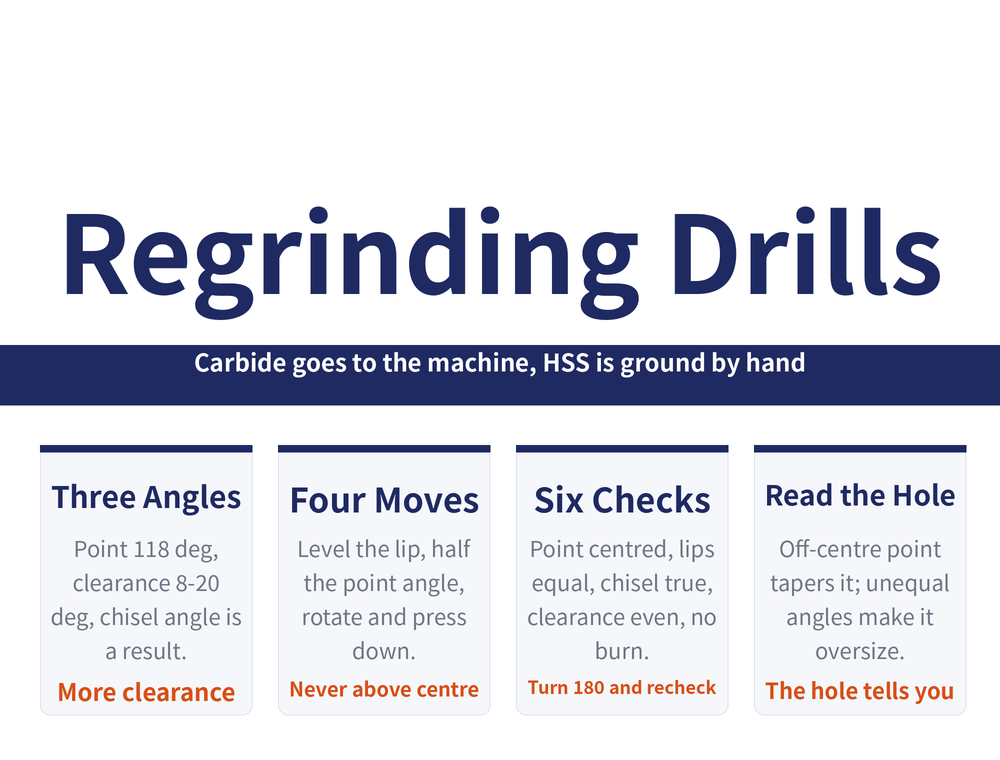
1. Carbide goes to the machine, HSS is ground by hand
Split the job first. Carbide drills are reground on a tool grinder to bring the geometry back — that route is covered in Carbide Drill Regrinding Guide. This guide is about the HSS twist drill, which on most shop floors is still brought back by hand on a bench grinder, using a white aluminium oxide wheel.
Whether regrinding is worth it at all, and when to buy new instead, is covered in Is Regrinding and Recoating Worth It.
2. The three angles you are actually controlling
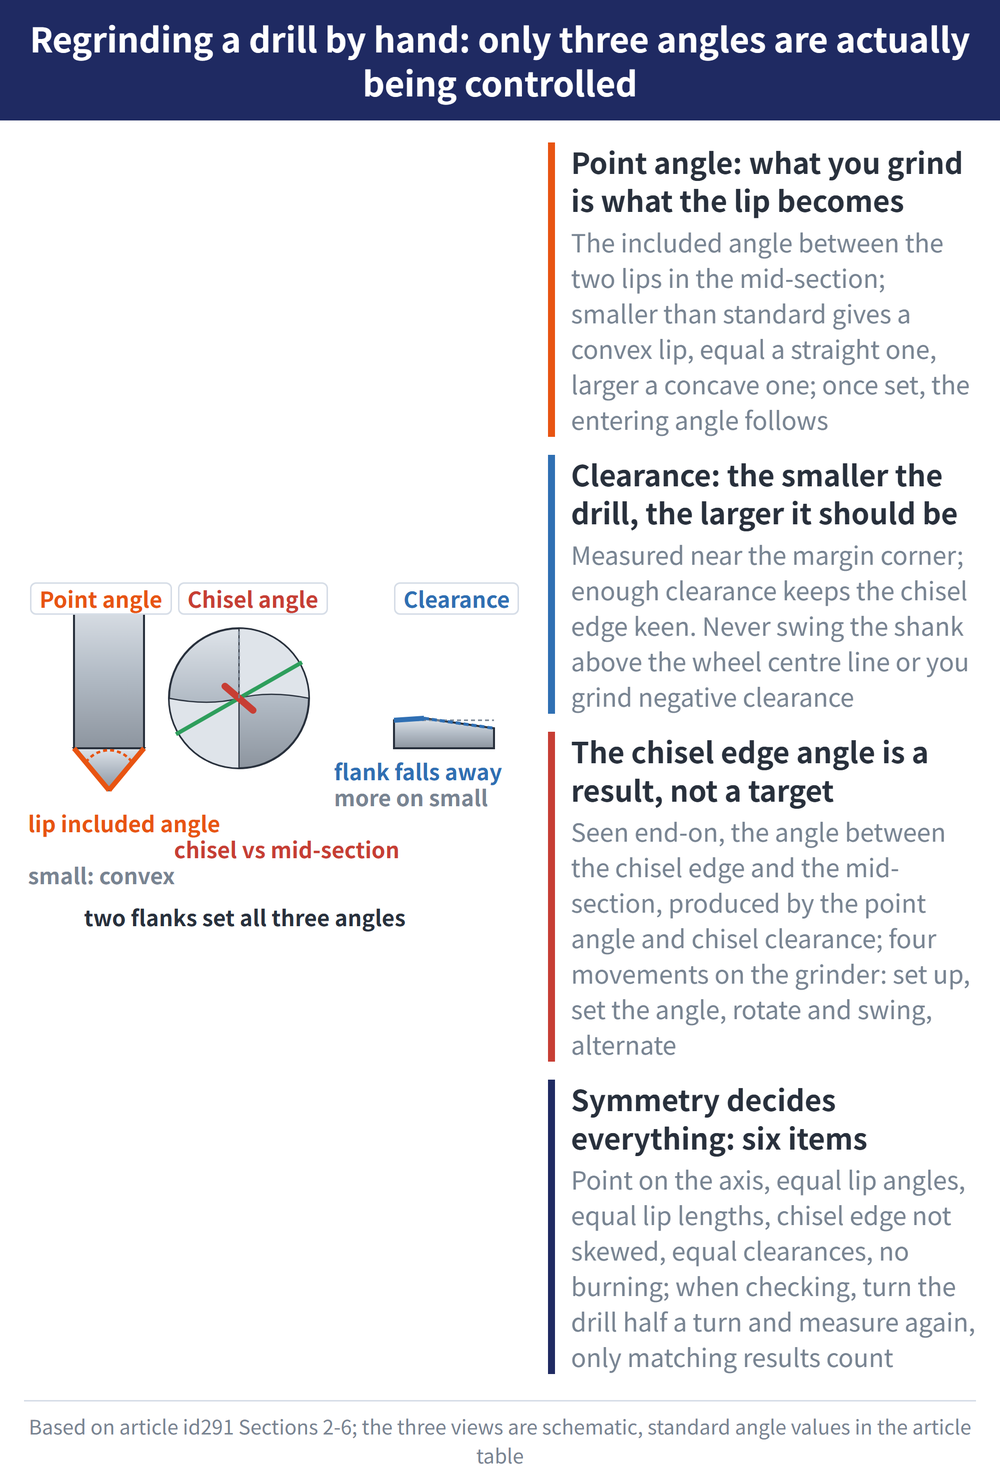
Regrinding a plain twist drill means grinding two flanks — and that one action sets all three angles below. For the part names, see Drill Bit Anatomy Explained.
| Angle | What it is | Standard value and rule |
|---|---|---|
| Point angle 2φ | Included angle between the two cutting lips in the mid-section | Standard twist drills for steel and cast iron are designed at 2φ₀=118° |
| Clearance angle αf | Clearance measured in the cylindrical section near the margin corner | 8°~20° for medium diameters; the smaller the diameter, the larger the clearance, so the chisel edge stays keen |
| Chisel edge angle ψ | Angle between the chisel edge and the mid-section, seen end-on | A result, not something you grind directly; with 2φ=116°~118° and chisel clearance 36°~39°, ψ lands at 47°~55° |
The point angle decides the shape of the lip: ground under 118° the lip is convex, at 118° it is straight, over 118° it is concave. Once the point angle is set, the entering angle follows at roughly half of it. How helix angle and web thickness affect cutting is covered in Drill Geometry and Function.
3. On the bench grinder: four movements
| Step | Movement |
|---|---|
| 1 Set up | Bring the cutting lip roughly level, with the grinding point near the horizontal centre line of the wheel |
| 2 Set the angle | In the horizontal plane, the drill axis meets the wheel periphery at half the point angle |
| 3 Rotate and swing | Right hand turns the drill head about its axis, left hand swings the shank up and down in an arc while feeding into the wheel to form the flank and its clearance. The shank must never swing above the wheel centre line or you grind negative clearance |
| 4 Alternate | The lip touches slightly above the wheel centre plane first; the right hand rotates the drill slowly upward under pressure while the left hand presses down, the rate set by how much clearance you want. Alternate the two flanks and repeat until finished |
4. Six things to watch while grinding
Both lips must be symmetrical about the drill axis. That is where the job is won or lost:
| Item | What good looks like |
|---|---|
| Point position | Drill point centred on the drill axis |
| Lip angles | Both lips at the same angle to the axis |
| Lip lengths | Both lips the same length, at the same height |
| Chisel edge | Not skewed, symmetrical left and right about the axis |
| Clearance and flanks | Equal clearance on both sides, both flanks lying on the same surface |
| Temperature | No burn, no chipped point; near the finish, grind from the lip toward the heel so the edge does not anneal |
5. Checking the grind: two methods by hand
Both share one key move — turn the drill 180° about its axis and measure again. Only matching results mean the grind is symmetrical.
| Method | How | Watch out |
|---|---|---|
| By eye | Hold the drill upright close to vertical against a clean background and compare lip heights | One lip sits behind the other, so parallax misleads you into calling the left lip high. Turn 180° and compare several times; equal difference means symmetrical |
| Universal bevel protractor | Rest the blade on one lip, read the angle and the lip length, then turn 180° and repeat on the other lip | Both angle and length must match before you call it symmetrical |
Know the limits first: checking by eye is low in accuracy, and template and protractor methods are also imprecise because of the shape of the drill itself. Tight holes need the dedicated gauges in the next section.
6. What a bad grind does to the hole
Three common errors, three distinct holes — so the hole tells you what went wrong at the grinder:
| Grinding error | Resulting hole |
|---|---|
| Equal point angles but the point is off the axis | The drill turns about the displaced point, so the hole is larger than the drill; once through, it returns to its own axis and the hole narrows — a tapered hole, small at exit |
| Point on the axis but unequal point angles | Lips of unequal length, only one cutting; the feed force component pushes the point off centre — an oversize hole |
| Start-up centring error plus an off-axis point | The hole centre falls anywhere inside a zone rather than on one point — position error |
Both cases let the drill wander, which also makes the hole out of square and the wall out of round. For the full troubleshooting order see Drilling Troubleshooting Guide; for holding a tolerance grade, see Improving Hole Accuracy.
7. Measuring it properly: three dedicated methods
| Method | How it works |
|---|---|
| Drill grinding gauge | The drill sits between a centring block and a centre. Bring the square end of the sliding plate against the diameter and rotate: both margins tangent to the square edge means the point is on the axis. Turn the plate to its complementary end to compare the two point angles. Lay the drill flat with the lip against the graduated guide block to read clearance |
| Angle template | A plate cut to known angles, laid against different parts of the drill: inverted for point angle and lip length, against the chisel edge for chisel edge angle |
| Dial indicator setups | A taper sleeve in a base, rotated under a dial indicator; or a V-block with the drill laid flat and rotated to read runout on both lips |
Two conditions: thin the chisel edge first, then regrind the point angle twice so the point comes onto the axis, and only then dress the two lips. Note also that a gauge of this type reads the cone angle at the point, not the projected point angle 2φ. The difference is small and does not harm normal cutting.
8. Frequently Asked Questions (FAQ)
Q: My holes come out oversize after regrinding — is it the wrong drill?
Usually not a selection problem but asymmetry. Unequal point angles make the lips unequal in length so only one cuts, and the force component pushes the point off centre. Turn the drill 180° and measure both lip angles and lengths with a protractor; if they differ, regrind.
Q: Should a small drill get the same clearance as a large one?
No. Medium diameters take 8°~20°, and the smaller the diameter the larger the clearance should be. The aim is to keep the chisel edge keen and hold down thrust force on small drills.
Q: The drill turned blue while grinding — can I still use it?
Blue means the edge has overheated and annealed, so hardness is gone and life will be visibly shorter. Prevent it by controlling grinding temperature and, as the grind nears finish, working from the lip toward the heel rather than dwelling on the edge.
Q: How do I grind the chisel edge angle to 47°~55°?
You do not grind it directly. It is the result of the point angle and the chisel edge clearance together — the larger the chisel clearance, the smaller the chisel edge angle. Get the point angle and clearance right and the chisel edge angle falls into range.
This article is part of Tool Regrinding: The Complete Guide — Decide Whether to Grind, Then Look Up How, With What, and How to Check; that guide shows how the whole topic fits together.
This article is part of Drill Bits: The Complete Guide - Start From Depth-to-Diameter, Then Pick the Drill and Set the Conditions; that guide shows how the whole topic fits together.
Published: 2026-08-17|Last updated: 2026-10-31









