
Three Tools After the Drill: Regrinding Precision, Core and Counterbore Drills
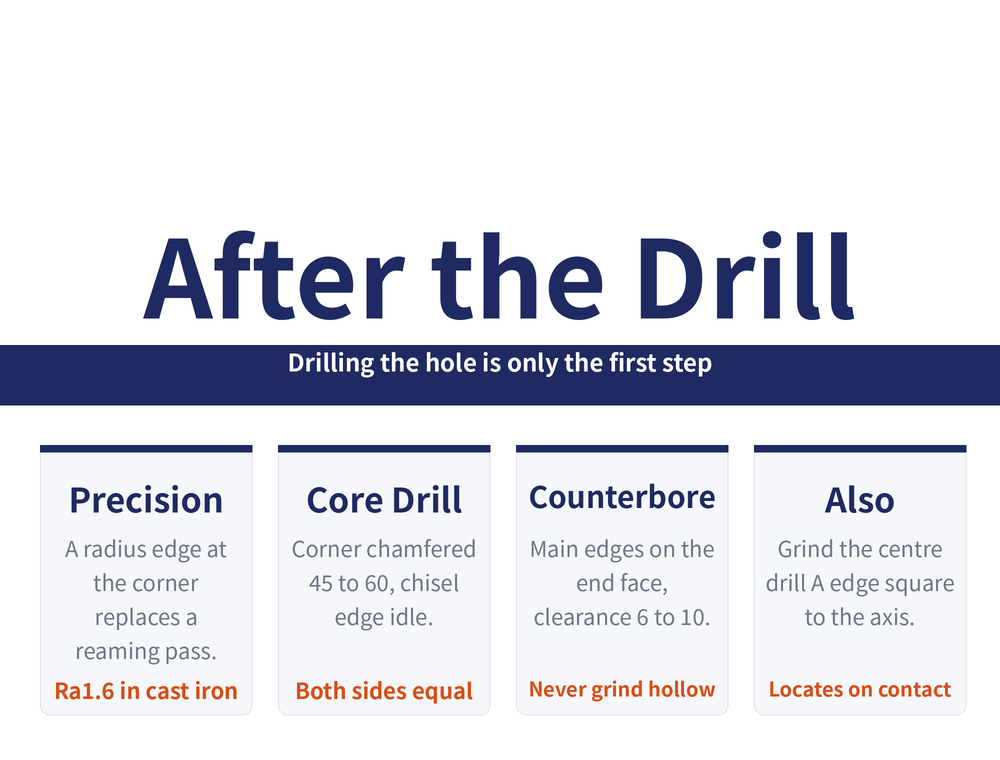
Drilling the hole is only the first step. Getting it accurate, getting it smooth and getting a seat face under the screw head takes three more tools. This guide covers what precision hole drills, core drills and counterbores each solve, how they are reground from a twist drill, and the one hard rule on a flat counterbore — never grind it hollow. A short note on modifying a centre drill closes it out.
1. After the hole, which tool comes next
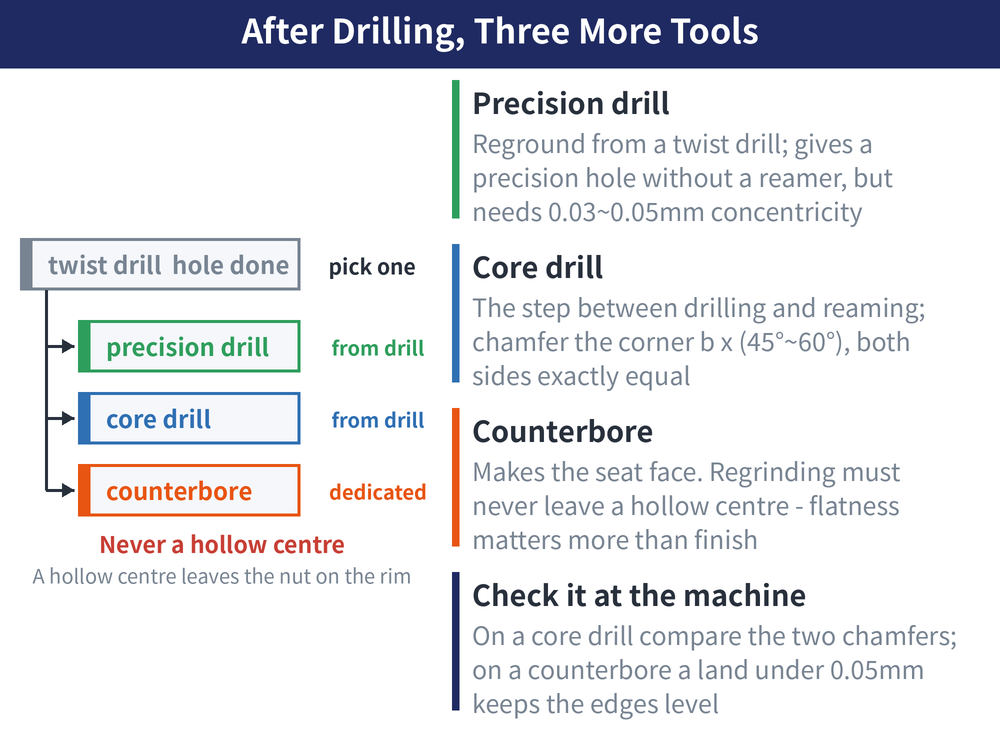
| Tool | What it solves | Where it comes from |
|---|---|---|
| Precision hole drill | Hole must be accurate and smooth without a reaming pass | Reground from a twist drill |
| Core drill | The step between drilling and reaming | Twist drill for one-offs, HSS core drill for volume |
| Counterbore | Counterbored seats and screw clamping faces | A dedicated tool, built much like a core drill |
For how the whole route (drill, core drill, ream, bore) maps onto tolerances, see How to Improve Hole Accuracy; for the twist drill's own three angles, see Regrinding HSS Twist Drills.
2. Precision hole drills: finish without a reamer
Both are reground twist drills; they differ in which operation they serve.
| Type | How it is reground | What it achieves |
|---|---|---|
| Radius burnishing edge type | A radius burnishing edge at the corner of the outer edge and the margin; chisel edge thinned, margin left at 0.2mm, secondary clearance increased | Drilling: Ra1.6μm in cast iron, Ra3.2μm in cast steel; finish core drilling Ra0.8μm either way |
| Steel ream-and-core type | Crescent flute, a transition edge for guidance and a burnishing edge in place of the reamer; minor edge narrowed to 4~6mm | Ra1.6~0.8μm; replaces a ream or bore, 1~2 times more productive |
What both live on is centring and concentricity: the radius type centres on the chisel edge and takes a light cut with the radius to bring the finish down, needing concentricity within 0.03mm; the ream-and-core type needs 0.03~0.05mm and sends chips out below the finished bore so they cannot score the wall.
The source also lists complete geometry and cutting data for a φ20 drill. Those are measured values for one specific size and are not reproduced item by item here; work from the original specification and prove it with your own trial cuts. For the arithmetic, see Machining Formulas Cheat Sheet.
3. Core drills: chamfer the corner
In core drilling the chisel edge does no work: only a short length of each main edge near the periphery removes stock. A twist drill has its greatest rake at the periphery (about 30°) and its weakest section there too, so the corner is chamfered at b × (45°~60°), where the length b follows the radial stock allowance.
Method: grind the point angle and primary clearance first, then set the drill axis at 45°~60° to the wheel periphery with the edge on the wheel centre line; feed in radially to size, then turn the drill slowly about its own axis while feeding radially so the wheel follows the helical flank down to its lowest point; back off, index 180° and do the other side.
Both chamfers must be the same length with matching clearance. Viewed from the point, two roughly parallel curves on the chamfered flank mean the chamfer clearance is about equal to the drill clearance, which is correct. For volume work, use an HSS core drill instead: shank type below 25mm, shell type on an arbor above 25mm, cutting taper usually made of a 30° and a 60° angle, with the face and the taper clearance ground separately on a universal tool grinder.
4. Counterbores: never grind them hollow
A flat counterbore faces bosses and internal steps, usually the clamping face under a nut or screw head. Finish matters little there, but for reliable clamping the centre must not stand proud — so a flat counterbore is never ground hollow. That is the one rule.
Its structure is close to a core drill but has no cutting taper: the main edges are on the end face. The peripheral teeth do not cut and their margin is wide, so they need no regrinding — only about 1° of back taper on the outside to reduce rubbing on the bore wall. The pilot on the nose comes off, which is what makes the end teeth reachable.
| Item | Method and figures |
|---|---|
| Wheel dressing | On HSS, dress about 5° of hollow with a diamond point; on carbide, a hand-held superabrasive stick will do |
| Wheelhead angle | Swing 30′~1° in the direction the wheel withdraws |
| Workholding | Three-axis fixture with an arbor or a taper-shank chuck; make the arbor nose to the counterbore bore, slightly tapered for quick changes |
| Main edge clearance | Generally 6°~10° |
| Land | Leave a land no wider than 0.05mm when grinding the flank, so all edges stay at the same height |
The movable rest supports the outer end of the main edge, but the rest is only the datum for indexing, not what sets the clearance — clearance comes from rotating the fixture about the cutting edge.
5. Also worth knowing: modifying a centre drill
Grind the centre drill's A edge square to the axis, and centre drilling is located the moment that edge touches the end of the shaft. Centre holes made this way meet the requirement for axial locating interchangeability between parts, and the job gets simpler. The source records this as an efficiency practice without supporting conditions — worth trying, not a rule. For the reaming end of the same route, see Regrinding a Reamer.
6. Frequently Asked Questions (FAQ)
Q: Can a precision hole drill really replace a reamer?
Under the right conditions, yes. The steel ream-and-core type reaches Ra1.6~0.8μm and the source records it as 1 to 2 times more productive than reaming or boring, which suits odd hole sizes or a shop with no dedicated reamer. But it demands 0.03~0.05mm concentricity, so not every drilling machine will get it.
Q: Why must the corner be chamfered for core drilling?
Because the chisel edge does nothing in core drilling and all the cutting falls on a short length of each main edge at the periphery — exactly where a twist drill has the most rake (about 30°) and the least strength. Without the chamfer it grabs and chips. Take 45°~60°, with the length set by the radial stock.
Q: What happens if a counterbore is ground slightly hollow?
The faced surface ends up proud in the middle, so the nut or screw head only touches at the rim and the clamp is unreliable. Finish is not the point on these faces — flatness is, which is why hollow grinding is not allowed.
Q: How do I confirm symmetry after grinding these?
On a core drill, check that both chamfers are the same length and that the chamfered flanks read as two roughly parallel curves from the point. Precision drills must be ground symmetrically with no nicks. Counterbores rely on the sub-0.05mm land to keep every edge at one height. All three are checked at the machine.
This article is part of Tool Regrinding: The Complete Guide — Decide Whether to Grind, Then Look Up How, With What, and How to Check; that guide shows how the whole topic fits together.
This article is part of Drill Bits: The Complete Guide - Start From Depth-to-Diameter, Then Pick the Drill and Set the Conditions; that guide shows how the whole topic fits together.
Published: 2026-08-18|Last updated: 2026-08-18









