
Grinding Practice Rules: 7 on Workholding, 4 on the Wheel and 11 on Operation
The general machining practice rules cover what every operation has in common. Grinding has its own sub-code with 22 rules that only apply on a grinder: 7 on workholding, 4 on wheel selection and mounting, and 11 on operation. This article lists them and explains what each one prevents.
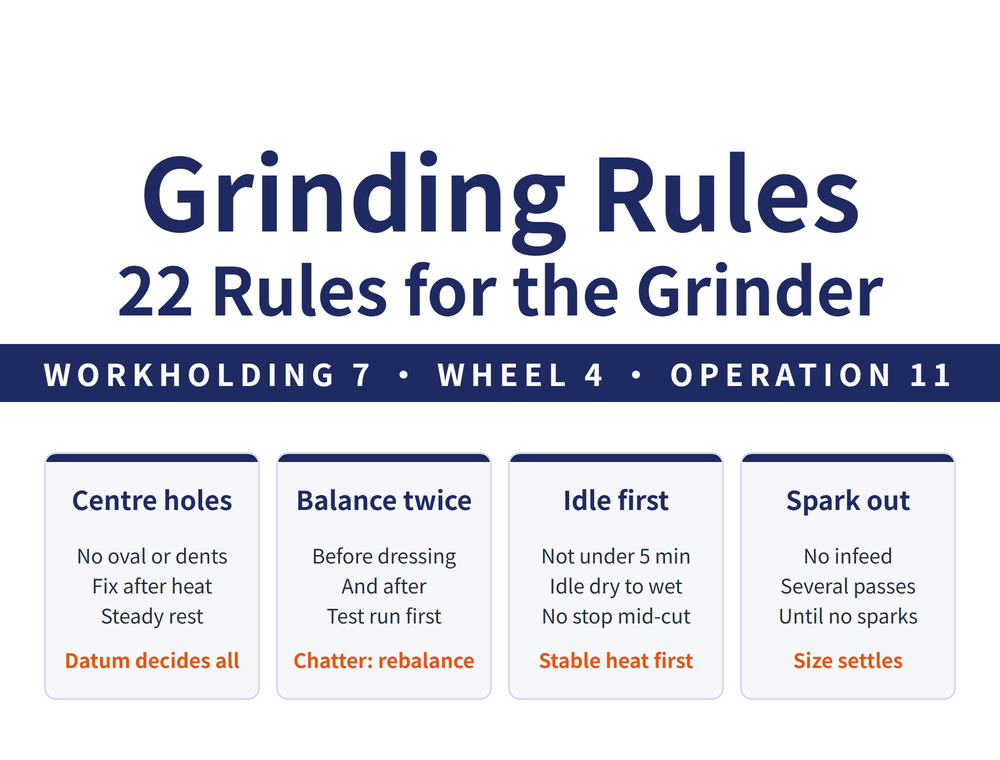
1. What this code covers: the grinding sub-code under the general rules
Preparation before machining, workholding and post-machining care are common to every cutting operation and belong to the general rules; see General Machining Practice Rules: What to Do Before, During Setup, During the Cut and After.
Under those general rules, the Chinese machinery industry standard has a separate grinding sub-code (JB/T 9168.8) that only lists rules specific to grinders, 22 in total:
| Group | Rules | What they prevent |
|---|---|---|
| Workholding | 7 | Bad datums, distortion, parts flying off |
| Wheel selection and mounting | 4 | Unbalance, wheel breakage |
| Operation | 11 | Thermal drift, chatter marks, size loss |
The general rules themselves (JB/T 9168.1) set a requirement from the other direction: how smooth the previous operation has to leave the surface, with an upper limit that depends on what comes next:
| Situation | Surface roughness Ra, max |
|---|---|
| Roughing operations with no roughness specified | 25 μm |
| Before reaming | 12.5 μm |
| Before finish grinding | 6.3 μm |
| Surfaces to be surface-hardened, ultrasonically inspected or burnished next | 6.3 μm |
🔑 None of this is new technology; it is a written list of where things usually go wrong. It works well as a checklist before a new operator runs the machine.
2. Workholding: 7 rules
| # | Rule |
|---|---|
| 1 | Check centre holes first: no ovality, lobing, dents or burrs |
| 2 | Between centres, adjust the tailstock so both centres are on one axis |
| 3 | Thin-wall parts: moderate clamping, and ease it off for finishing |
| 4 | Unbalanced parts: add a counterweight to keep grinding balanced |
| 5 | Tailstock pressure moderate, adjusted as the part expands and shrinks |
| 6 | Slender shafts need a steady rest aligned with headstock and tailstock |
| 7 | On a magnetic chuck, add stops for small-base or tall parts |
⚠ Rule 1 has a second half: after heat treatment, repair the centre holes; for finish grinding, lap them and oil them. The centre hole is the datum for cylindrical grinding, so if it is off, everything after it is off; see Out of Round on the Cylindrical Grinder? Check the Centre Holes First. For distortion of thin parts, see Thin Parts Bow After Grinding: Separate Thermal Distortion from Clamping Distortion.
3. Wheel selection and mounting: 4 rules
| # | Rule |
|---|---|
| 1 | Choose the wheel spec by material, hardness, accuracy and finish |
| 2 | Matching flat flanges, with compressible blotters against the wheel |
| 3 | Static balance before and after dressing; test run after mounting |
| 4 | Keep coolant flowing continuously while dressing |
📌 Rule 4 protects the dresser: a diamond dresser can crack from sudden heating and cooling, so coolant must not be on-and-off.
For reading wheel specifications, see Reading a Grinding Wheel Marking: Abrasive, Grit, Grade, Structure and Bond; for choosing one by workpiece and job, see Choosing Grinding Wheel Grit, Grade, Bond and Structure: Workpiece First, Then the Job, Then the Defect; for flanges and balancing in practice, see Mounting and Balancing a Grinding Wheel: Fit, Flanges, Two-Stage Balance and Amplitude Check.
4. Operation: start-up, stopping and finishing
Of the 11 operating rules, 5 apply to every grinder regardless of type:
| When | Rule |
|---|---|
| Start-up | Run idle first; generally not less than 5 min, depending on room temperature |
| Mid-job | Do not stop mid-cut; stop the feed and retract the wheel first |
| Dry to wet, or back | Idle the wheel about 2 min to shed heat and water |
| After some use | Polygonal chatter marks: remove the wheel and rebalance |
| End of finishing | Several passes with no infeed until sparks stop |
🔑 The start-up idle and the dry/wet idle are the same idea: let the machine and wheel reach a stable temperature first, so size does not start drifting halfway through.
🔴 Stopping mid-cut hurts the surface most: a wheel that stops while pressed on the part leaves a mark at the contact point. The order is fixed: stop the feed, then retract the wheel.
5. Operation: one rule per machine or part type
| Case | Rule |
|---|---|
| Slender shaft | Do not use plunge grinding |
| Thin plates, surface grinder | Turn the part over several times |
| Centreless grinder | Set wheel-to-regulating-wheel angle and blade height; trial parts first |
| Vertical-spindle or slideway grinder | For face finishing, spindle square to table or slideway travel |
| Deep bore | Stiff quill, and reduce wheel speed |
| Taper | Set table swivel first; check often with a taper gauge |
📌 No plunge grinding on slender shafts and the steady rest in section 2 share one reason: the part is not stiff enough and moves away under radial force. For details see Centerless Grinding: Four Methods, Regulating Wheel and Blade Setup, Defects, Why Internal Grinding Is the Hardest: Get the Wheel and the Quill Right First and Choosing a Taper Grinding Method: Cone Angle and Part Length Decide.
6. Frequently Asked Questions (FAQ)
Q: How do the grinding rules differ from the general machining practice rules?
The general rules cover preparation, workholding and post-machining care common to all cutting operations. The grinding sub-code only lists the 22 rules specific to grinders, such as centre hole checks, wheel static balancing and spark-out passes. They sit one above the other; it is not a choice between them.
Q: Why run the grinder idle before grinding?
So the machine reaches a stable temperature and size does not drift as it warms up. The rule is generally not less than 5 minutes, depending on room temperature; when switching between dry and wet grinding, the wheel also idles for about 2 minutes to shed heat and water.
Q: What should be done about polygonal chatter marks on the part?
If polygonal chatter marks appear after the wheel has been in use for a while, the rule is to remove the wheel and rebalance it before continuing. The wheel should already be statically balanced before and after each dressing, with a test run after mounting.
Q: What is spark-out at the end of finish grinding?
Before finishing ends, the infeed is stopped and the wheel makes several more passes until no sparks appear. These passes remove the stock left behind by elastic deflection of the part and wheel, so size and surface settle in a stable state.
This article is part of Grinding Wheels and Machines: The Complete Guide - Reading the Wheel, Mounting It, Dressing It, and Tracing Defects; that guide shows how the whole topic fits together.
Published: 2026-09-23 | Last updated: 2026-10-24









