
Switching Cutting Tool Brands: What to Check First, How to Run the Trial Cut, and Deciding on Cost per Part
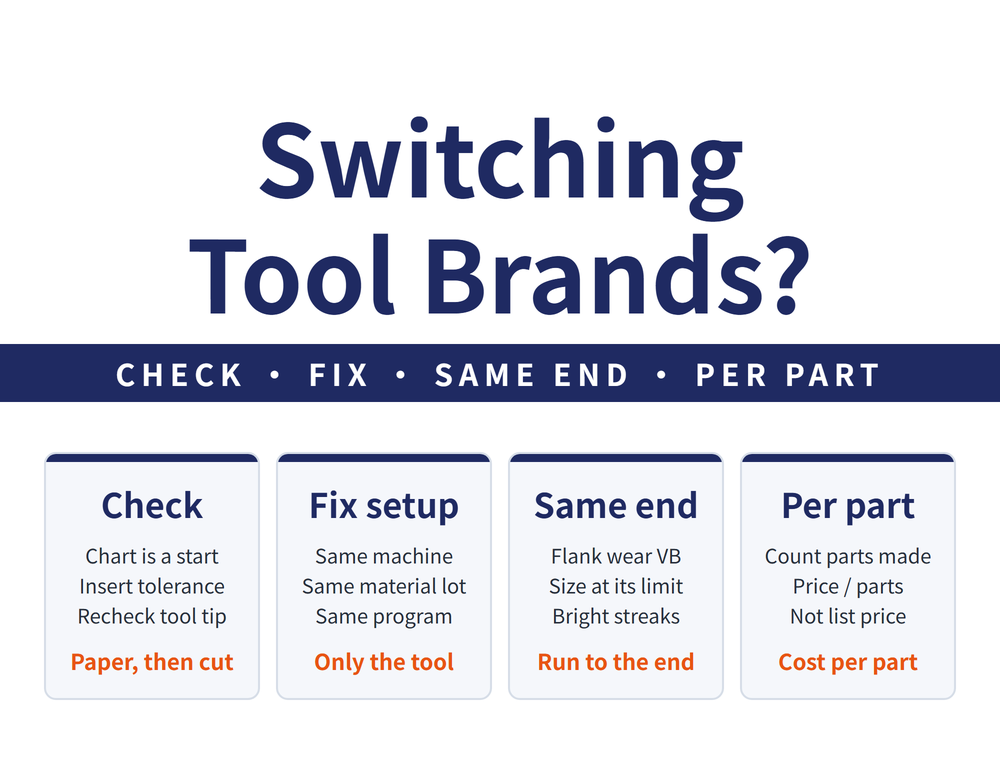
When you switch cutting tool brands, comparing spec sheets is not the end; a trial cut decides it. Before switching, check the insert tolerance class to know whether you must re-measure the tool tip after an insert change. During the trial, keep the machine, work material and program the same, run the old and new tools to the same tool life end point, count tool life in parts, and record the wear pattern, surface and size as you go. Finally, compare tool cost per part, not unit price. Early chipping is breakage: find the cause first and do not count it as tool life.
1. Before switching: two more checks after the paper comparison
The most common case is replacing a familiar imported tool with a Taiwan-made one or another maker's; the method is the same whichever maker you switch to. Which spec fields line up side by side is covered in Comparing Cutting Tool Brands: Which Spec Fields Line Up, and Which Only Count Within One Catalog. After the paper comparison, check two more things:
| What to check | Why | What to do |
|---|---|---|
| Grade cross-reference | A cross-reference chart is a way to find candidates, not proof that two grades are equal | Use it as a starting point, then trial cut under real machining conditions |
| Insert tolerance class | If the tip position is consistent, an insert change or indexing needs no adjustment; if not, a trial cut is needed to find the tip position | Put the tolerance class letters of both makers side by side; on a lathe, measure the tip position difference between old and new inserts and add it to the offset |
To see which ISO application group a grade maps to, see Carbide Insert Coating Chart | ISO Grade Cross Reference Guide, CVD Insert Coating Chart: ISO Classes & Brand Cross-Reference and PVD Insert Coating Chart: ISO Classes & Grade Selection.
⚠ In turning, a difference in tip position can often be absorbed by the tool offset; in milling it has a larger effect.
2. Fix the conditions first: change only the tool
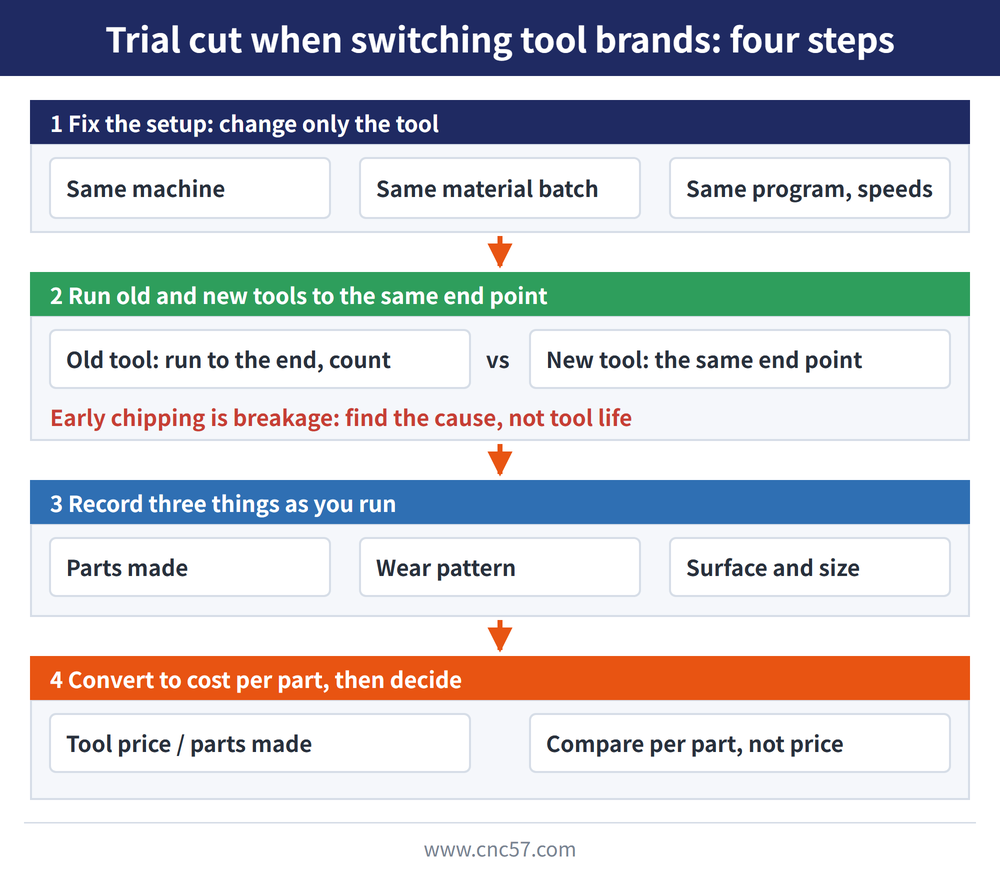
How easily a material cuts is a property of the tool and work material together, not of either one alone. The whole trial follows the four steps below, and the first step is to keep everything except the tool the same:
| Keep the same | Why |
|---|---|
| The same machine | Poor system rigidity causes chipping; change the machine and you cannot tell whether the difference is the tool or the machine |
| The same batch of work material | The same material grade cuts differently when its heat treatment condition or microstructure differs |
| The same program and cutting conditions | Cutting speed is the most critical factor in tool life |
Formal tool life testing has international standards: ISO 3685 for single-point turning tools, and ISO 8688-1 and ISO 8688-2 for face milling cutters and end mills. As early as its 1977 edition, ISO 3685 already specified the chemical composition and heat-treated hardness of the reference work material.
📌 If two catalogs each state a tool life, first check whether each was tested to one of these standards before comparing them.
3. Adjusting conditions for the new tool: start below the recommended value
After comparing under one set of conditions, if the new maker recommends different cutting conditions, recalculate them from its catalog and run a separate round; do not mix it with the earlier round. For the conversion, see End Mill Cutting Conditions Guide | Speed, Feed Rate and Calculation Explained.
Take finishing with a solid carbide end mill as an example: the tool's strength allows a higher feed than the catalog table, and what limits it is surface quality. So start below the table value and raise it step by step until the surface roughness is just good enough; if you work down from the upper limit, every part cut before you reach an acceptable result is a reject.
4. Agree on the tool life end point: how worn counts as worn out
To compare two tools on tool life, agree first on where one round ends. There are four criteria for the end of tool life:
| Where to look | What the end looks like |
|---|---|
| Workpiece surface | Bright streaks appear |
| Cutting edge | Wear reaches a set size |
| Machined size | Size change has reached its limit |
| Cutting resistance | Increases markedly |
In one comparison, use the same criterion for both tools. Once wear reaches a certain amount, cutting force and cutting temperature rise sharply, so change or regrind the tool before rapid wear begins.
How much edge wear to allow is generally decided by testing: to change tools less often, set it close to the start of rapid wear; for finishing, set it by the workpiece accuracy and surface quality. For how long tool life should be to pay off, see How Long Should Tool Life Be: Lowest Cost and Maximum Output Give Different Answers.
5. Flank wear width VB: typical tool-change limits for carbide turning tools
Edge wear is mostly measured by VB, the average width of the flank wear land, because flank wear is the easier one to measure. Once the land reaches this width, the tool should be changed or reground. Typical tool-change limits for carbide turning tools:
| Machining condition | VB at tool change (mm) |
|---|---|
| Finish turning | 0.1 to 0.3 |
| Rough turning alloy steel, or workpieces with poor rigidity | 0.4 to 0.5 |
| Rough turning carbon steel | 0.6 to 0.8 |
| Rough turning cast iron parts | 0.8 to 1.2 |
| Low-speed rough turning of large steel and cast iron parts | 1.0 to 1.5 |
⚠ Source: Table 1-3 in 刀具選用與刃磨 (a Chinese textbook on cutting tool selection and sharpening). These are typical ranges from practice; the machine and material conditions behind them are not stated, and they are not measured by CNC57; set your own limit by trial cutting against your accuracy requirements.
6. Count tool life in parts, and record three things as you run
Tool life can be expressed as cutting time, cutting distance or number of parts machined; since the final step is cost per part, counting parts is the most direct. Record three things in each round:
| What to record | How to read it |
|---|---|
| Parts machined | How many parts from mounting to the end point |
| Wear pattern | At the same end point, what the edge wear looks like |
| Surface and size | Judging by what you observe: in finishing, surface roughness and size; in roughing, chip color and shape, and any abnormal vibration or noise |
To identify wear patterns, see Ten Tool Wear Types: From Five Root Loads to the Right Fix. Batch production already requires a first article inspection, with machining continuing only after it passes; inspect the first part after mounting the new tool in the same way, see General Machining Practice Rules: What to Do Before, During Setup, During the Cut and After.
⚠ Early chipping is breakage, not the edge wearing out. Chipping mostly occurs early in cutting; causes include poor system rigidity, interrupted cutting, uneven stock allowance, or hard spots, porosity or sand holes in the workpiece. Check these first instead of counting it as short tool life for the new tool.
7. Decide on cost per part, not unit price
Purchase price is not the cost of use; what to compare is cost per unit of time or per unit consumed. A low unit price does not guarantee savings, and a high one is not necessarily worth it; let the trial cut numbers decide:
Tool cost per part = tool unit price ÷ parts machined until the tool is scrapped
A tool that is reground goes through several regrinds before it is scrapped, so the regrinding cost also has to be included, see In-house Regrinding vs. Outsourced Grinding vs. Buying New — Which Is Cheapest?. When tool prices move, see Tungsten Prices Are Surging — How Do Machine Shops Defend Tooling Costs? 2025–2026 Market Intel.
If the trial shows you need to revisit insert selection rather than just pick one of two tools, see Turning Tool Selection: A Six-Step Decision Path.
8. Frequently Asked Questions (FAQ)
Q: When switching tool brands, what is left to do after comparing spec sheets?
A trial cut. Check the insert tolerance class and whether the tool tip must be re-measured after an insert change, then keep the machine, work material and program the same and run the old and new tools to the same tool life end point.
Q: How do I set the tool life end point for the old and new tools?
Use the same criterion for both: bright streaks on the workpiece surface, edge wear reaching a set size (mostly flank wear width VB), machined size change reaching its limit, or a marked increase in cutting resistance.
Q: The new tool chipped right away. Does that mean it is no good?
Not necessarily. Chipping mostly occurs early in cutting and is breakage, not wear; causes include poor system rigidity, interrupted cutting, uneven stock allowance or hard spots in the workpiece, so check these first.
Q: How do I finally decide whether to switch?
Compare tool cost per part: the unit price divided by the parts machined until the tool is scrapped. Purchase price is not the cost of use; a low unit price does not guarantee savings, and a high one is not necessarily worth it.
When you put this into practice, the full cutting tool range filters by requirement; for spec questions, ask us on LINE.
Published: 2026-10-27 | Last updated: 2026-10-27









