
Tool Holders: The Complete Guide - One End Meets the Spindle, the Other Holds the Cutter
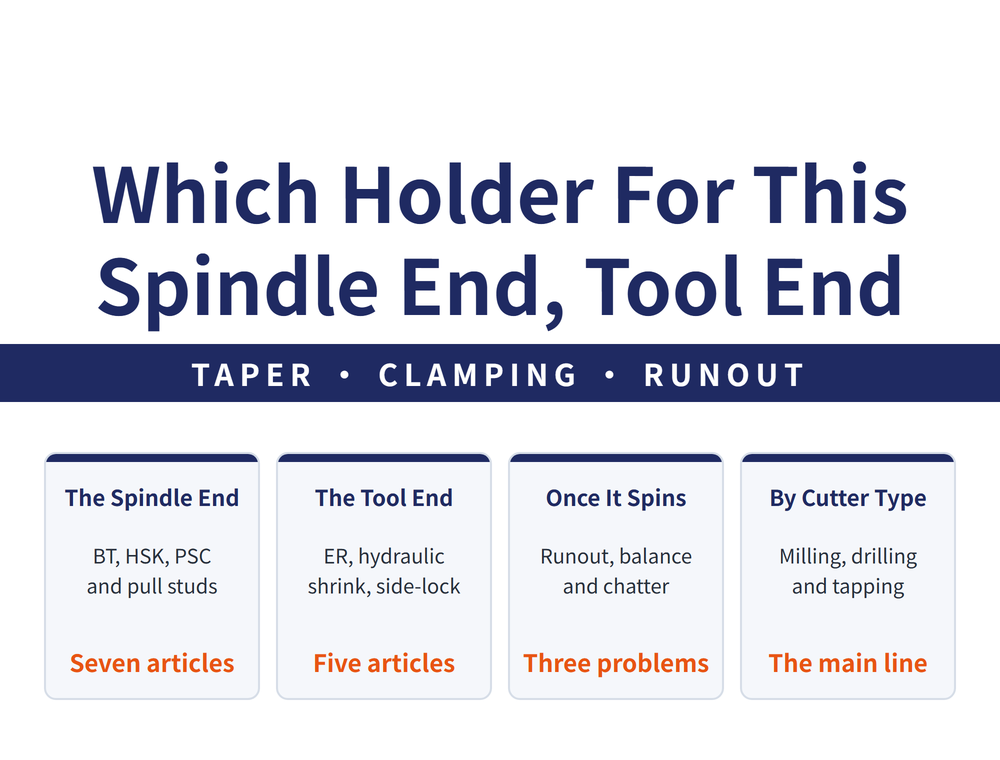
A tool holder is the only bridge between the machine and the cutter. One end goes into the spindle, the other grips the tool - and the two ends decide entirely different things. The spindle end is given to you by the machine; the tool end is the part you actually choose. These 23 articles follow that order: identify the taper interface, pick the clamping method, deal with runout and vibration once it spins, then work backwards from the cutter to the holder.
1. Two Ends, Two Different Decisions
Most holder questions stall because the spindle end and the tool end get asked as one question. They are not even decided by the same side:
| Which end | What it decides | Section |
|---|---|---|
| The spindle end (taper interface) | Whether it fits, the rigidity ceiling, change repeatability | Section 2 (7 articles) |
| The tool end (clamping method) | Grip force, runout, how far the tool can stick out | Section 3 (5 articles) |
| Once it spins | Whether it shakes at speed, how much accuracy you lose | Section 4 (3 articles) |
The order matters: the taper is given by the machine and you can only match it; the clamping method is the part you genuinely choose. Check the spindle spec first, then decide how much accuracy you are willing to pay for.
2. The Spindle End: Taper Interfaces
This section decides whether the holder fits at all, and how solid it is once it does. Confirm the spindle spec before shopping for holders, not after.
| Article | When to read it |
|---|---|
| Spindle Taper Systems Overview | The entry point. Seven interfaces compared in one table |
| Taper Specs: BT, NT and MT | When you need dimensions and retention types |
| BT or HSK: Which One | When buying a machine or weighing an upgrade |
| Mill-Turn Interfaces: HSK-T and PSC | When one machine has to turn and mill |
| What a Pull Stud Is | When the holder arrives and needs a stud fitted |
| Pull Studs: The Same Thread Does Not Mean Interchangeable | When a stud needs replacing, or you want one from another standard |
| Dual Contact: Why the Flange Face Has a Gap Before Clamping | When you buy dual-contact holders and need to confirm spindle support and drawbar force |
The pull stud article is the one people skip. Two BT40 holders can take different stud angle standards, and getting it wrong means weak retention at best, a dropped tool at worst - from the cheapest part on the whole assembly.
3. The Tool End: Choosing a Clamping Method
Once the taper is fixed, this is where the money actually goes. No clamping method is best; there is only how much you will pay for low runout.
| Article | When to read it |
|---|---|
| Clamping Methods Compared | Read this first. Five methods side by side |
| Polygon and Expansion Clamping | When none of the usual five fits: fine shanks at high speed, or thread milling |
| Collets: ER, SK, Pull-Back, Straight | Once you have settled on collets, to pick a series |
| ER Collet Specs and Torque | For clamping ranges, or if the nut feels wrong |
| Face Mill Arbors | When mounting a face mill body, not a shank tool |
The test is blunt: ask what tolerance this cut has to hold, then pick the clamping method. Shrink fit on a roughing pass is wasted money; a general-purpose collet on a finish bore is a gamble.
4. Once It Spins: Runout, Balance and Vibration
These three get treated as one problem. They are three different ones, and the fixes do not transfer.
| Article | When to read it |
|---|---|
| Tool Runout (TIR): Measure and Reduce | Unstable sizes, one-sided wear, oversized holes |
| Balance Grades: G2.5 and G6.3 | Fine at low rpm, shaking as soon as you speed up |
| Anti-Vibration Holders | Long overhangs, or a deep bore that sings |
Runout shows up standing still, imbalance only appears once it turns, and chatter is the whole system resonating. Identify which one you have before changing anything; for the deeper treatment, follow Vibration and Chatter: A Complete Reading Guide.
5. Working Backwards: From the Cutter to the Holder
The first three sections describe what a holder is. The question on the shop floor is usually the reverse: I need to mill, drill or tap - what do I put it in?
| Article | When to read it |
|---|---|
| Holders for Milling | From cutter type through to clamping method |
| Holders for Drilling | Trading off shank type, runout and coolant |
| Holders for Tapping | Rigid, synchronised and floating chucks compared |
| Tool Holders for Reaming | Choosing a reaming holder, and whether floating belongs there |
Tapping is where the difference bites hardest - pick the wrong chuck and the thread is ruined inside the hole, usually across a whole batch before anyone notices. For the full thread line, see Thread Machining: A Complete Reading Guide; for hole size and position, Hole Accuracy: A Complete Reading Guide.
6. Peripherals and Routine Care
This section does not decide what to buy. It keeps what the first five sections bought you - and it is the section most often skipped.
| Article | When to read it |
|---|---|
| Coolant-Through Holders | Poor chip evacuation, or edges burning early |
| Quick-Change and Modular Systems | Slow changeovers, or too many holders in stock |
| Holder Maintenance and Life | When setting cleaning, rust and retirement rules |
| Collet Damage and Deformation | When a well-used collet no longer grips well and you suspect wear or distortion |
Maintenance is the cheapest article on this line: a film of rust on the taper, or one chip left in the pocket, wipes out everything the first five sections bought - and the runout it produces will send you looking at the holder itself.
7. Frequently Asked Questions (FAQ)
Q: Where should I start in these 23 articles?
It depends where you are stuck. Buying holders without knowing the machine interface: start with Spindle Taper Systems Overview in section 2. Interface settled and choosing how to grip the tool: go to Clamping Methods Compared in section 3. Something has gone wrong in the cut - unstable sizes, marks on the surface, tool life suddenly short - go to section 4 first and work out whether it is runout, imbalance or chatter. Just need a holder for a job today: jump to section 5 and pick by cutter type. This line is deliberately not meant to be read front to back.
Q: Taper, clamping or balance - which affects part quality most?
It depends on spindle speed, so there is no fixed answer. At ordinary speeds the clamping method dominates: runout writes itself straight into part size, and it loads one flute harder than the rest so the tool fails early. As speed rises, balance takes over, because the centrifugal force from any residual unbalance grows with the square of the speed - the same holder that behaved at low rpm starts to shake. The taper interface is a threshold condition: it sets the ceiling on rigidity, but it is usually not a variable you get to choose.
Q: What separates a cheap holder from an expensive one?
Three things you cannot see: the machining accuracy of the taper and the bore (which sets runout), the material and heat treatment (which set rigidity and how it distorts over time), and whether the holder was actually balanced and graded. None of that shows in a catalogue photo, and you cannot confirm it by handling one either. A usable test is whether the supplier commits to numbers - a stated runout guarantee and a balance grade means someone measured it, while "high precision" with no figure attached is not a specification.
Q: How do tool holders relate to workholding?
One grips the tool, the other grips the part - two ends of the same rigidity chain. When chatter marks or size drift appear, both ends deserve a look, but they are not equally easy to check: holder runout can be measured standing still, whereas a fixture that moves under cutting load often reads perfectly fine once the machine stops. The practical order is to clear the holder and clamping end first because it measures cleanly, then take the workpiece end to Workholding and Fixtures: The Complete Guide.
Published: 2026-09-09 | Last updated: 2026-10-22









